BODY WELD POINT REAR FLOOR PAN(for 4 Door Van) CUT AND JOIN REPLACEMENT SECTIONS
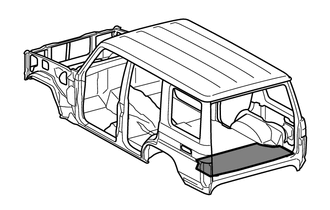
With the body lower back inner panel cut and join replacement sections (small areas) removed.
REMOVAL
| Symbol Meaning | |
|---|---|

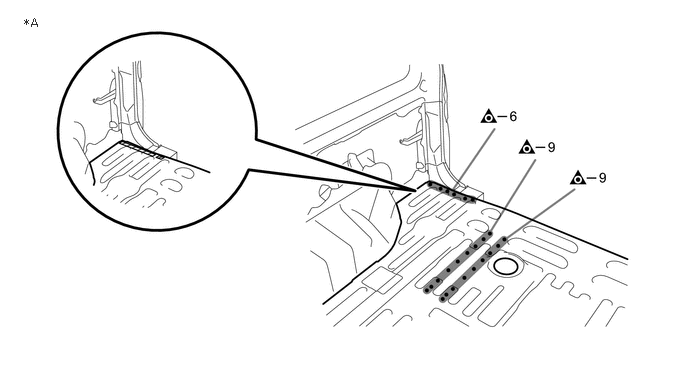
|
Remove Weld Points |

|
Remove Weld Points |

|
Cut Location |
After removing the A, remove the rear floor pan.
- HINT:
-
A is reused.
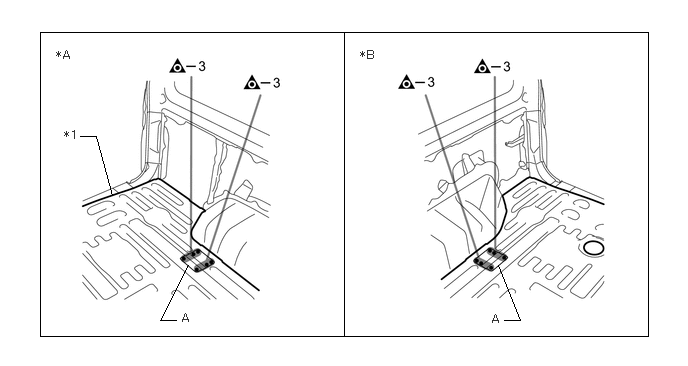
| *A | LH | *B | RH |
| *1 | REAR FLOOR PAN | - | - |
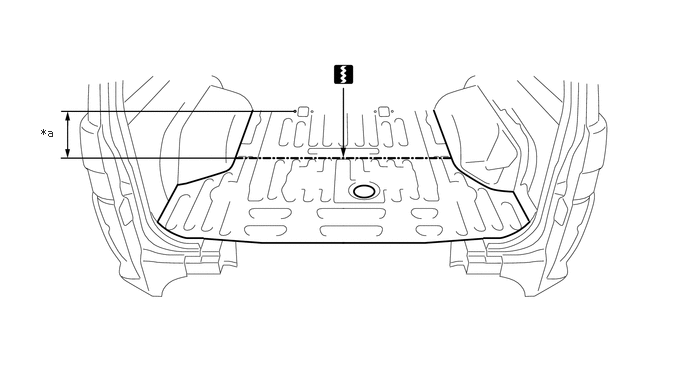
| *a | 520 mm (20.47 in.) | - | - |
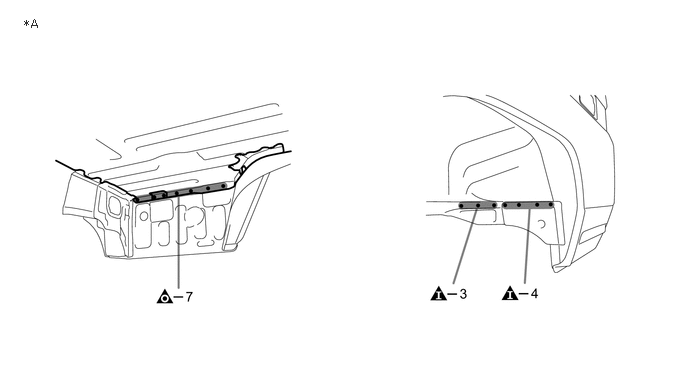
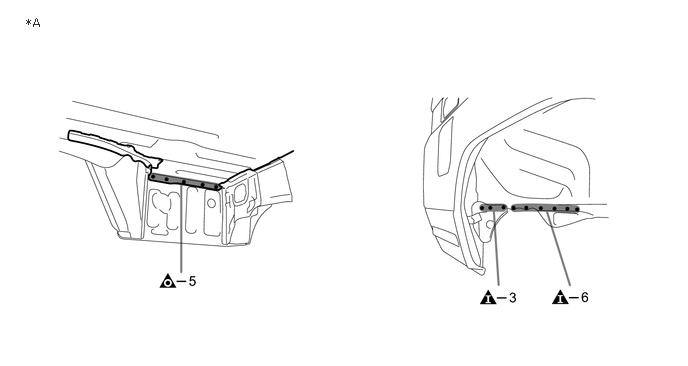
Roughly cut open the panel so that the adhesive can be reached. Cut through the adhesive with a cut chisel to remove the panel.
- HINT:
-
In cases where the adhesive cannot be removed with a cut chisel, heat the adhesive with an industrial heater gun or gas burner taking care not to cause panel deformation by overheating.
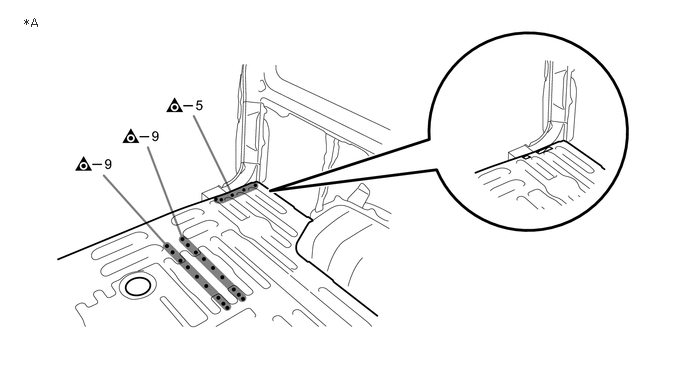
| *A | LH Side | - | - |

|
Adhesive | - | - |
| *A | RH Side | - | - |
|
|
Adhesive | - | - |
| *A | LH Side | - | - |
| *A | RH Side | - | - |
INSTALLATION
| Symbol Meaning | |
|---|---|

|
Plug Weld |

|
Plug Weld |
|
|
Cut Location |

|
Body Sealer |
Cut the new part so that it overlaps the previous cut location by approximately 20 mm (0.79 in.).
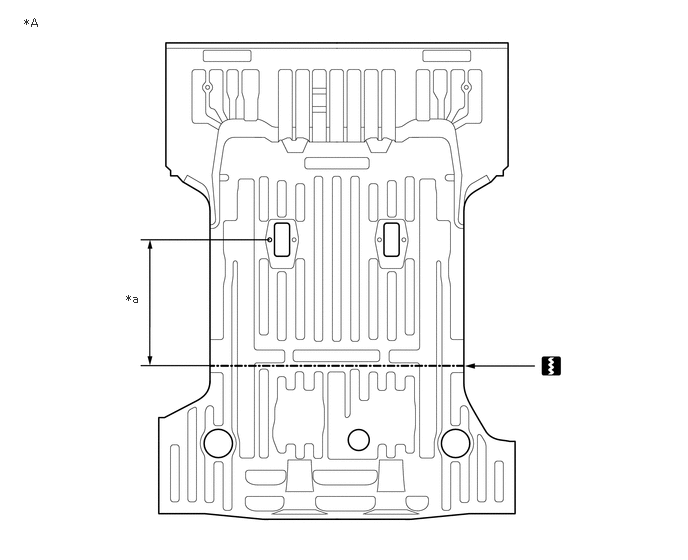
| *A | Upper Face | - | - |
| *a | 500 mm (19.69 in.) | - | - |
Before temporarily installing the new parts, weld the rear floor pan, rear floor pan reinforcement and jack carrier reinforcement with the standard number of welding points.
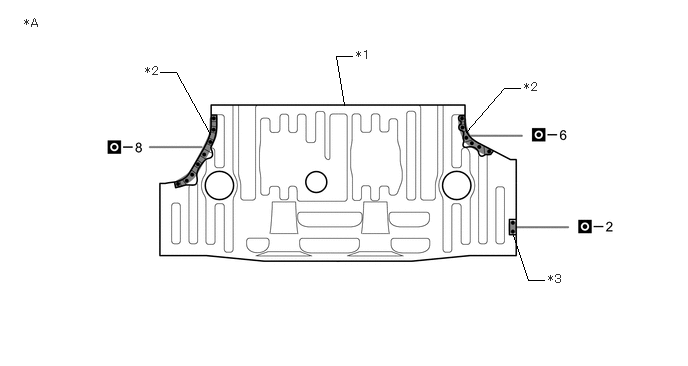
| *A | Lower Face | - | - |
| *1 | REAR FLOOR PAN | *2 | REAR FLOOR PAN REINFORCEMENT |
| *3 | JACK CARRIER REINFORCEMENT | - | - |
Before installing a new part, apply body sealer.
- HINT:
-
Apply body sealer in an even, continuous bead.
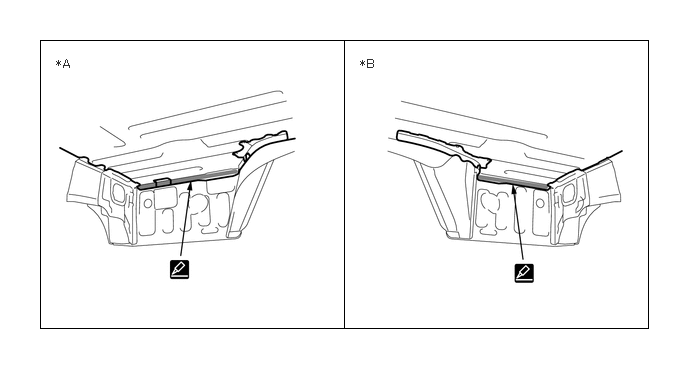
| *A | LH Side | *B | RH Side |
Apply adhesive (3MTM AutomixTM Panel Bonding Adhesive #8115).
- HINT:
-
·
Apply a light coat of adhesive around the plug welding points.
·Apply enough adhesive to the panels.
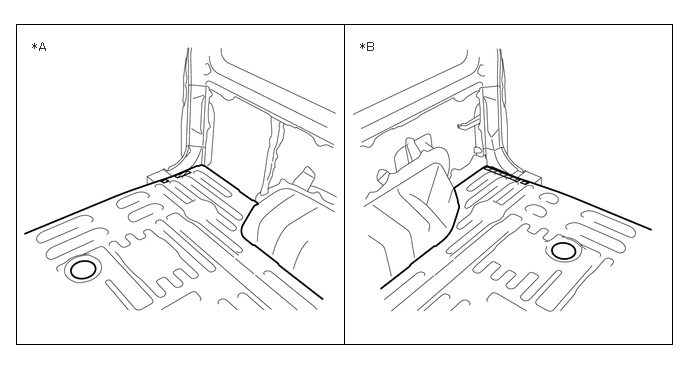
| *A | LH Side | *B | RH Side |
|
|
Adhesive | - | - |
Perform plug-welding in the area where the panel are overlapped. Apply body sealer to both sides of each panel.
- HINT:
-
·
Confirm that the panels are securely welded together.
·Apply body sealer in an even, continuous bead.
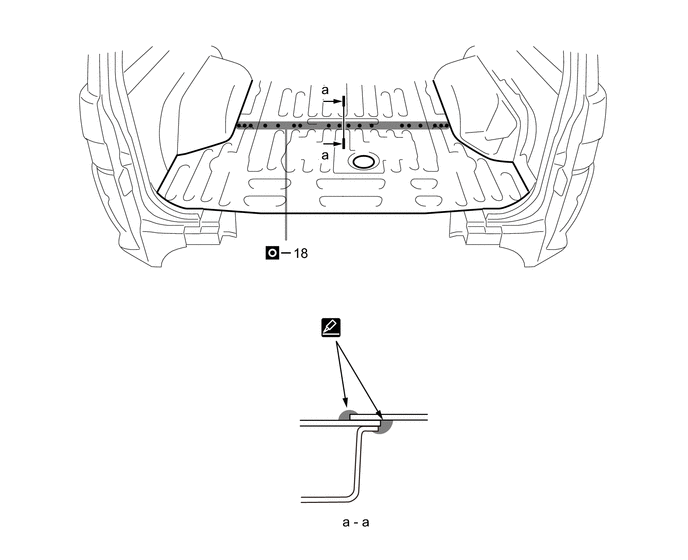
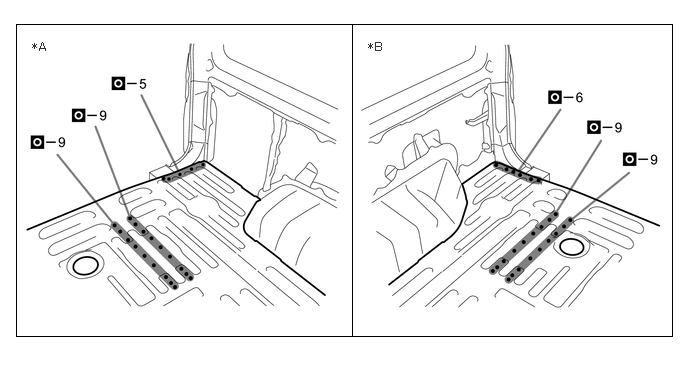
| *A | LH Side | *B | RH Side |
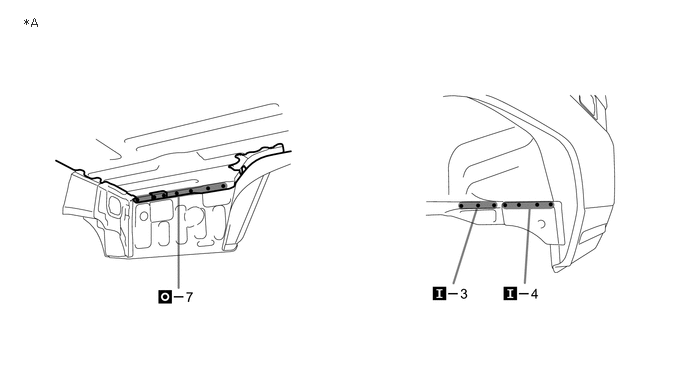
| *A | LH Side | - | - |
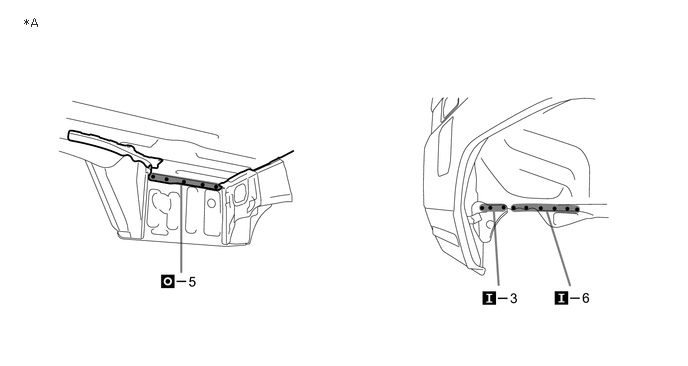
| *A | RH Side | - | - |
After welding the rear floor pan to the vehicle side, install the A.
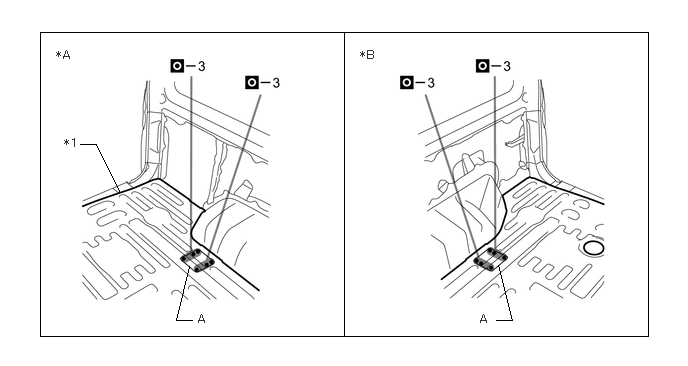
| *A | LH | *B | RH |
| *1 | REAR FLOOR PAN | - | - |
After welding, apply body sealer and undercoating to the corresponding parts. (See the painting/coating)
After applying the top coat, apply anti-rust agent to the internal panel portion of the closed section structural weld points.