WINCH WINCH SYSTEM ON-VEHICLE INSPECTION
PROCEDURE

 38640 1.INSPECT REMOTE CONTROL SWITCH ASSEMBLY
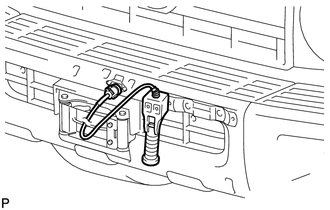
Connect the remote control switch connector.
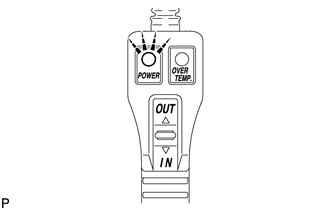
Turn the ignition switch to ON and check that the power indicator light illuminates.
Press the winch control switch, and check that the winch operates.
- NOTICE:
-
Be careful not to tighten or strain the winch wire.
Turn the ignition switch off.
53111 2.REMOVE RADIATOR GRILLE
53911 3.REMOVE FRONT VALANCE PANEL
52119A 4.REMOVE FRONT BUMPER COVER
52016B 5.REMOVE FRONT BUMPER BRACKET SUB-ASSEMBLY LH
52015B 6.REMOVE FRONT BUMPER BRACKET SUB-ASSEMBLY RH
52101B 7.REMOVE FRONT BUMPER REINFORCEMENT PLATE SUB-ASSEMBLY
8.INSPECT OVERHEAT TEMPERATURE INDICATOR
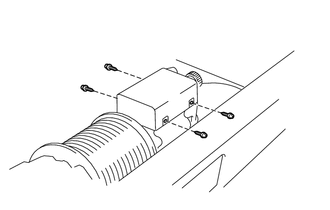
Remove the 4 screws and the cover.
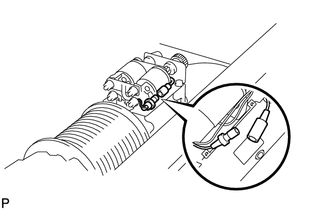
Disconnect the motor relay connector.
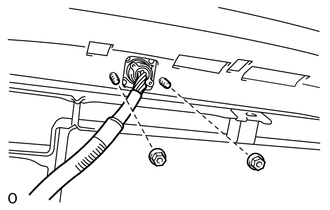
Remove the 2 nuts.
Pull the bumper side winch control wire out of the bumper.
Connect the bumper side winch control wire connector to the vehicle side winch control wire connector.
Connect the bumper side winch control wire connector to the winch control switch connector.
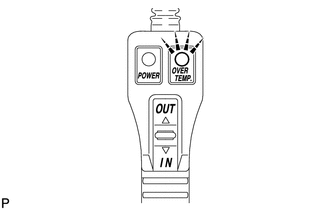
Turn the ignition switch to ON and check that the overheat temperature indicator light illuminates and the buzzer sounds.
Turn the ignition switch off.
Disconnect the bumper side winch control wire connector from the winch control switch connector.
Disconnect the bumper side winch control wire connector from the vehicle side winch control wire connector.
Pass the bumper side winch control wire through the bumper.
Install the 2 nuts.
- Torque:
- 5.0 N*m (51 kgf*cm, 44 in.*lbf)
Connect the motor relay connector.
Install the cover with the 4 screws.
52101B 9.INSTALL FRONT BUMPER REINFORCEMENT PLATE SUB-ASSEMBLY
52016B 10.INSTALL FRONT BUMPER BRACKET SUB-ASSEMBLY LH
52015B 11.INSTALL FRONT BUMPER BRACKET SUB-ASSEMBLY RH
52119A 12.INSTALL FRONT BUMPER COVER
53911 13.INSTALL FRONT VALANCE PANEL
53111 14.INSTALL RADIATOR GRILLE