ДАТЧИК УРОВНЯ ТОПЛИВА В СБОРЕ > УСТАНОВКА |
| 1. INSTALL FUEL SENDER GAUGE ASSEMBLY |
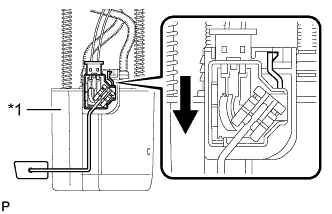 |
Set the fuel sender gauge on the fuel sub-tank. Then slide the fuel sender gauge downward to install it.
| *1 | Fuel Sub-Tank |
 | Slide |
Connect the fuel sender gauge connector.
| 2. INSTALL FUEL SENDER GAUGE ASSEMBLY (for Fuel Sub Tank) |
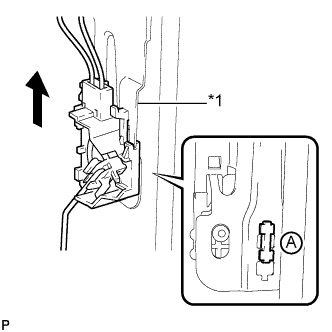 |
Set the fuel sender gauge on the fuel gauge support. Then slide the fuel sender gauge upward to install it.
| *1 | Fuel Gauge Support |
| Slide |
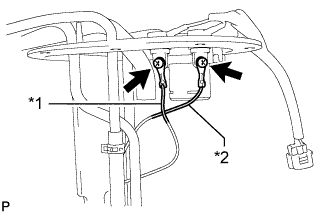 |
Install the 2 lead wires with the 2 screws.
| *1 | Lead Wire (Black) |
| *2 | Lead Wire (Red) |
| 3. INSTALL FUEL TANK VENT TUBE ASSEMBLY |
for Single Tank Type:
Install the fuel tank vent tube assembly (See page Нажмите здесь).
for Double Tank Type:
for Fuel Main Tank:
Install the fuel tank vent tube assembly (See page Нажмите здесь).
for Fuel Sub Tank:
Install the fuel tank vent tube assembly (See page Нажмите здесь).
