BODY PANEL REAR FLOOR FRONT PANEL ASSEMBLY REPLACEMENT
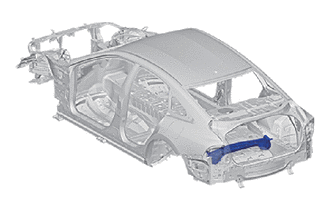
With the rear floor pan assembly (pattern 2) removed.
REMOVAL
| Symbol Meaning | |
|---|---|

|
Remove Weld Points |

|
Remove Weld Points |
Roughly cut open the panel so that the adhesive can be reached. Cut through the adhesive with a cut chisel to remove the panel.
- HINT:
-
In cases where the adhesive cannot be removed with a cut chisel, heat the adhesive with an industrial heater gun or gas burner taking care not to cause panel deformation by overheating.
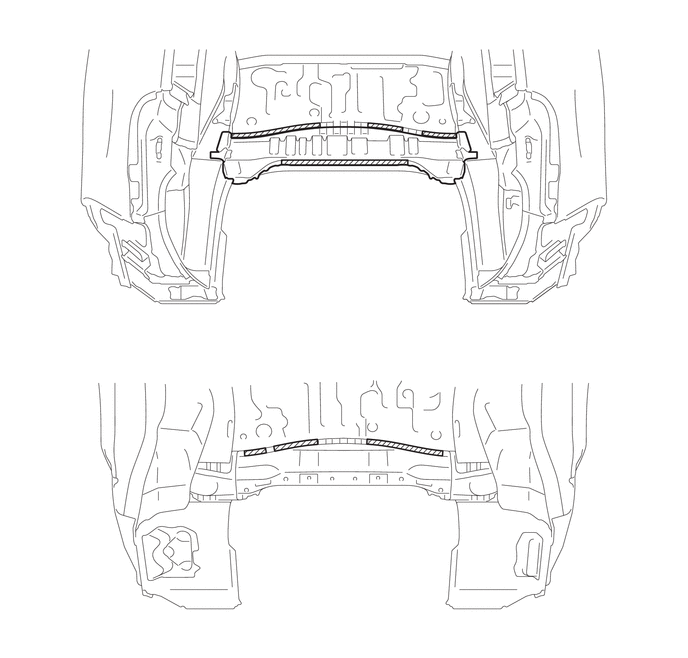

|
Adhesive | - | - |
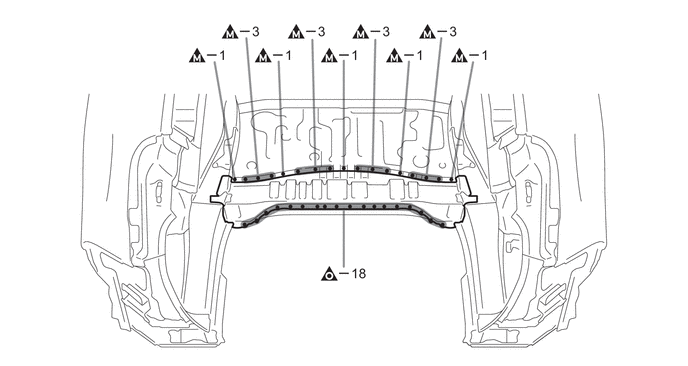
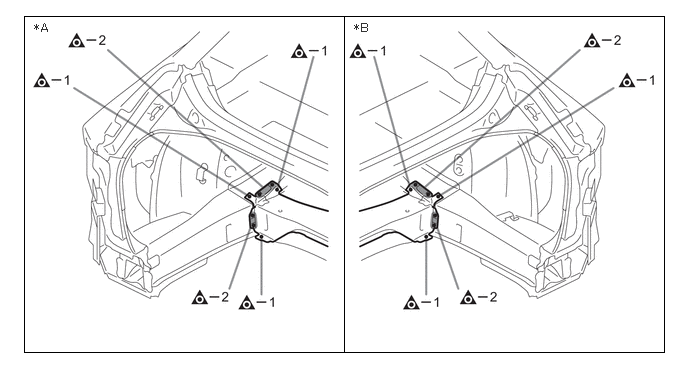
| *A | LH Side | *B | RH Side |
REMOVAL
| Symbol Meaning | |
|---|---|

|
Plug weld |

|
Plug weld |
Apply adhesive (3MTM AutomixTM Panel Bonding Adhesive #8115).
- HINT:
- ·
Do not apply adhesive around the plug welding points.
·Minimize squeeze out in plug welding areas.
|
|
Adhesive | - | - |
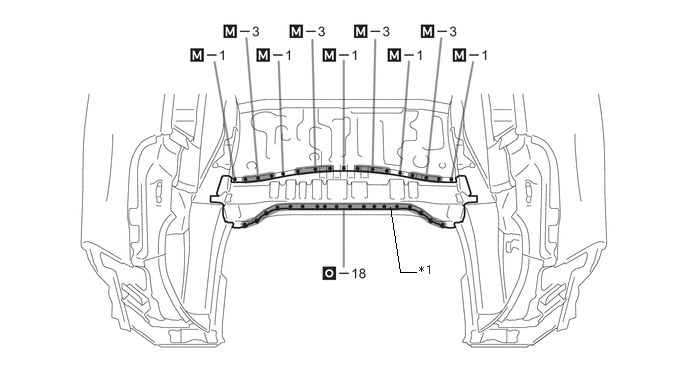
| *1 | REAR FLOOR CROSS MEMBER NO.1 | - | - |
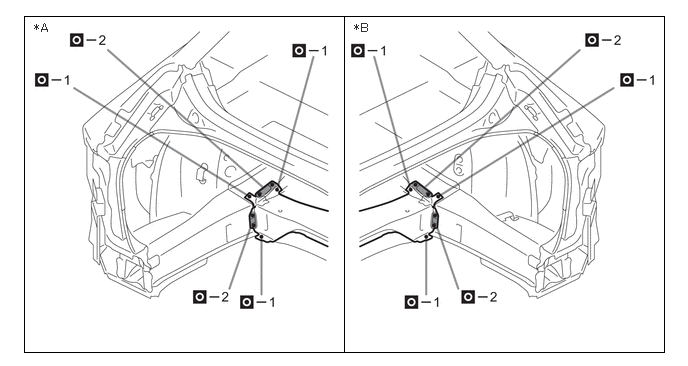
| *A | LH Side | *B | RH Side |
After welding, apply body sealer and undercoating to the corresponding parts. (See the painting /coating)
After applying the top coat, apply anti-rust agent to the internal panel portion of the closed section structural weld points.