METER / GAUGE / DISPLAY HEADUP DISPLAY REASSEMBLY
CAUTION / NOTICE / HINT
- NOTICE:
-
When reassembling the combination meter subassembly, eliminate static electricity by touching the vehicle body to prevent components from being damaged.
PROCEDURE

 1.INSTALL METER CIRCUIT PLATE SUB-ASSEMBLY
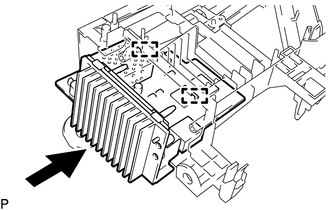
Push the meter circuit plate sub-assembly in the direction indicated by the arrow to engage the 2 guides.
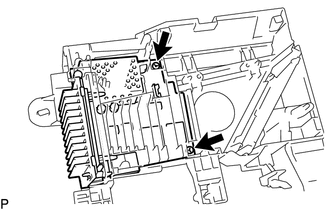
Install the meter circuit plate sub-assembly with the 2 screws.
2.INSTALL COMBINATION METER WIRE
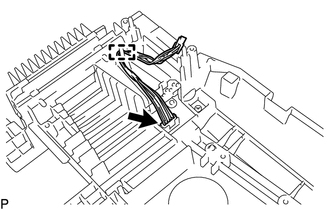
Connect the connector to install the combination meter wire.
Engage the clamp.
3.INSTALL NO. 2 COMBINATION METER MIRROR
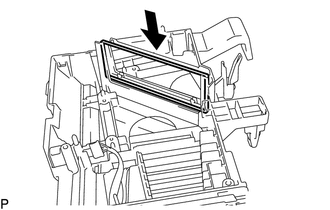
Install the No. 2 combination meter mirror as shown in the illustration.
4.INSTALL NO. 1 COMBINATION METER MIRROR PLATE
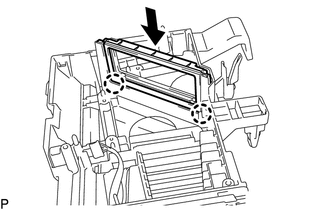
Engage the 2 claws to install the No. 1 combination meter mirror plate as shown in the illustration.
5.INSTALL COMBINATION METER MIRROR
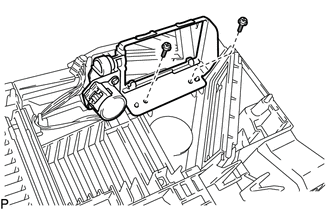
Install the combination meter mirror with the 2 screws.
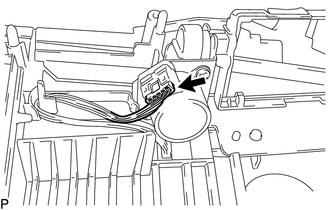
Connect the connector.
6.INSTALL NO. 1 COMBINATION METER MIRROR CASE
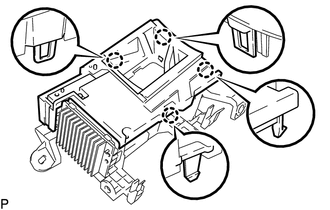
Engage the 4 claws.
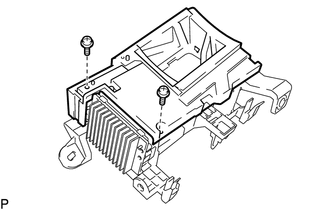
Install the No. 1 combination meter mirror case with the 2 screws.
7.INSTALL METER CIRCUIT PLATE COVER
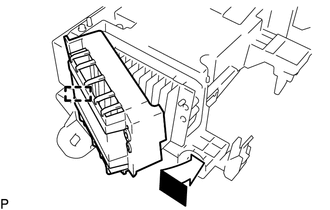
Engage the guide and install the meter circuit plate cover as shown in the illustration.
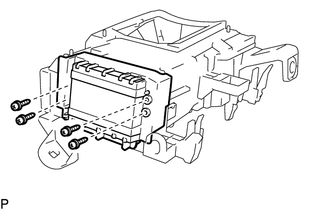
Install the 4 screws.
8.INSTALL COMBINATION METER MIRROR GLASS
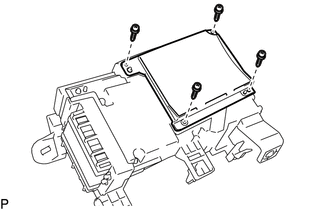
Install the combination meter mirror glass with the 4 screws.