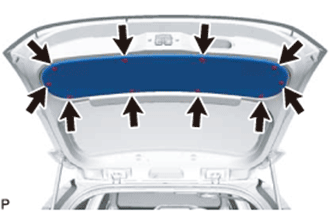
Home › Vehicle Exterior › EXTERIOR PANELS / TRIM › BACK DOOR OUTSIDE GARNISH

BACK DOOR OUTSIDE GARNISH > INSTALLATION

for Preparation Click here


1. INSTALL LUGGAGE COMPARTMENT DOOR OUTSIDE GARNISH PROTECTOR
  1. Clean the luggage compartment door outside garnish sub-assembly.

    1. Remove any double-sided tape from the luggage compartment door outside garnish sub-assembly.

    2. Wipe off any tape adhesive residue with cleaner.


  1. Install a new luggage compartment door outside garnish protector.

    1. Remove the release paper from the luggage compartment door outside garnish protector.

      HINT:
      After removing the release paper, keep the exposed adhesive free from foreign matter.


    2. Install a new luggage compartment door outside garnish protector as shown in the illustration.
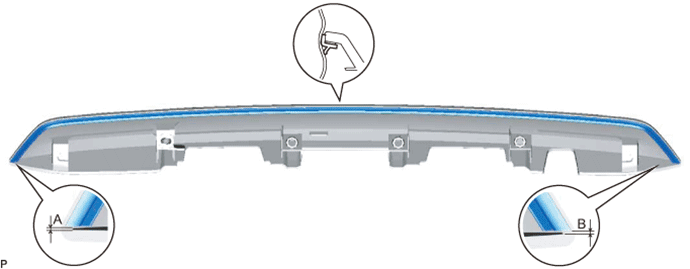

      B298028E01

      Standard Measurement 
      Dimension
      Measurement
      A
      1.0 mm (0.0394 in.)
      B
      1.0 mm (0.0394 in.)
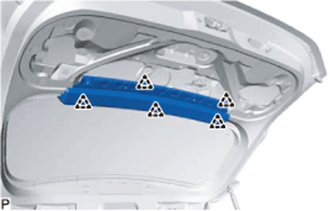


2. INSTALL LUGGAGE COMPARTMENT DOOR OUTSIDE GARNISH SUB-ASSEMBLY
  1. Install 5 new gaskets to the luggage compartment door outside garnish sub-assembly.

  1. Install the back door opener switch assembly .

  1. Engage the clip.

  1. Install the luggage compartment door outside garnish sub-assembly with the 5 nuts.

    Torque:
    4.9 N*m{ 50 kgf*cm , 43 in.*lbf }

  1. Connect the connector.


3. INSTALL BACK DOOR TRIM COVER


    B297007
  1. Engage the 6 clips to install the back door trim cover.


4. INSTALL BACK DOOR TRIM BOARD ASSEMBLY


    B297006
  1. Install the back door trim assembly with the 10 clips.