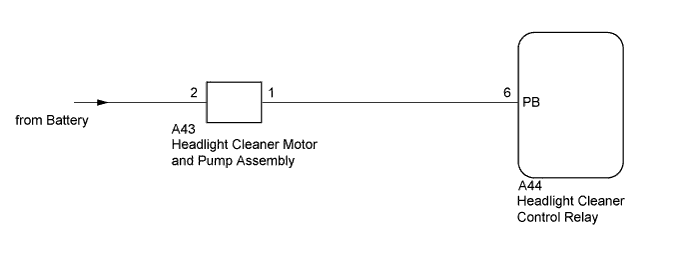
WIPER AND WASHER SYSTEM > Headlight Cleaner Motor and Relay Circuit |
| 1.INSPECT HEADLIGHT CLEANER MOTOR AND PUMP ASSEMBLY |
Fill the washer jar with washer fluid.
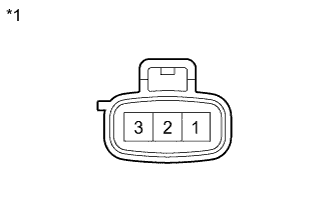 |
Connect a battery positive (+) lead to terminal 2 of the headlight cleaner motor and pump assembly, and a battery negative (-) lead to terminal 1.
Check that washer fluid flows from the washer jar.
| *1 | Component without harness connected (Headlight Cleaner Motor and Pump Assembly) |
|
| ||||
| OK | ||
 | ||
| ||
| 2.CHECK HARNESS AND CONNECTOR (HEADLIGHT CLEANER MOTOR CIRCUIT) |
Connect the headlight cleaner motor and pump assembly connector.
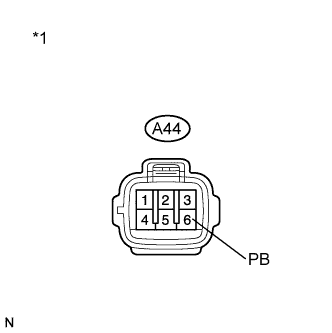 |
Disconnect the A44 headlight cleaner control relay connector.
Measure the voltage according to the value(s) in the table below.
| Tester Connection | Condition | Specified Condition |
| A44-6 (PB) - Body ground | Always | 11 to 14 V |
| *1 | Front view of wire harness connector (to Headlight Cleaner Control Relay) |
|
| ||||
| OK | ||
| ||
| ||
