Home › Power Source / Network › POWER DISTRIBUTION › INTEGRATION RELAY

INTEGRATION RELAY > REMOVAL

for Preparation Click here


1. PRECAUTION (w/ Navigation System for HDD)

NOTICE:
After the power switch is turned off, the display and navigation module display (HDD navigation system) records various types of memory and settings. As a result, after turning the power switch off, make sure to wait at least 60 seconds before disconnecting the cable from the negative (-) battery terminal.


2. DISCONNECT CABLE FROM NEGATIVE BATTERY TERMINAL

NOTICE:
When disconnecting the cable, some systems need to be initialized after the cable is reconnected (Click here).


3. REMOVE NO. 1 RELAY BLOCK COVER


    E189815
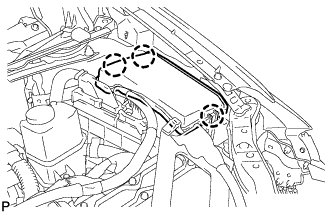
  1. Disengage the 3 claws and remove the No. 1 relay block cover.


4. REMOVE NO. 1 INTEGRATION RELAY


    E189816
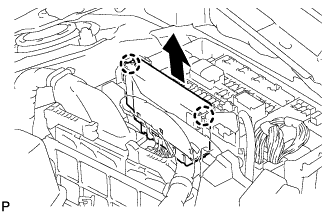
  1. Disengage the 2 claws and pull up the No. 1 integration relay as shown in the illustration.


    E189817
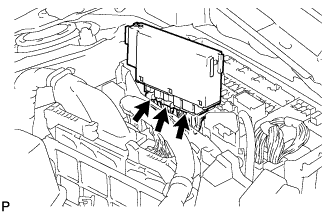
  1. Disconnect the 3 connectors and remove the No. 1 integration relay.