Disengage the 3 screws and guide, and remove the blower assembly.
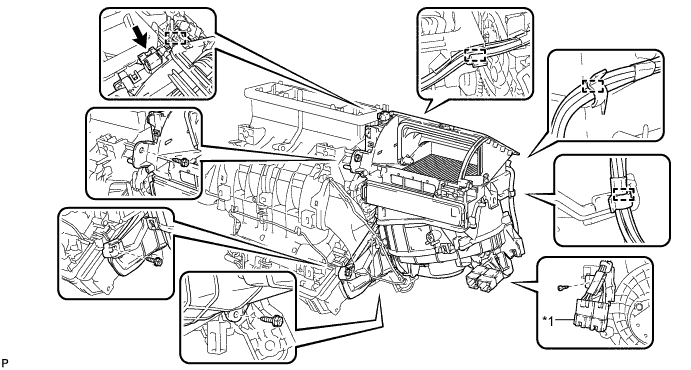
| *1 | Quick Heater Connector | - | - |
FRONT EVAPORATOR TEMPERATURE SENSOR > REMOVAL |
| 1. REMOVE AIR CONDITIONING UNIT ASSEMBLY |
| 2. REMOVE BLOWER ASSEMBLY |
Remove the screw and disconnect the quick heater connector.
Disconnect the connector and disengage each clamp.
Disengage the 3 screws and guide, and remove the blower assembly.
| *1 | Quick Heater Connector | - | - |
| 3. REMOVE COOLER EXPANSION VALVE |
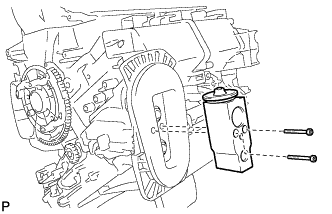 |
Using a 4 mm hexagon wrench, remove the 2 hexagon bolts and cooler expansion valve.
| 4. REMOVE COOLER EVAPORATOR SUB-ASSEMBLY |
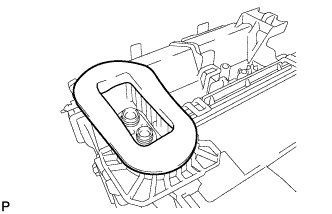 |
Remove the packing.
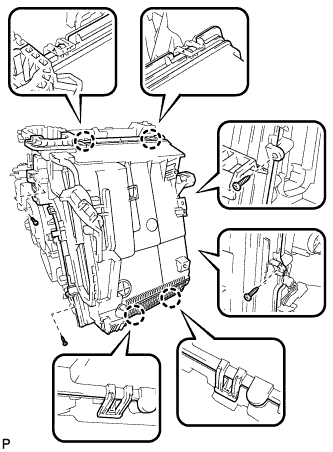 |
Remove the 4 screws.
Disengage the 4 claws and remove the lower heater case.
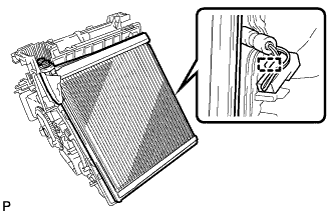 |
Disengage the clamp and remove the cooler evaporator sub-assembly with the No. 1 cooler thermistor.
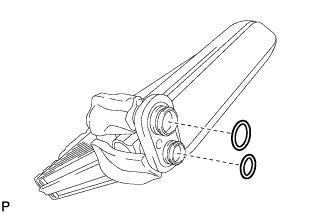 |
Remove the 2 O-rings from the cooler evaporator sub-assembly.
| 5. REMOVE NO. 1 COOLER THERMISTOR |
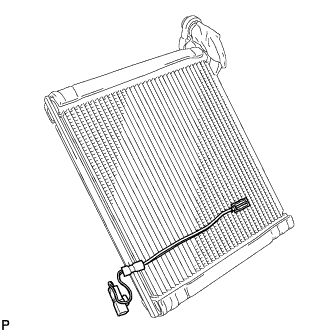 |
Remove the No. 1 cooler thermistor.