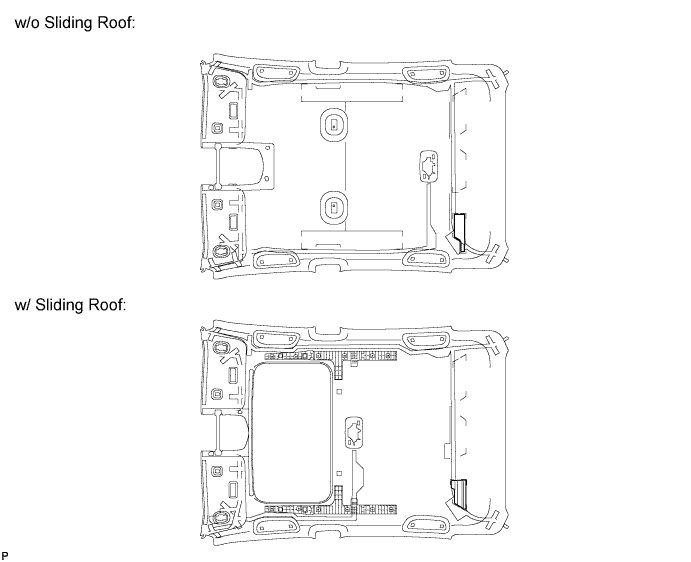
Remove the No. 2 roof silencer pad from the roof headlining assembly.
ROOF HEADLINING > DISASSEMBLY |
| 1. REMOVE VANITY LIGHT ASSEMBLY |
Remove the vanity light assembly .
| 2. REMOVE NO. 2 ROOF SILENCER PAD (w/o Sliding Roof) |
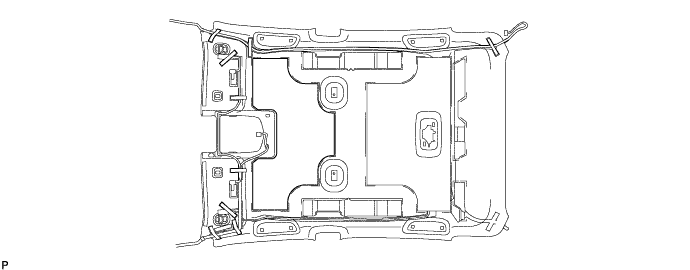
Remove the No. 2 roof silencer pad from the roof headlining assembly.
| 3. REMOVE NO. 3 ROOF SILENCER PAD (w/o Sliding Roof) |
Remove the No. 3 roof silencer pad from the roof headlining assembly.
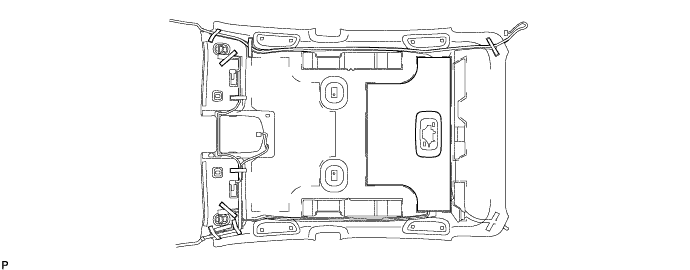
| 4. REMOVE NO. 4 ANTENNA CORD SUB-ASSEMBLY (w/o Manual (SOS) Switch) |
Peel the strips of the tape used to secure the antenna cord only to the extent that allows removal of the antenna cord.
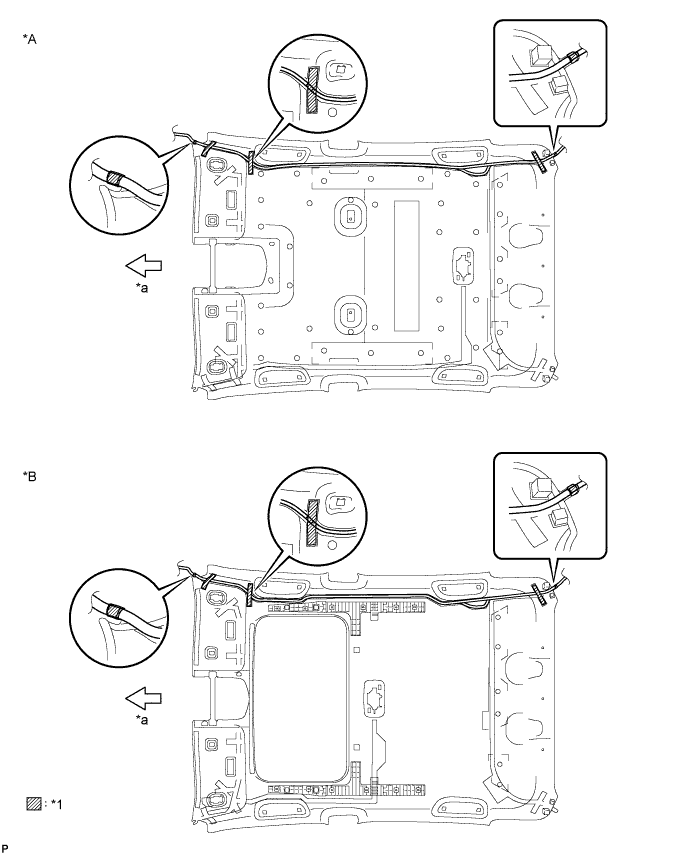
| *A | w/o Sliding Roof | *B | w/ Sliding Roof |
| *1 | Tape | - | - |
| *a | Front | - | - |
Remove the No. 4 antenna cord sub-assembly.
| 5. REMOVE TELEPHONE AND GPS ANTENNA CORD SUB-ASSEMBLY (w/ Manual (SOS) Switch) |
Peel the strips of the tape used to secure the antenna cord only to the extent that allows removal of the antenna cord.
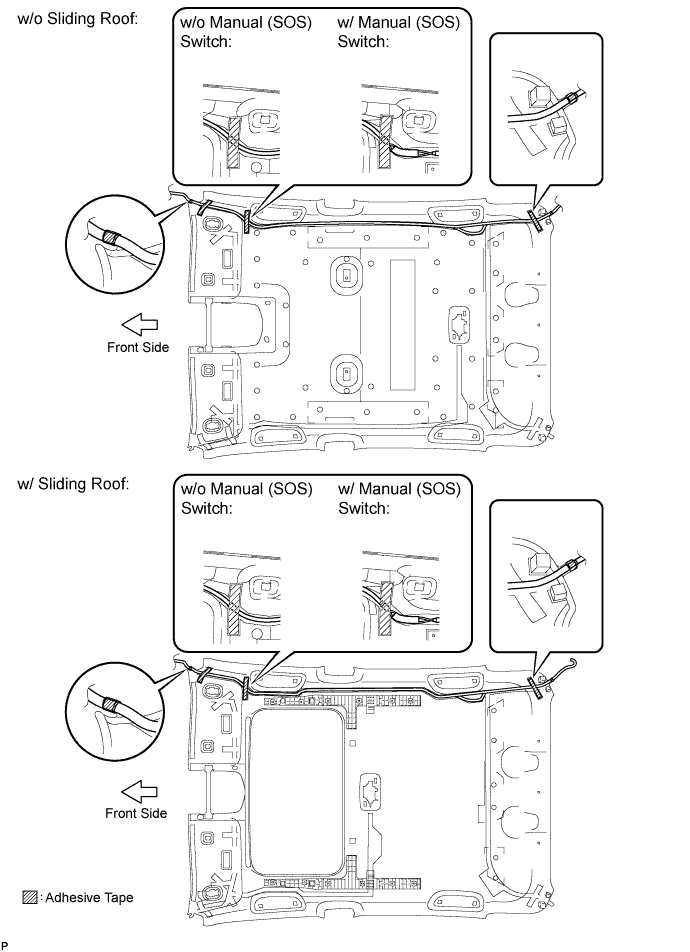
Remove the telephone and GPS antenna cord sub-assembly.
| 6. REMOVE NO. 1 ROOF WIRE |
Remove the adhesive tape from the roof headlining assembly.
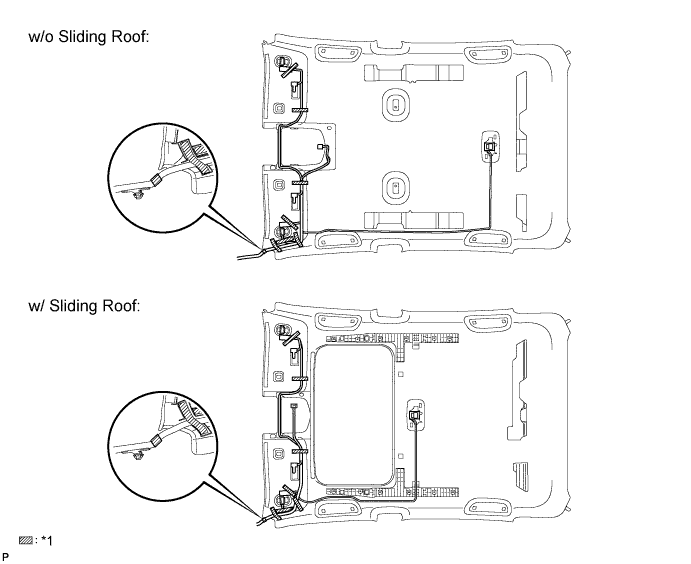
| *1 | Adhesive Tape | - | - |
Turn the visor connectors counterclockwise approximately 45° and separate the connectors and each clamp from the roof headlining assembly.
Remove the No. 1 roof wire from the roof headlining assembly.
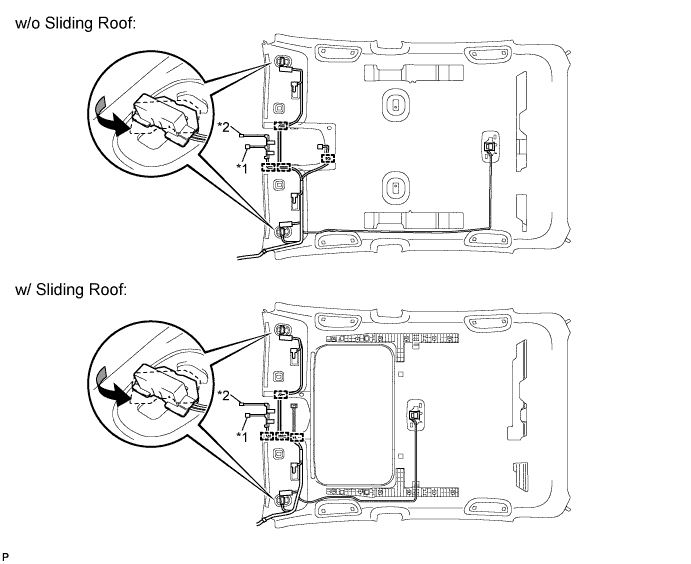
| *1 | w/ EC Mirror | *2 | w/ Rain Sensor |
| 7. REMOVE NO. 2 ROOF HEADLINING SET PLATE RH (w/o Sliding Roof) |
Remove the No. 2 roof headlining set plate RH from the roof headlining assembly.
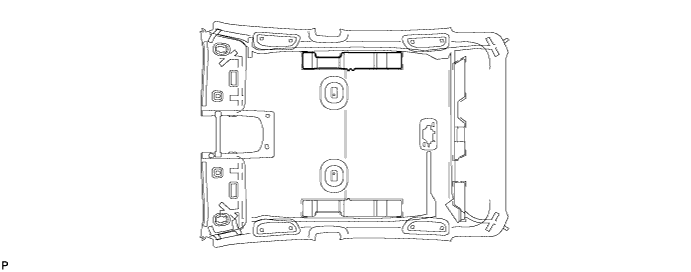
| 8. REMOVE NO. 2 ROOF HEADLINING SET PLATE LH (w/o Sliding Roof) |
| 9. REMOVE ROOF HEADLINING PAD |
Remove the roof headlining pad from the roof headlining assembly.
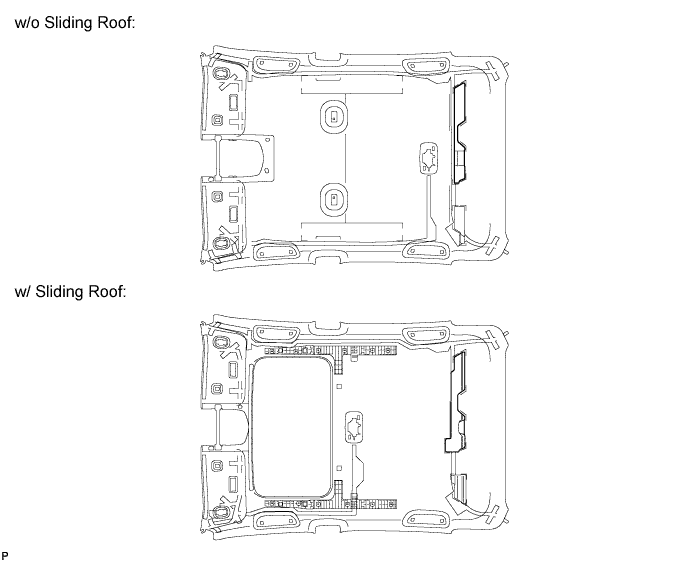
| 10. REMOVE NO. 2 ROOF HEADLINING PAD |
Remove the No. 2 roof headlining pad from the roof headlining assembly.