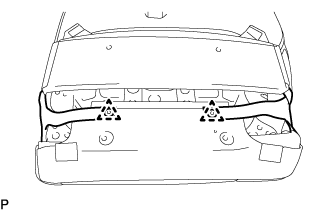
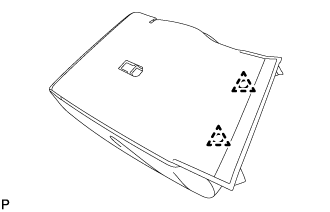
Home › Vehicle Interior › SEAT › REAR SEAT ASSEMBLY (for Separate Type Seatback)

REAR SEAT ASSEMBLY (for Separate Type Seatback) > REASSEMBLY

for Preparation Click here


1. INSTALL BENCH TYPE REAR SEAT CUSHION COVER
  1. Temporarily install the bench type rear seat cushion cover to the bench type rear seat cushion pad.


  1. Using hog ring pliers, install the bench type rear seat cushion cover to the bench type rear seat cushion pad with 16 new hog rings.
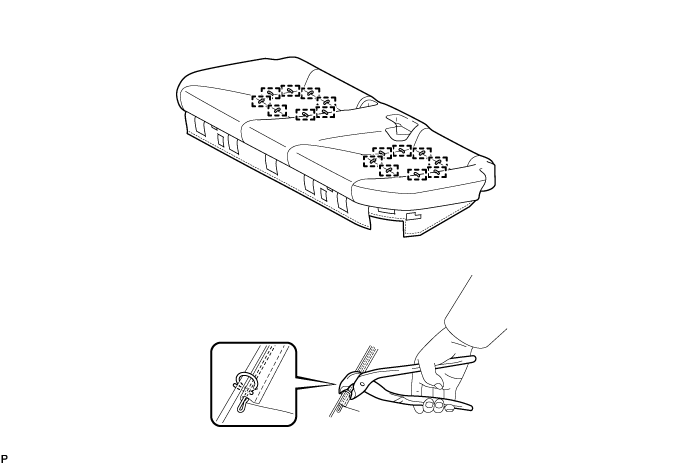

    B297711

    NOTICE:
    1. Be careful not to damage the cover.
    2. When installing the hog rings, take care to minimize wrinkles as much as possible.
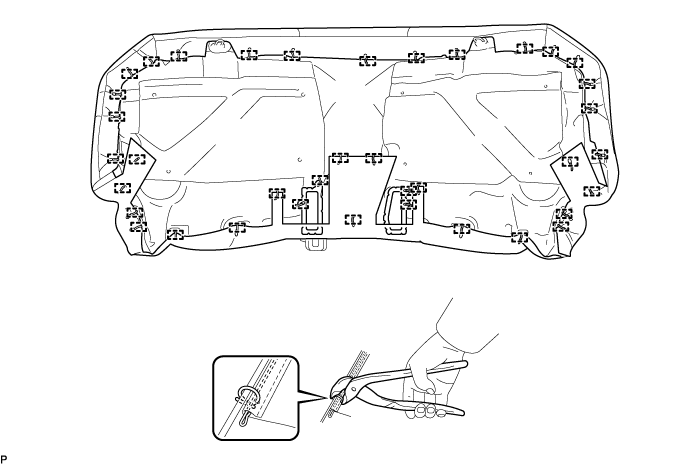


  1. Using hog ring pliers, install 38 new hog rings.


    B299288

    NOTICE:
    1. Be careful not to damage the cover.
    2. When installing the hog rings, take care to minimize wrinkles as much as possible.
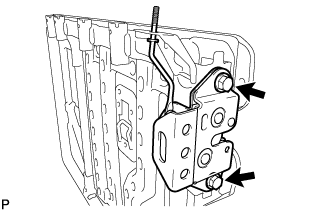


2. INSTALL REAR SEATBACK LOCK ASSEMBLY LH


    B296162
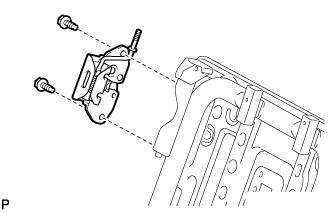
  1. Install the rear seatback lock assembly LH to the rear seatback frame sub-assembly LH with the 2 bolts.

    Torque:
    32 N*m{ 326 kgf*cm , 24 ft.*lbf }


3. INSTALL SEPARATE TYPE REAR SEATBACK COVER (for LH Side)
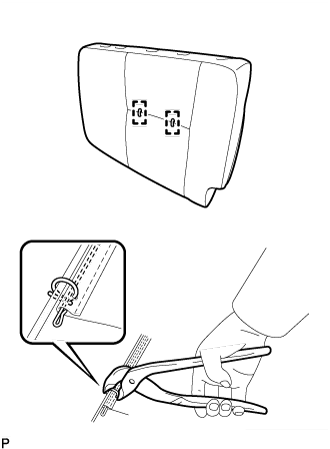
  1. Temporarily install the separate type rear seatback cover to the separate type rear seatback pad.


    B296161
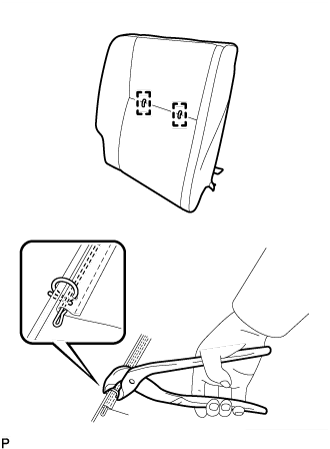
  1. Using hog ring pliers, install the separate type rear seatback cover to the separate type rear seatback pad with 2 new hog rings.

    NOTICE:
    1. Be careful not to damage the cover.
    2. When installing the hog rings, take care to minimize wrinkles as much as possible.


4. INSTALL SEPARATE TYPE REAR SEATBACK COVER WITH PAD (for LH Side)
  1. Temporarily install the separate type rear seatback cover with pad to the rear seatback frame sub-assembly LH.


    B296159
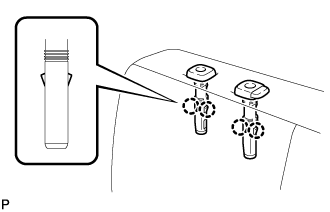
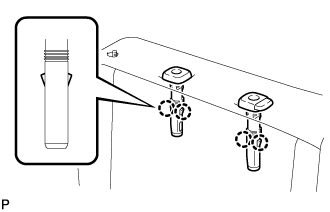
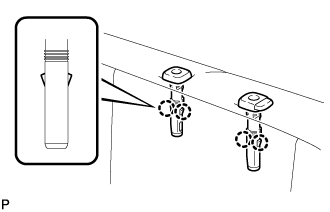
  1. Engage the 4 claws to install the 2 rear seat headrest supports to the rear seatback frame sub-assembly LH.


    B296158
  1. Engage the 4 claws to install the 2 rear center seat headrest supports to the rear seatback frame sub-assembly LH.


    B296157
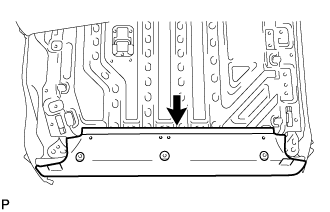
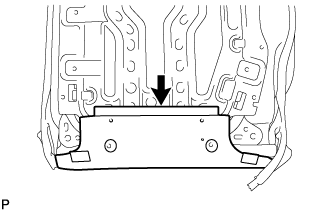
  1. Engage the hook.


    B296156
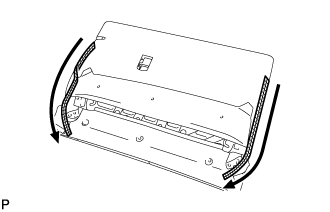
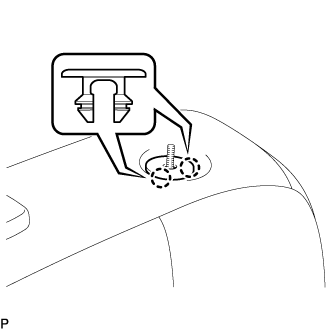
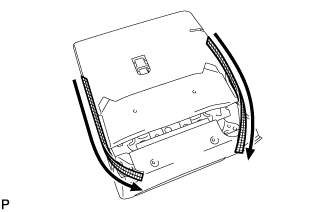
  1. Close the 2 fasteners as shown in the illustration.


    B296154
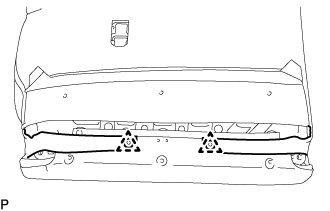
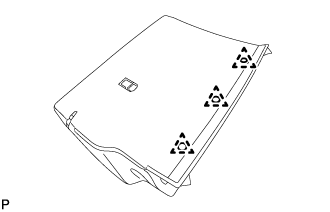
  1. Install the 2 clips.


    B296153
  1. Install the 3 clips.


5. INSTALL REAR SEATBACK STOP BUTTON GROMMET (for LH Side)


    B307875
  1. Engage the 2 claws to install the rear seatback stop button grommet to the separate type rear seatback cover with pad.


6. INSTALL REAR SEATBACK LOCK RELEASE BUTTON (for LH Side)


    B296120
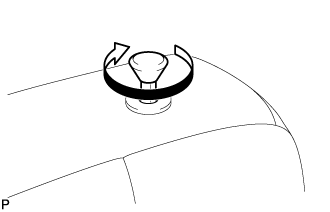
  1. Turn the rear seatback lock release button in the direction indicated by arrow to install it.


7. INSTALL REAR SEATBACK LOCK ASSEMBLY RH


    B296169
  1. Install the rear seatback lock assembly RH to the rear seatback frame sub-assembly RH.

    Torque:
    32 N*m{ 326 kgf*cm , 24 ft.*lbf }


8. INSTALL SEPARATE TYPE REAR SEATBACK COVER (for RH Side)
  1. Temporarily install the separate type rear seatback cover to the separate type rear seatback pad.


    B296171
  1. Using hog ring pliers, install the separate type rear seatback cover to the separate type rear seatback pad with 2 new hog rings.

    NOTICE:
    1. Be careful not to damage the cover.
    2. When installing the hog rings, take care to minimize wrinkles as much as possible.


9. INSTALL SEPARATE TYPE REAR SEATBACK COVER WITH PAD (for RH Side)
  1. Temporarily install the separate type rear seatback cover with pad to the rear seatback frame sub-assembly RH.


    B296168
  1. Engage the 4 claws to install the 2 rear seat headrest supports to the rear seatback frame sub-assembly RH.


    B296167
  1. Engage the hook.


    B296166
  1. Close the 2 fasteners as shown in the illustration.


    B296164
  1. Install the 2 clips.


    B296163
  1. Install the 2 clips.


10. INSTALL REAR SEATBACK STOP BUTTON GROMMET (for RH Side)

HINT:
Use the same procedure as for the LH side.


11. INSTALL REAR SEATBACK LOCK RELEASE BUTTON (for RH Side)

HINT:
Use the same procedure as for the LH side.