 |
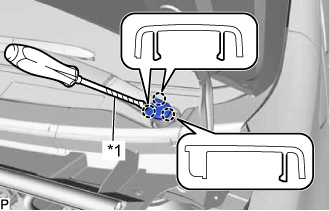
Using a screwdriver, disengage the 3 claws and remove the front wiper arm head cap.
| *1 | Protective Tape |
- HINT:
- Tape the screwdriver tip before use.
- Use the same procedure for the RH side and LH side.
WASHER NOZZLE (for Front Side) > REMOVAL |
| 1. REMOVE FRONT WIPER ARM HEAD CAP |
|
Using a screwdriver, disengage the 3 claws and remove the front wiper arm head cap.
| *1 | Protective Tape |
| 2. REMOVE FRONT WIPER ARM AND BLADE ASSEMBLY LH |
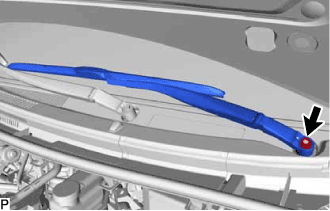 |
Remove the nut and front wiper arm and blade assembly LH.
| 3. REMOVE FRONT WIPER ARM AND BLADE ASSEMBLY RH |
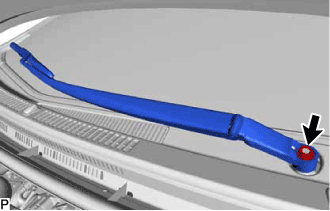 |
Remove the nut and front wiper arm and blade assembly RH.
| 4. REMOVE FRONT FENDER TO COWL SIDE SEAL LH |
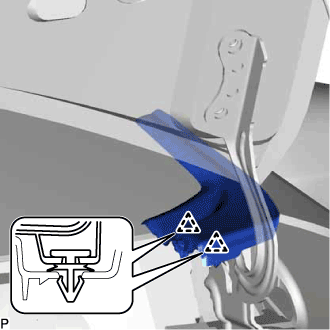 |
Disengage the 2 clips.
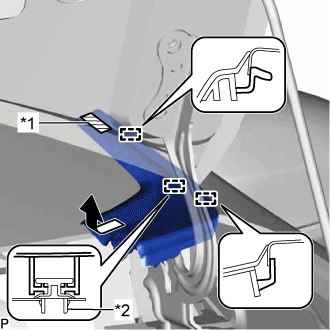 |
Separate the double-sided tape.
| *1 | Double-sided Tape |
| *2 | Clip |
Disengage the 3 guides, and remove the front fender to cowl side seal LH as shown in the illustration.
Disengage the clip from the vehicle.
| 5. REMOVE FRONT FENDER TO COWL SIDE SEAL RH |
| 6. REMOVE COWL TOP VENTILATOR LOUVER SUB-ASSEMBLY |
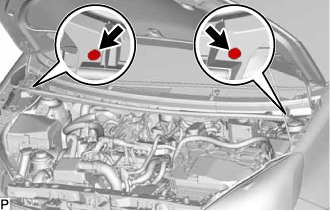 |
Remove the 2 clips.
Disconnect the washer hose.
Disengage the 5 claws and 3 guides as shown in the illustration.
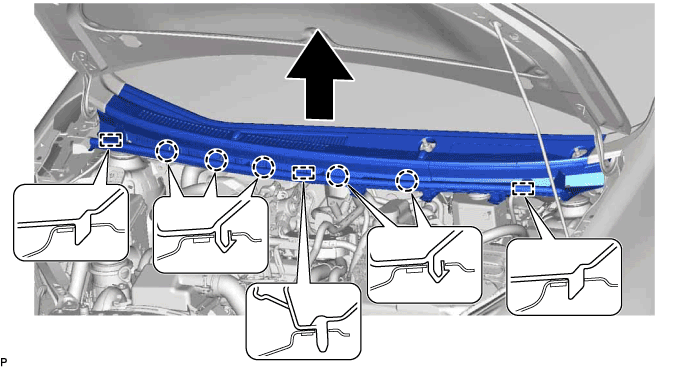
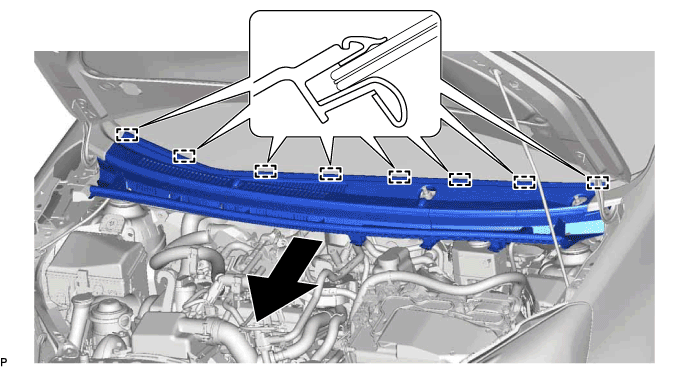
Disengage the 8 guides and pull out the cowl top ventilator louver sub-assembly as shown in the illustration.
| 7. REMOVE WASHER NOZZLE SUB-ASSEMBLY |
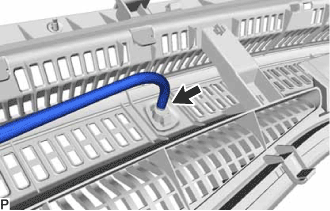 |
Disconnect the washer hose from the washer nozzle sub-assembly.
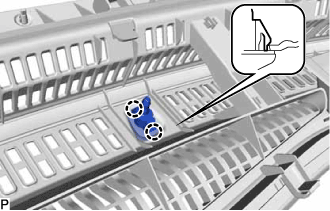 |
Disengage the 2 claws and remove the washer nozzle sub-assembly.