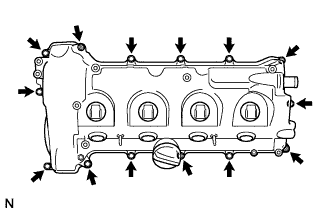
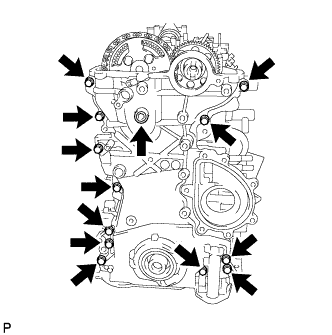
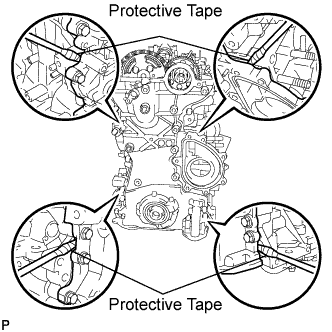
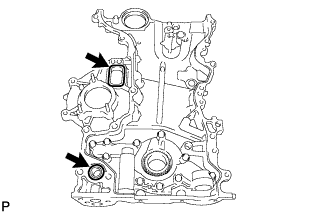
Remove the 2 nuts, 2 washers, 12 bolts, cylinder head cover and gasket.
5.
REMOVE OIL FILTER CAP ASSEMBLY
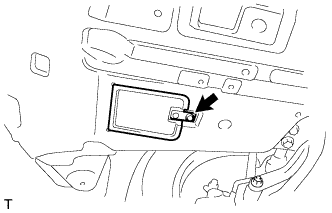
Remove the clip and open the oil filter element service cover.
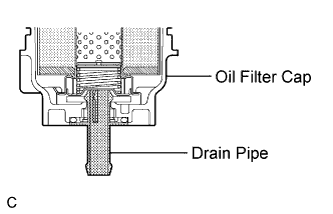
Remove the oil filter drain plug and O-ring, and then insert the drain pipe into the oil filter cap and drain the engine oil into a container.
HINT:
The drain pipe is supplied with the oil filter element.
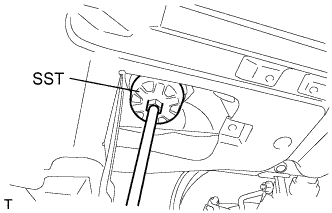
Using SST, remove the oil filter cap together with the oil filter element.
SST
09228-06501
6.
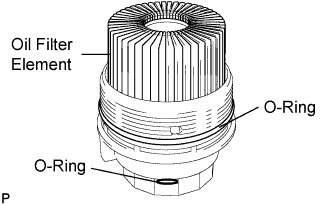
REMOVE OIL FILTER ELEMENT
Remove the oil filter element and 2 O-rings from the oil filter cap.
NOTICE:
Be sure to remove the O-ring (for the cap) by hand, without using any tools, to prevent damage to the groove for the O-ring on the cap.
7.
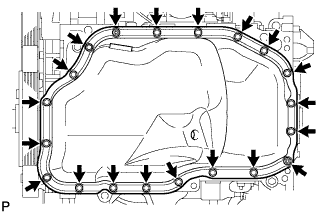
REMOVE NO. 2 OIL PAN SUB-ASSEMBLY
Remove the 18 bolts and 2 nuts.
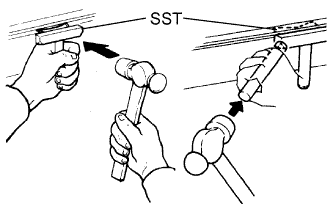
Insert the blade of SST between the oil pan and cylinder block, cut through the applied sealer and remove the oil pan.
SST
09032-00100
NOTICE:
Do not use SST for the timing belt case side and rear oil seal retainer.
Be careful not to damage the contact surfaces of the oil pan.
8.
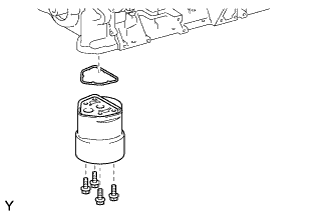
REMOVE OIL FILTER BRACKET
Remove the 4 bolts, oil filter bracket and gasket.
9.
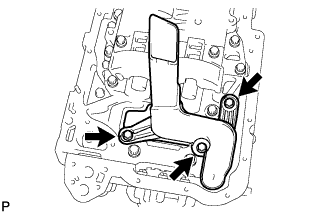
REMOVE OIL STRAINER SUB-ASSEMBLY
Remove the 3 bolts, oil strainer and O-ring.
10.
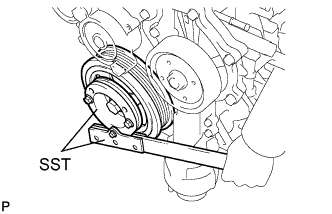
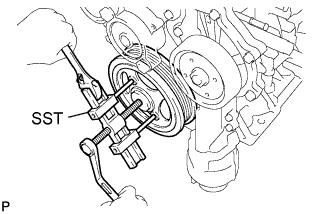
REMOVE CRANKSHAFT PULLEY
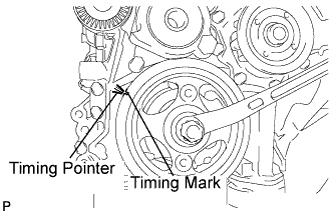
Set the No. 1 piston to the TDC/compression.
Turn the crankshaft pulley clockwise to align the timing pointer of the timing chain cover and timing mark on the pulley.
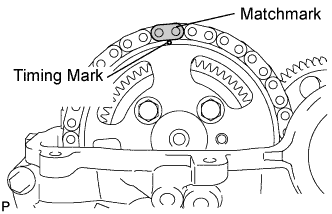
Make sure that the timing mark of the camshaft sprocket is at the top.
HINT:
If the timing mark is not at the top, turn the crankshaft pulley 1 revolution so that the timing mark comes to the top (Set the No. 1 piston to the TDC/compression).
Put a matchmark on the timing chain plate that is aligned with the matchmark of the cam sprocket.
HINT:
The timing chain has 2 yellow-colored plates. If either of them is aligned with the matchmarks of the cam sprocket, this step can be omitted.
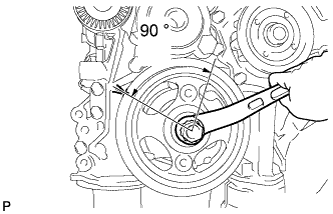
Turn the crankshaft by approximately 90° in the engine revolution direction at the point where the No. 1 piston is set to the TDC/compression so that the lifted valve and piston do not contact each other when removing the camshaft.