REMOVAL
Removal / installation · Vehicles built from Nov 2005
| 1.
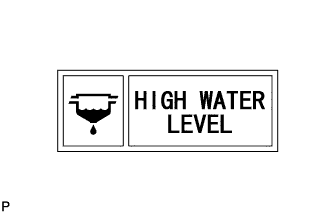
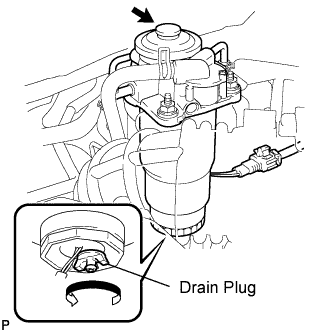
CHECK FUEL FILTER WARNING LIGHT
|
 |
- Check the fuel filter warning light.
- NOTICE:
- When the fuel filter warning light illuminates and the buzzer sounds, the water in the fuel filter must be drained immediately.
- Remove the drain plug and place a small tray to catch the water.
Operate the hand pump until only fuel begins to run out.
After draining, retighten the drain plug.
- NOTICE:
- Do not use any tools.
| 2.
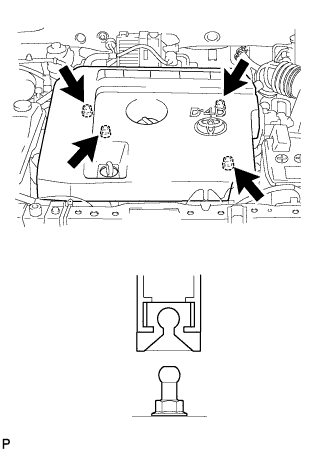
REMOVE NO. 1 ENGINE COVER
|
|
- Detach the 4 clips and remove the engine cover.
| 3.
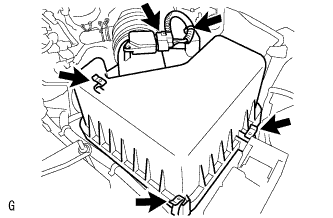
REMOVE AIR CLEANER CAP SUB-ASSEMBLY
|
|
- Disconnect the mass air flow meter connector.
Disconnect the wire harness clamp.
Unhook the 3 hook clamps, and then remove the air cleaner cap.
Remove the air cleaner filter element from the air cleaner case.
| 4.
REMOVE AIR CLEANER ASSEMBLY WITH ELEMENT
|
|
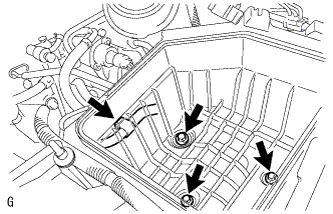
- Disconnect the wire harness clamp and remove the 3 bolts and air cleaner case.
| 5.
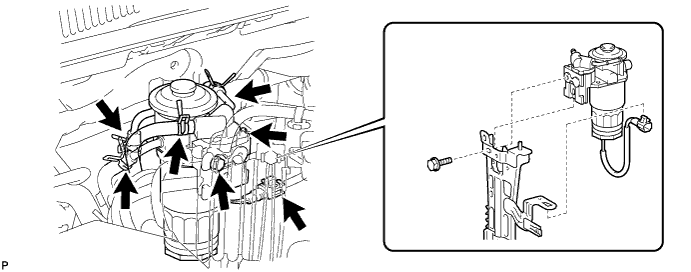
REMOVE FUEL FILTER ASSEMBLY |
|
Disconnect the level warning switch connector.
Disconnect the 4 hoses indicated in the illustration.
Remove the bolt and fuel filter.

| 6.
DRAIN FUEL |
|
- Loosen the drain bolt, and drain the fuel from the fuel filter.
| 7.
REMOVE LEVEL WARNING SWITCH |
|
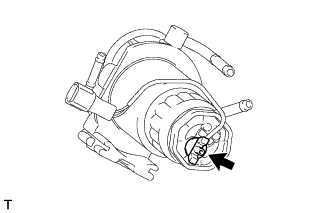
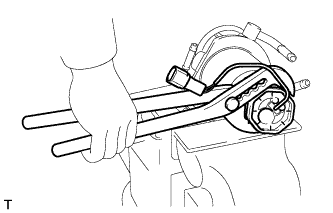
- Clamp the fuel filter in a vise.
- NOTICE:
- Be careful not to damage the fuel filter cap.
Using pliers, remove the fuel level warning switch.
- NOTICE:
- Be careful not to damage the level warning switch.
Remove the O-ring from the fuel level warning switch.
| 8.
REMOVE FUEL FILTER ELEMENT SUB-ASSEMBLY |
|
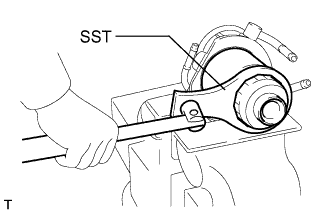
- Using SST, remove the fuel filter element.
- SST
- 09228-64030