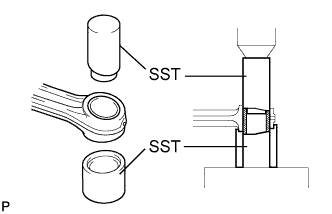
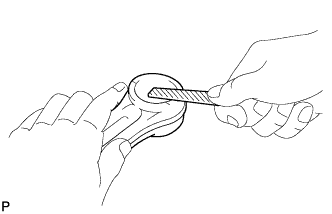
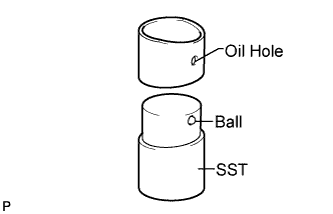
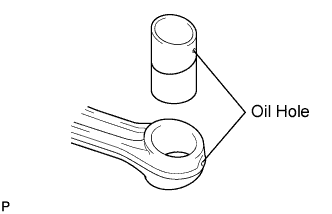
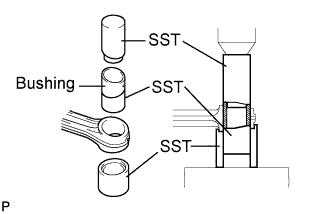
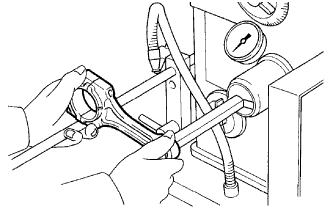
Using a pin hole grinder, hone the bush to obtain the standard specified clearance between the bush and piston pin.
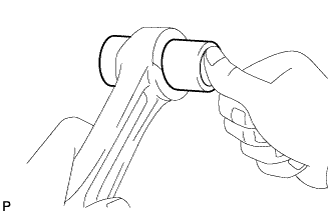
Check that the piston pin fits at normal room temperature.
Coat the piston pin with engine oil, and push it into the connecting rod with your thumb.
2.
REPLACE INTAKE VALVE GUIDE BUSH
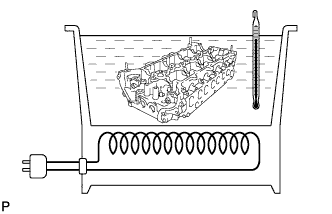
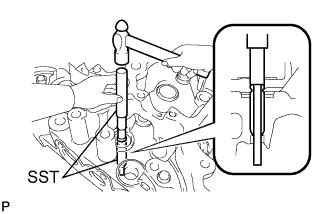
Gradually heat the cylinder head to approximately 80 to 100°C (176 to 212°F).
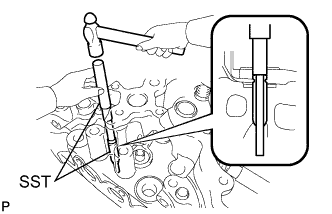
Using SST and a hammer, tap out the valve guide bush.
SST
09201-10000 09950-70010
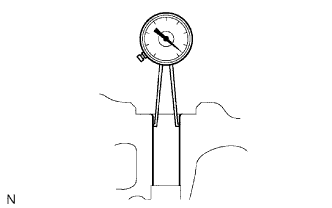
Using a caliper gauge, measure the bush bore diameter of the cylinder head.
Select a new guide bush (STD or O/S 0.05).
Bush bore diameter:
Bush size
Specified Condition
Use STD
10.985 to 11.006mm (0.4325 to 0.4333in.)
Use O/S 0.05
11.056 to 11.065 mm (0.4353 to 0.4356 in.)
HINT:
If the bush bore diameter of the cylinder head is greater than 11.006 mm (0.4333 in.), machine the bush bore diameter to between 11.056 and 11.065 mm (0.4353 to 0.4356 in.).
If the bush bore diameter of the cylinder head is greater than 11.065 mm (0.4356 in.), replace the cylinder head.
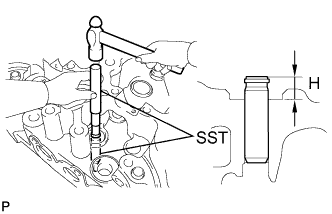
Gradually heat the cylinder head to approximately 80 to 100°C (176 to 212°F).
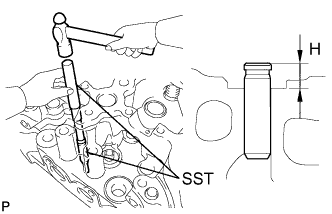
Using SST and a hammer, tap in a new guide bush to the specified protrusion height.
SST
09201-10000 09950-70010
Standard protrusion height (H):
9.0 to 9.4 mm (0.354 to 0.370 in.)
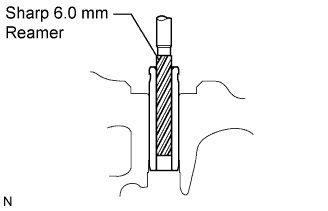
Using a sharp 6.0 mm reamer, ream the guide bush to obtain the standard specified clearance between the guide bush and valve stem.
3.
REPLACE EXHAUST VALVE GUIDE BUSH
Gradually heat the cylinder head to approximately 80 to 100°C (176 to 212°F).
Using SST and a hammer, tap out the valve guide bush.
SST
09201-10000 09950-70010
Using a caliper gauge, measure the bush bore diameter of the cylinder head.
Select a new guide bush (STD or O/S 0.05).
Standard bush bore diameter:
Bush Size
Specified Condition
Use STD
10.985 to 11.006mm (0.4325 to 0.4333 in.)
Use O/S 0.05
11.056 to 11.065 mm (0.4353 to 0.4356 in.)
HINT:
If the bush bore diameter of the cylinder head is greater than 11.006 mm (0.4333 in.), machine the bush bore diameter to between 11.056 and 11.065 mm (0.4353 to 0.4356 in.).
If the bush bore diameter of the cylinder head is greater than 11.065 mm (0.4356 in.), replace the cylinder head.
Gradually heat the cylinder head to approximately 80 to 100°C (176 to 212°F).
Using SST and a hammer, tap in a new guide bush to the specified protrusion height.
SST
09201-10000 09950-70010
Standard protrusion height (H):
9.0 to 9.4 mm (0.354 to 0.370 in.)
Using a sharp 6.0 mm reamer, ream the guide bush to obtain the standard specified clearance between the guide bush and valve stem.
4.
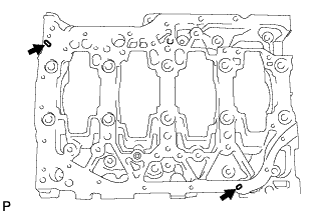
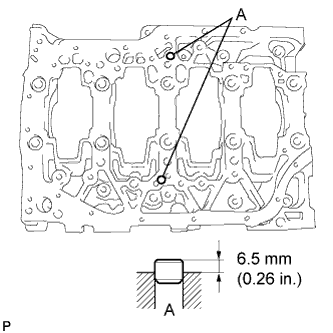
REPLACE CYLINDER BLOCK TIGHT PLUG
NOTICE:
If water leaks from the tight plug or the plug corrodes, replace it.
Remove the tight plugs.
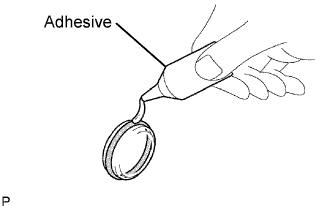
Apply adhesive around the tight plug.
Adhesive:
Toyota genuine adhesive 1324, three bond 1324 or equivalent
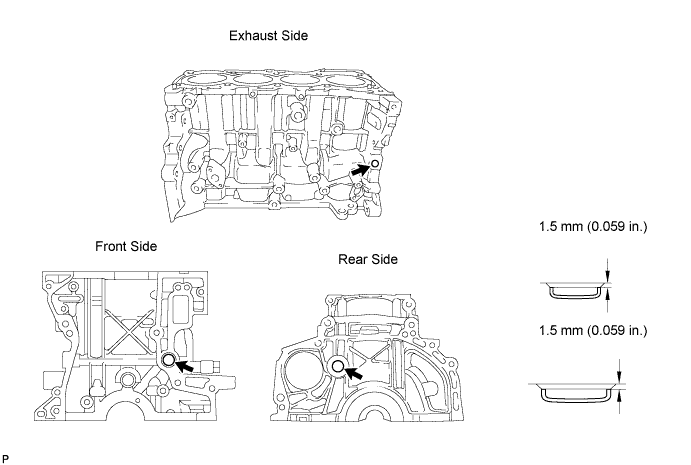
Using SST and a hammer, tap in 3 new tight plugs shown in the illustration.
SST
09950-60010 09950-70010
5.
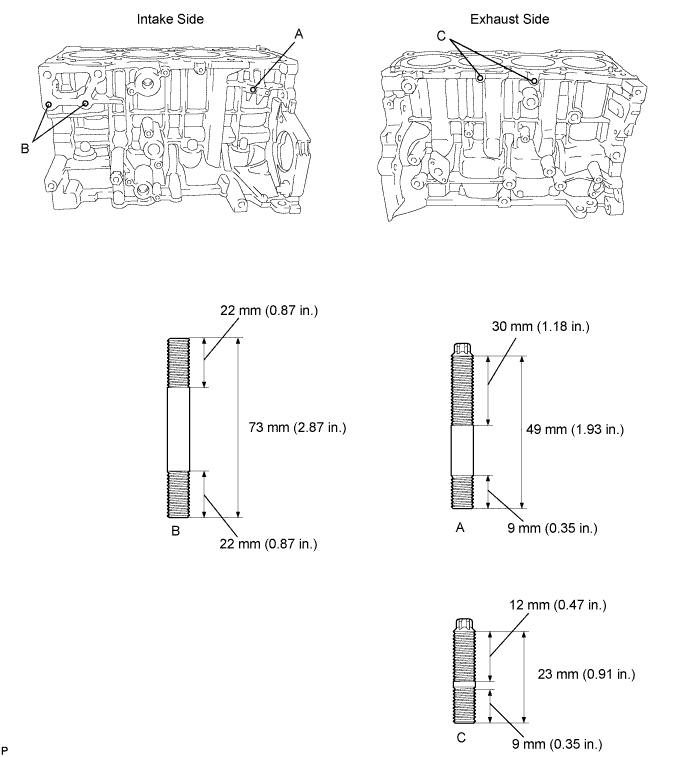
REPLACE CYLINDER BLOCK STUD BOLT
NOTICE:
If the stud bolt is deformed or the threads are damaged, replace it.
Remove the stud bolts.
Using an E5 "torx" socket wrench, install stud bolts A and C.
Torque:
3.0 N*m{
31 kgf*cm
, 27 in.*lbf
}
for bolt A
Torque:
2.0 N*m{
20 kgf*cm
, 18 in.*lbf
}
for bolt C
Apply adhesive to the hole for stud bolt B on the cylinder block. Install stud bolts B.
Torque:
20 N*m{
204 kgf*cm
, 15 ft.*lbf
}
Apply adhesive to the hole for the stud bolt on the cylinder block. Install the 2 stud bolts to the crankshaft bearing cap.
Torque:
5.0 N*m{
51 kgf*cm
, 44 in.*lbf
}
6.
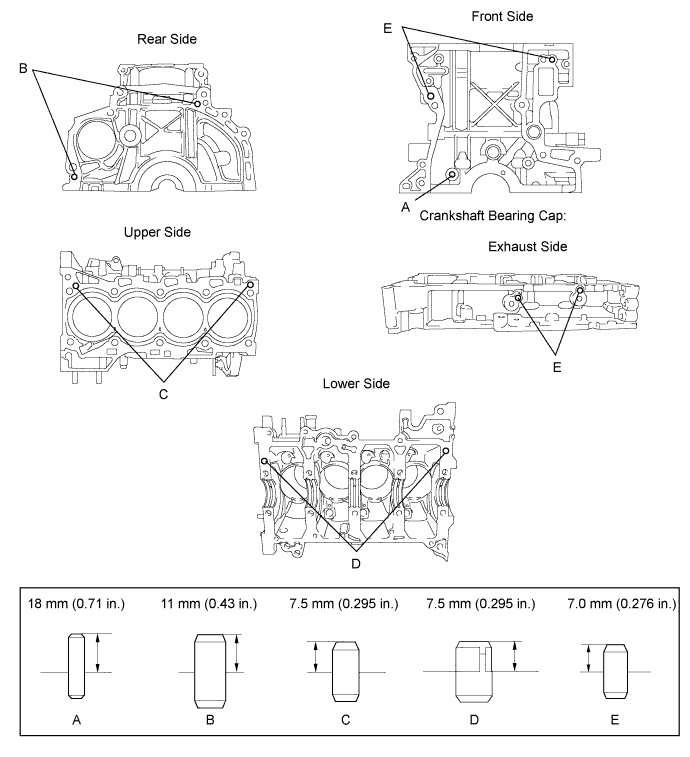
REPLACE CYLINDER BLOCK STRAIGHT PIN
NOTICE:
It is not necessary to remove with straight pin unless it is being replaced.
Remove the straight pin.
Using a plastic-faced hammer, tap in new straight pins to the cylinder block.
Using a plastic-faced hammer, tap in new ring pins to the crankshaft bearing cap.
7.
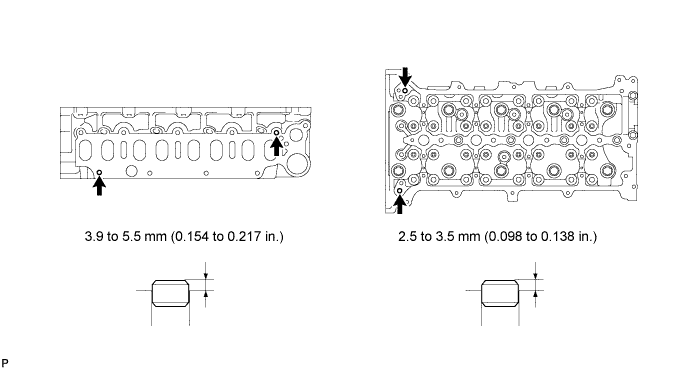
REPLACE CYLINDER HEAD RING PIN
NOTICE:
It is not necessary to remove the ring pin unless it is being replaced.
Remove the ring pins.
Using a plastic-faced hammer, tap in a new ring pin until the pin stops.
8.
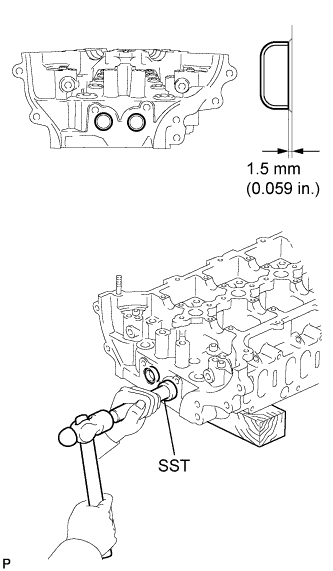
REPLACE CYLINDER HEAD TIGHT PLUG
NOTICE:
If water leaks from the tight plug or the plug corrodes, replace it.
Remove the tight plugs.
Apply adhesive to the tight plug hole of the cylinder head.
Adhesive:
Toyota genuine adhesive 1324, three bond 1324 or equivalent
Using SST, tap in a new tight plug to the cylinder head as shown in the illustration.
SST
09950-60010 09950-70010
9.
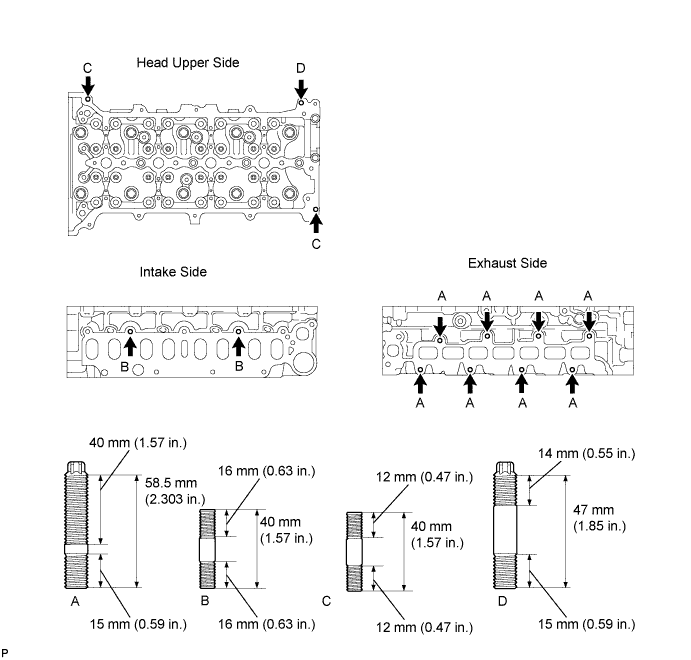
REPLACE CYLINDER HEAD STUD BOLT
NOTICE:
If the stud bolt is deformed or the threads are damaged, replace it.
Remove the stud bolts.
Using an E8 "torx" socket wrench, install the stud bolts.
Torque:
12 N*m{
122 kgf*cm
, 9 ft.*lbf
}
for stud bolt A and B