DISASSEMBLY
Removal / installation · Vehicles built from Nov 2005
| 1. INSPECT PACK CLEARANCE OF FORWARD CLUTCH |

Install the forward clutch on the oil pump.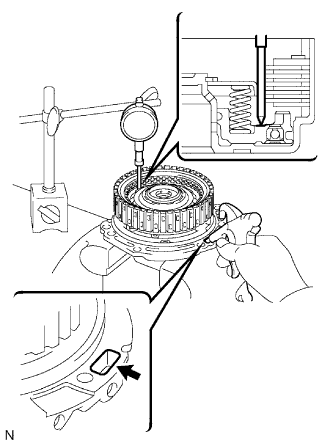

- NOTICE:
- Be careful not to damage the oil seal ring of oil pump.
Using a dial indicator, measure the forward clutch piston stroke while applying and releasing compressed air (392 kPa, 4.0 kgf/cm2, 57 psi).
- Standard piston stroke:
- 1.74 to 2.08 mm (0.0685 to 0.0819 in.)
If the clearance is not as specified, select another flange.- HINT:
- There are 5 different flanges in thickness.
- Standard flange thickness:
No.
Thickness
No.
Thickness
1
3.00 mm (0.1181 in.)
4
3.45 mm (0.1358 in.)
2
3.15 mm (0.1240 in.)
5
3.60 mm (0.1417 in.)
3
3.30 mm (0.1299 in.)
-
-
| 2. REMOVE FORWARD MULTIPLE DISC CLUTCH DISC |
Using a screwdriver, remove the snap ring.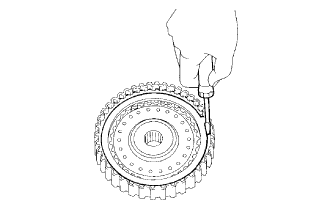
Remove the flange, 5 discs and 5 plates.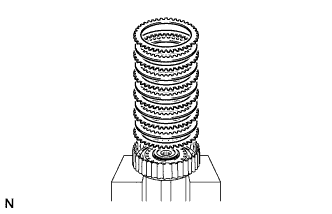
| 3. INSPECT FORWARD MULTIPLE DISC CLUTCH DISC |
Check to see if the sliding surface of the disc, plate and flange are worn or burnt.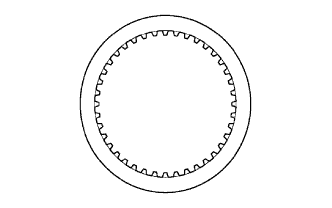
If necessary, replace them.- HINT:
- If the lining of the disc is peeling off or discolored, replace all discs.
- Before assembling new discs, soak them in ATF for at least 15 minutes.
- If the lining of the disc is peeling off or discolored, replace all discs.
| 4. REMOVE FORWARD CLUTCH RETURN SPRING SUB-ASSEMBLY |
Place SST on the spring retainer and compress the return spring with a press.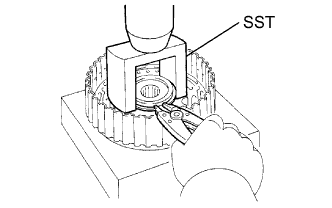
- SST
- 09350-32014
(09351-32070)
Using a snap ring expander, remove the snap ring.
Remove the piston return spring.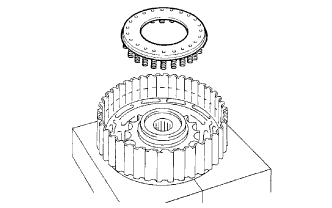
| 5. INSPECT FORWARD CLUTCH RETURN SPRING SUB-ASSEMBLY |
Using a vernier caliper, measure the free length of the spring together with the spring seat.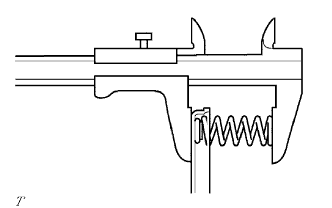
- Standard free length:
- 28.23 mm (1.1114 in.)
| 6. REMOVE FORWARD CLUTCH PISTON SUB-ASSEMBLY |
Place the forward clutch drum onto the oil pump.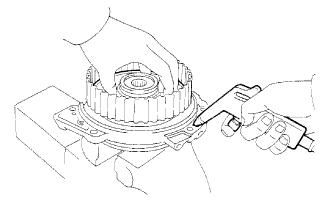
Holding the forward clutch piston with your hand, apply compressed air (392 kPa, 4.0 kgf/cm2, 57 psi) to the oil pump to remove the forward clutch piston.
- HINT:
- When the piston is slanted and cannot be removed, remove it by pushing down the protruding side and applying compressed air again, or using need-nose pliers (with its tips wrapped in tape).
| 7. REMOVE FORWARD CLUTCH PISTON O-RING |
Remove the 2 O-rings.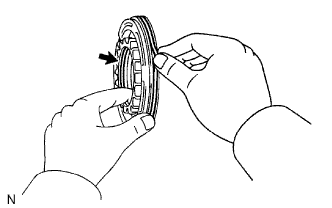
| 8. INSPECT FORWARD CLUTCH PISTON SUB-ASSEMBLY |
Shake the piston to check that the check ball is not stuck.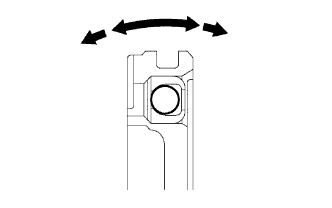
Check that the value does not leak when applying low compressed air (392 kPa, 4.0 kgf/cm2, 57 psi).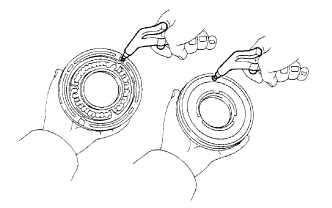
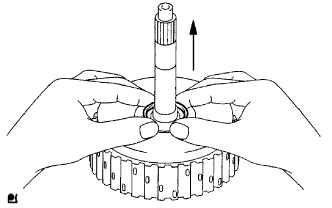
| 9. REMOVE INPUT SHAFT OIL SEAL RING |
 |