26.
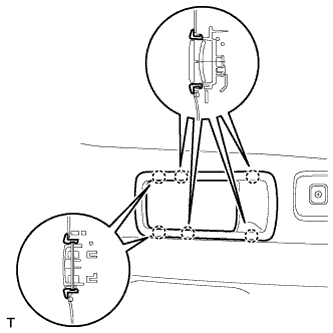
INSTALL RECLINING REMOTE CONTROL LEVER BEZEL LH
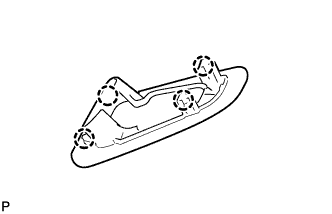
Attach the 6 claws to install the bezel.
27.
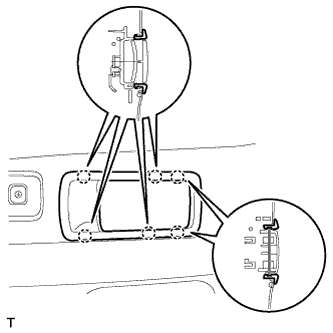
INSTALL RECLINING REMOTE CONTROL LEVER BEZEL RH
Attach the 6 claws to install the bezel.
28.
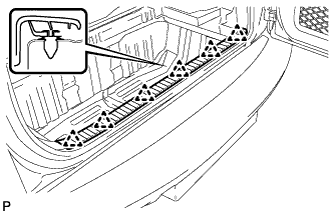
INSTALL REAR FLOOR FINISH PLATE
Attach the 6 clips to install the finish plate.
29.
INSTALL BACK DOOR WEATHERSTRIP
30.
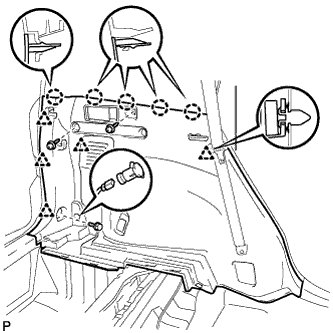
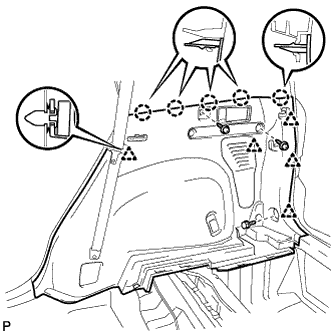
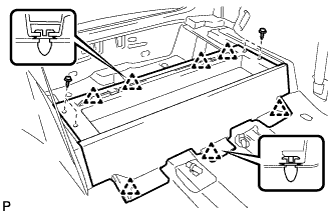
INSTALL REAR FLOOR NO. 1 MAT SUPPORT SIDE PLATE
Attach the 7 clips to install the side plate.
Install the 4 screws.
31.
INSTALL JACK CARRIER ASSEMBLY
Install the jack carrier with the 7 clips.
32.
INSTALL REAR FLOOR NO. 3 BOARD
33.
INSTALL REAR FLOOR NO. 2 BOARD
34.
INSTALL DECK BOARD ASSEMBLY
35.
INSTALL REAR FLOOR NO. 1 BOARD
36.
INSTALL TONNEAU COVER ASSEMBLY
37.
INSTALL PACKAGE TRAY TRIM POCKET SUB-ASSEMBLY
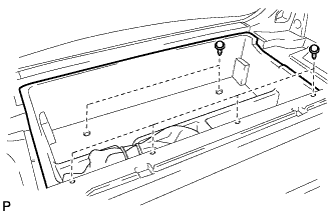
38.
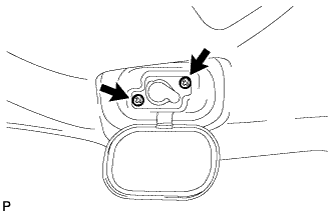
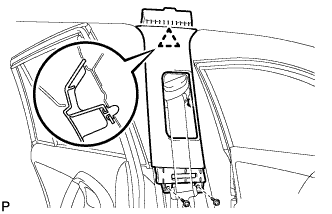
INSTALL CENTER PILLAR GARNISH LH
Attach the clip to install the garnish.
Install the 2 screws.
39.
INSTALL CENTER PILLAR GARNISH RH
HINT:
Use the same procedures described for the LH side.
40.
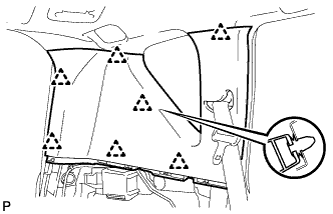
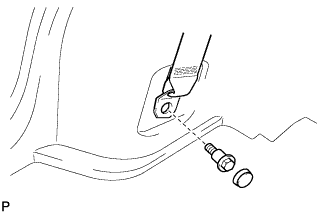
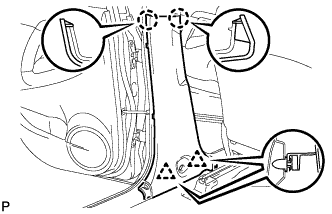
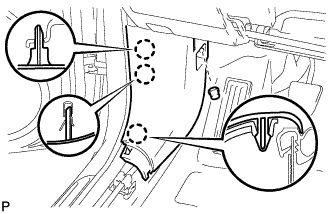
INSTALL LOWER CENTER PILLAR GARNISH LH
Attach the 2 claws and 2 clips to install the garnish.
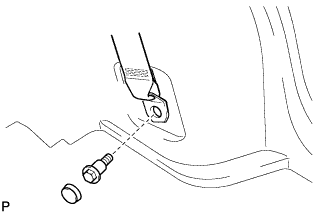
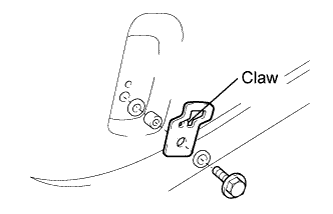
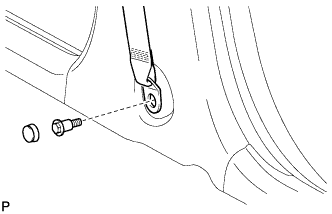
Connect the front seat outer belt's floor anchor.
Connect the floor anchor with the bolt.
Torque:
42 N*m{
428 kgf*cm
, 31 ft.*lbf
}
Install the anchor cover.
41.
INSTALL LOWER CENTER PILLAR GARNISH RH
HINT:
Use the same procedures described for the LH side.
42.
INSTALL REAR DOOR OPENING TRIM WEATHERSTRIP LH
43.
INSTALL REAR DOOR OPENING TRIM WEATHERSTRIP RH
44.
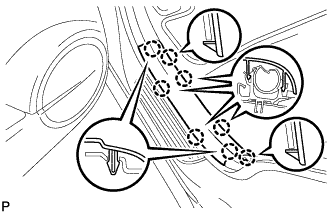
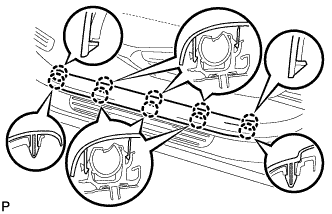
INSTALL REAR DOOR SCUFF PLATE LH
Attach the 8 claws to install the scuff plate.
45.
INSTALL REAR DOOR SCUFF PLATE RH
HINT:
Use the same procedures described for the LH side.
46.
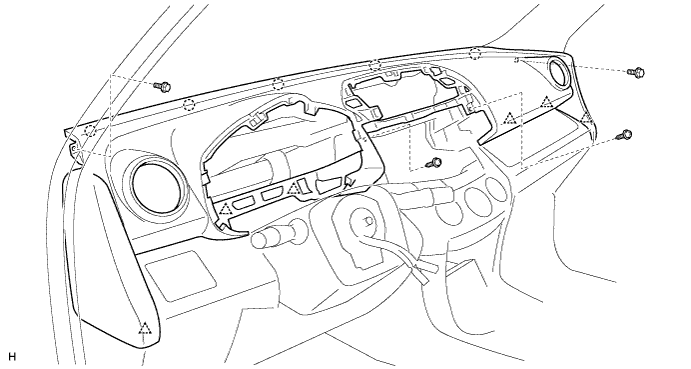
INSTALL INSTRUMENT PANEL SUB-ASSEMBLY
Attach the 6 clips and 5 claws to install the instrument panel.
Connect the connectors and clamps.
Install the 2 bolts and 2 screws.
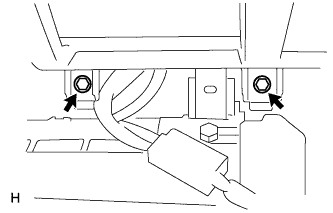
Connect the passenger airbag connector.
Install the 2 bolts to the passenger airbag.
Torque:
20 N*m{
204 kgf*cm
, 15 ft.*lbf
}
47.
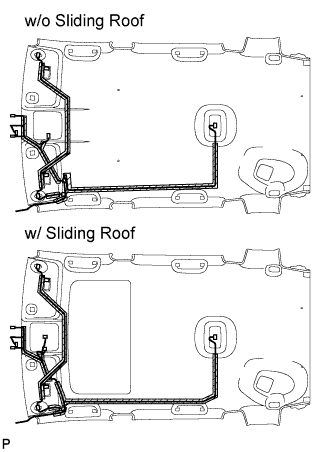
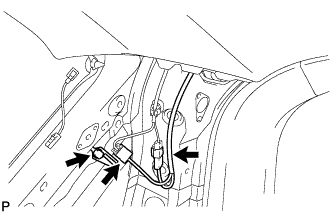
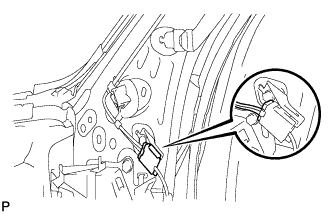
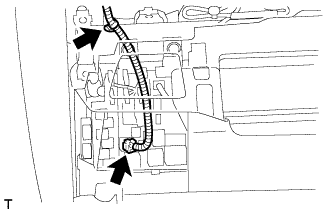
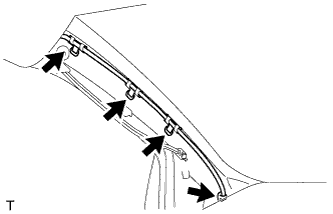
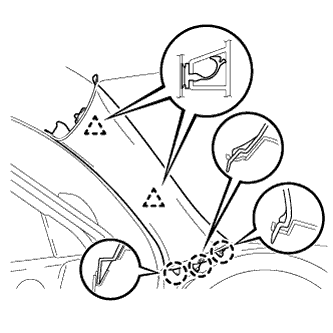
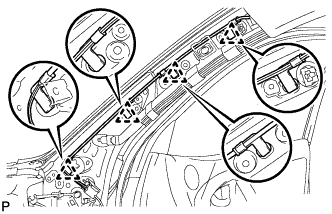
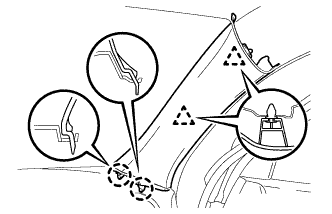
INSTALL FRONT PILLAR GARNISH LH
w/ Curtain Shield Airbag:
Remove the piece of cloth or nylon.
Install the 4 wire harness clamps.
w/ Curtain Shield Airbag:
Install 2 new clips to the front pillar garnish.
Attach the 3 claws and 2 clips to install the garnish.
w/o Curtain Shield Airbag:
Attach the 2 clips and 2 claws to install the garnish.
48.
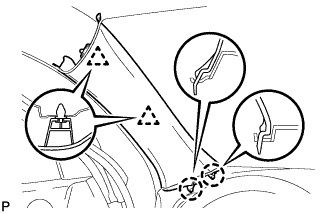
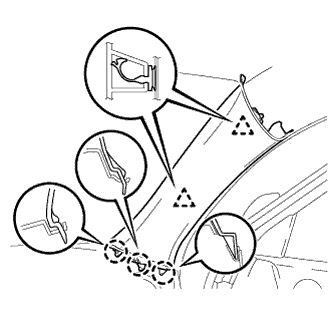
INSTALL FRONT PILLAR GARNISH RH
w/ Curtain Shield Airbag:
Remove the piece of cloth or nylon.
Install the 4 antenna cord clamps.
w/ Curtain Shield Airbag:
Install 2 new clips to the front pillar garnish.
Attach the 3 claws and 2 clips to install the garnish.
w/o Curtain Shield Airbag:
Attach the 2 clips and 2 claws to install the garnish.
49.
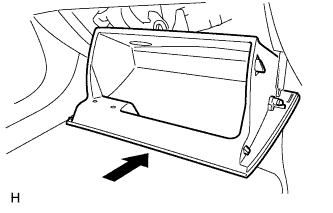
INSTALL GLOVE COMPARTMENT DOOR ASSEMBLY
Attach the 2 hinges to install the door.
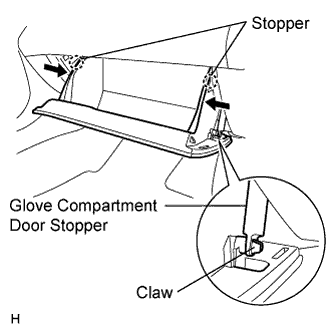
Attach the claw to the glove compartment door stopper.
While pushing in the sides of the glove compartment door as indicated by the arrows in the illustration, close the door to engage it to the 2 stoppers.
50.
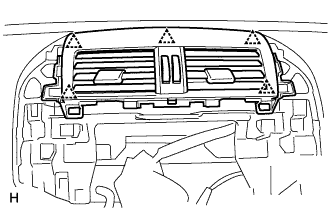
INSTALL INSTRUMENT PANEL REGISTER ASSEMBLY CENTER
Attach the 5 clips to install the instrument panel register.
51.
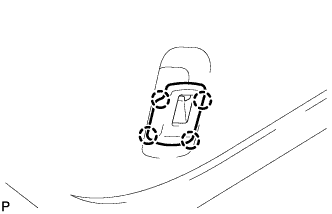
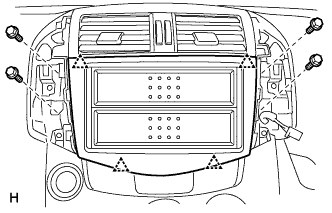
REMOVE STEREO OPENING COVER (w/o Radio Receiver)
Attach the 4 clips to install the stereo opening cover.
Install the 4 bolts.
52.
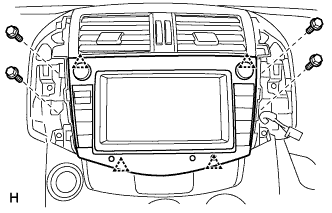
INSTALL RADIO RECEIVER (w/ Radio Receiver)
Connect the connectors.
Attach the 4 clips to install the radio receiver.
Install the 4 bolts.
53.
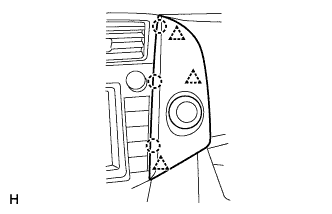
INSTALL NO. 2 INSTRUMENT CLUSTER FINISH PANEL CENTER
Connect the connector.
Attach the 3 clips and 3 claws to install the cluster finish panel.
54.
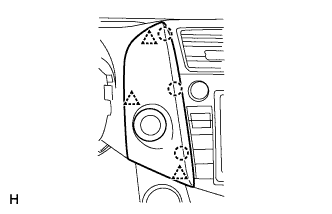
INSTALL NO. 1 INSTRUMENT CLUSTER FINISH PANEL CENTER
Connect the connector.
Attach the 3 clips and 3 claws to install the cluster finish panel.
55.
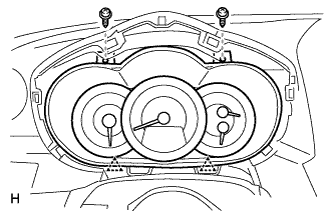
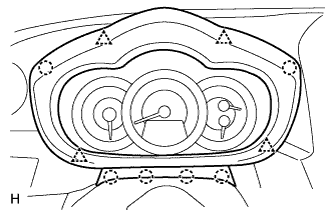
INSTALL COMBINATION METER ASSEMBLY
Connect the connector.
Attach the 2 clips to install the combination meter.