REASSEMBLY
Removal / installation · Vehicles built from Nov 2005
| 1. INSTALL CONTROL SHAFT COVER OIL SEAL |

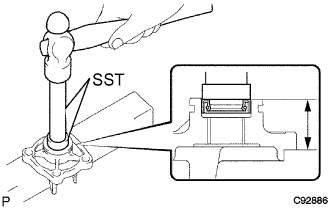  |
Using SST and a hammer, tap in a new control shaft cover oil seal to the control shaft cover.
- SST
- 09950-60010
(09951-00280)
09950-70010 (09951-07100)
- Standard depth:
- 28.5 +-0.50 mm (1.222 +-0.020 in.)
| 2. INSTALL SHIFT AND SELECT LEVER SHAFT DUST BOOT |
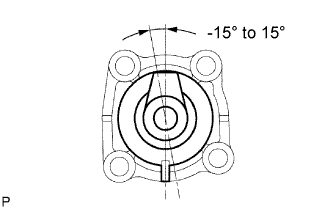 |
Install the shift and select lever shaft dust boot to the control shaft cover.
- HINT:
- It is acceptable for the dust boot to be tilted +15° to -15°.
| 3. INSTALL NO. 1 SELECT SPRING SEAT SHAFT SNAP RING |
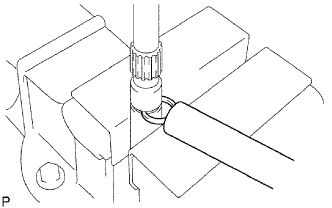 |
Using a brass bar and hammer, tap in the shaft snap ring.
| 4. REMOVE NO. 1 SHIFT LEVER INNER |
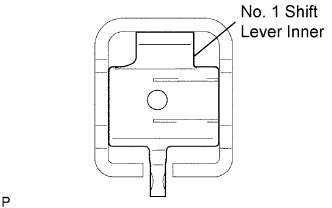 |
Coat the No. 1 shift lever inner and shift inter lock plate with MP grease, and install them.
| 5. INSTALL SHIFT INTER LOCK PLATE COVER |
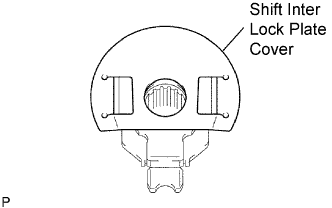 |
Install the shift inter lock plate cover to the shift inter lock plate.
| 6. INSTALL NO. 1 SELECT SPRING SEAT |
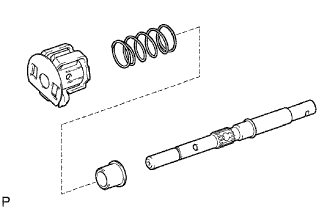 |
Coat the No. 1 select spring seat with MP grease, and install it.
Install the No. 1 select return compression spring and shift inter lock plate assembly to the shift and select lever shaft.
Hold the shift and select lever shaft in a vise with soft jaws.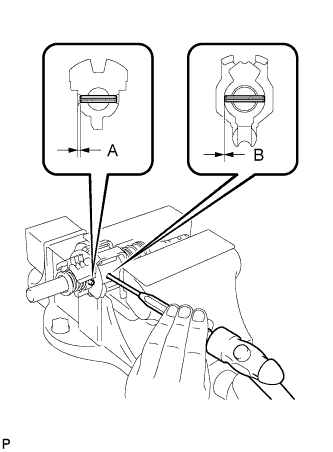
Using a 5 mm pin punch and a hammer, install the 2 shift lever inner slotted pins to the shift and select lever shaft.
- Clearance A:
- 0.7 to 1.7 mm (0.0276 to 0.0669 in.)
- Clearance B:
- -0.4 to 0.5 mm (-0.0157 to 0.236 in.)
| 7. INSTALL NO. 2 SHIFT LEVER INNER |
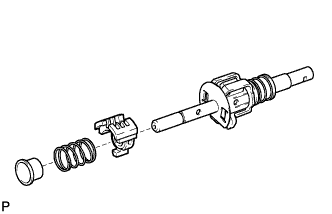 |
Install the No. 2 shift lever inner and No. 2 select return compression spring to the shift and select lever shaft.
Coat the select spring seat No. 2 with MP grease, and install it to the shift and select lever shaft.
Using a brass bar and hammer, tap in the No. 2 select spring seat shaft snap ring to the shift and select lever shaft.
Install the transaxle oil baffle. Using a 5 mm pin punch and hammer, tap in the No. 2 shift lever inner slotted pin to the shift and select lever shaft.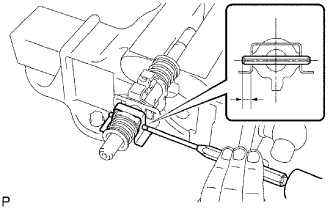
- Standard clearance:
- 0.7 to 0.17 mm (0.0276 to 0.0067 in.)
| 8. INSTALL NO. 2 SELECTING BELLCRANK BUSH |
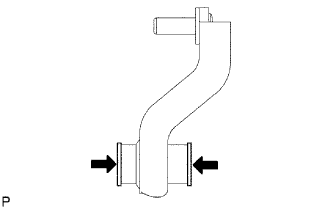 |
Coat the bushes with MP grease, and install them to the No. 2 selecting bellcrank.
| 9. INSTALL NO. 2 SELECTING BELLCRANK DUST COVER |
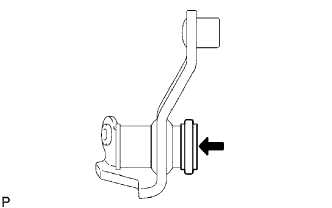 |
Coat the dust cover with MP grease, and install it to the No. 2 selecting bellcrank.
| 10. INSTALL SELECTING BELLCRANK SUPPORT SUB-ASSEMBLY |
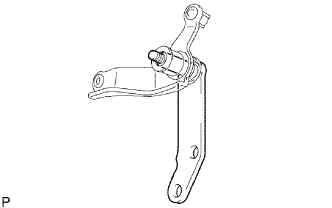 |
Install the selecting bellcrank support to the No. 2 selecting bellcrank.
Install the No. 2 selecting bellcrank plate washer, wave washer and nut.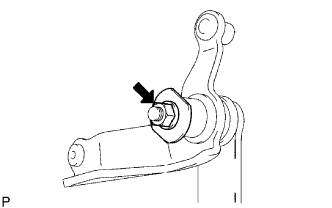
- Torque:
- 12 N*m{ 120 kgf*cm , 9 ft.*lbf }
| 11. INSTALL NO. 1 SELECTING BELLCRANK DUST COVER |
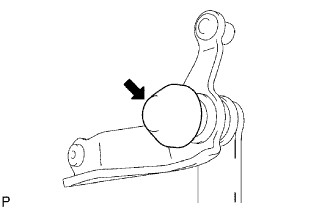 |
Install the dust cover to the No. 2 selecting bellcrank.
| 12. INSTALL SHIFT AND SELECT LEVER BUSH |
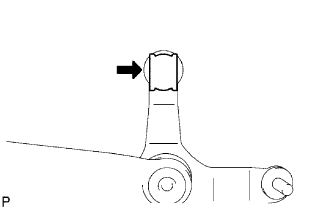 |
Install the bush to the No. 2 selecting bellcrank.