Removal / installation · Vehicles built from Aug 2007
1.
REMOVE FRONT WHEEL RH
2.
REMOVE NO. 1 ENGINE UNDER COVER
Remove the 2 bolts, 4 screw, 10 clips and under cover.
3.
REMOVE ENGINE UNDER COVER REAR RH
Remove the 2 clips and under cover.
4.
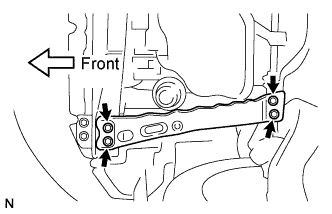
REMOVE FRONT SUSPENSION MEMBER REINFORCEMENT RH
Remove the 4 bolts and reinforcement.
5.
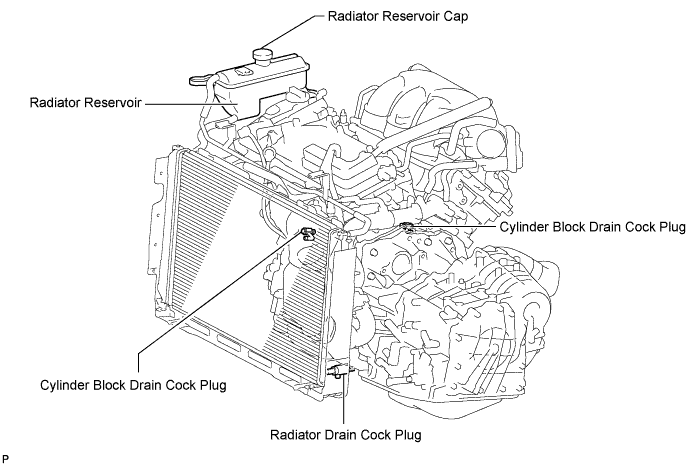
DRAIN ENGINE COOLANT
Loosen the radiator drain cock plug.
HINT:
Collect the coolant in a container and dispose of it according to the regulations in your area.
Remove the radiator reservoir cap.
CAUTION:
Do not remove the radiator reservoir cap while the engine and radiator are still hot. Pressurized, hot engine coolant and steam may be released and cause serious burns.
Loosen the 2 cylinder block drain cock plugs.
6.
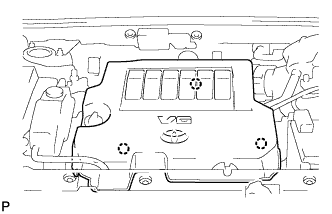
REMOVE V-BANK COVER SUB-ASSEMBLY
Detach the 3 clips and remove the V-bank cover.
7.
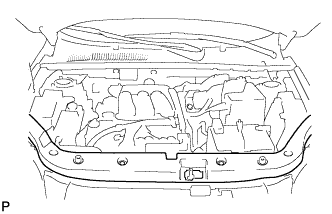
REMOVE RADIATOR SUPPORT OPENING COVER
Remove the 9 clips and cover.
8.
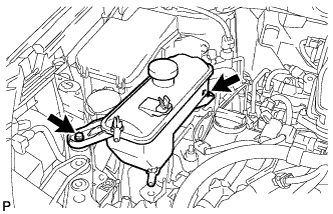
DISCONNECT RADIATOR RESERVOIR TANK
Remove the 2 bolts and disconnect the radiator reservoir tank.
9.
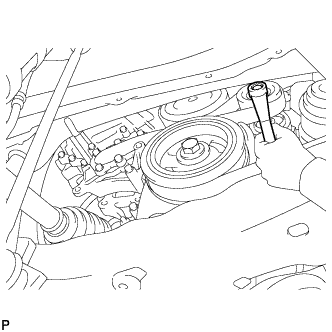
REMOVE FAN AND GENERATOR V BELT
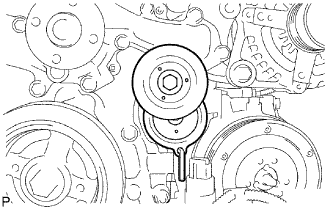
Rotate the tensioner pulley counterclockwise to loosen the belt tension. Then remove the V-ribbed belt.
While turning the belt tensioner counterclockwise, align its holes, and then insert a 5 mm bi-hexagon wrench into the holes to fix the V-ribbed belt tensioner in place.
10.
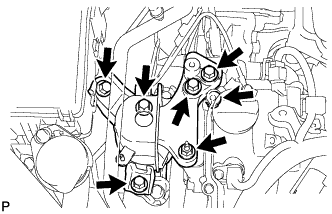
REMOVE ENGINE MOUNTING INSULATOR RH
Remove the 5 bolts, 2 nuts and engine mounting insulator RH.
11.
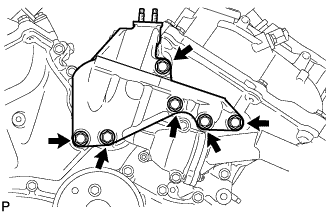
REMOVE FRONT NO. 1 ENGINE MOUNTING BRACKET LH
Remove the 6 bolts and front NO. 1 engine mounting bracket LH.
12.
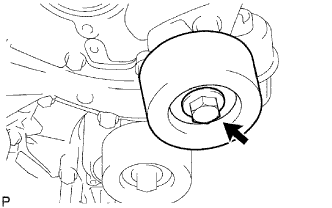
REMOVE NO. 2 IDLER PULLEY SUB-ASSEMBLY
Remove the bolt, No. 2 idler pulley cover plate and No. 2 idler pulley.
13.
DISCONNECT NO. 1 RADIATOR HOSE
14.
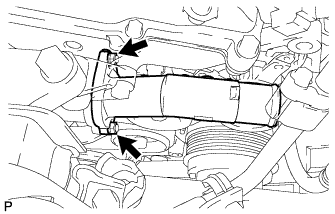
REMOVE WATER INLET
Remove the 2 nuts and remove the water inlet from the water inlet housing.