Home › BODY › EXTERIOR › OUTSIDE MOULDING

OUTSIDE MOULDING > INSTALLATION

for Preparation Click here


HINT:
  1. Use the same procedures for the RH side and LH side.
  2. The procedures listed below are for the LH side.
  3. When installing the moulding, heat the vehicle body and moulding using a heat light.

    Standard:
    Item
    Temperature
    Vehicle body
    40 to 60°C (104 to 140°F)
    Moulding
    20 to 30°C (68 to 86°F)

    NOTICE:
    Do not heat the vehicle body and moulding excessively.


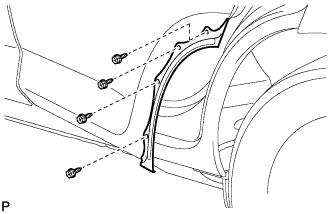
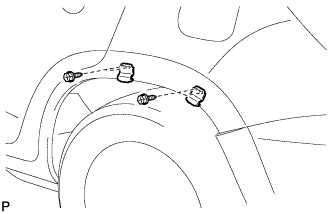
1. INSTALL NO. 1 ROCKER PANEL MOULDING RETAINER


    B133715
  1. Install the 2 retainers with the 4 screws.


2. INSTALL QUARTER OPENING RETAINER LH


    B133714
  1. Install the retainer with the 4 screws.


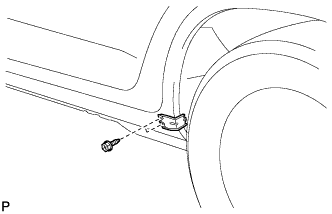
3. INSTALL NO. 2 ROCKER PANEL MOULDING RETAINER


    B133713
  1. Install the retainer with the 2 screws.


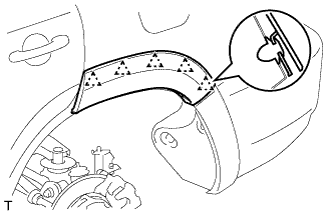
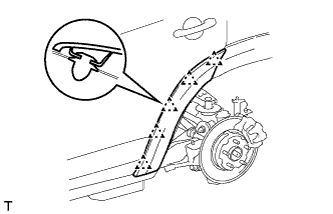
4. INSTALL REAR QUARTER OUTSIDE MOULDING LH


    B136805
  1. Attach the 5 clips to install the moulding.
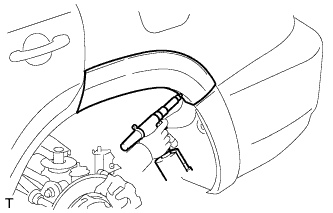


    B133709
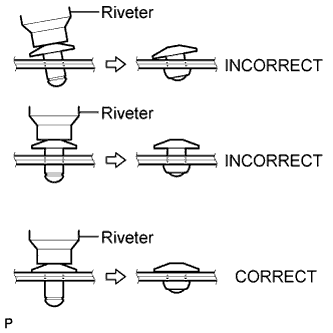
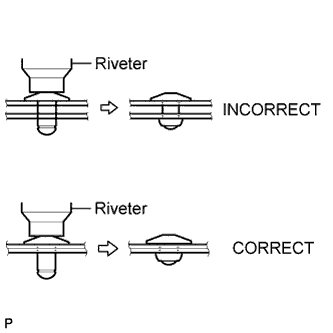
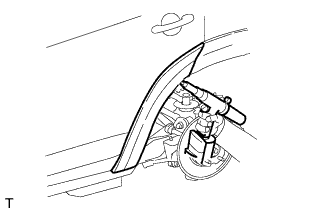
  1. Using an air riveter or hand riveter with a nose piece, strike 2 rivets to the vehicle to install the rear quarter outside moulding to the vehicle.
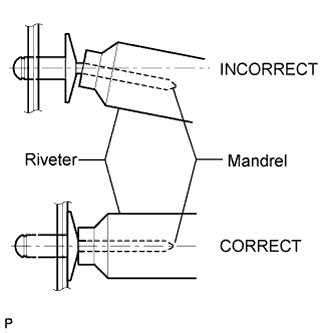
    NOTICE:
    1. If the rivet is not positioned perpendicularly, it will bend the mandrel.

    2. B171664E02
      Do not pry the rivet with the riveter, as this will cause damage to the riveter and mandrel.

    3. B172390E02
      Confirm that the rivets are seated properly against the moulding.
    4. Do not tilt the riveter when installing the rivet to the moulding.
    5. Do not leave any space between the rivet head and moulding.

    6. B172391E02
      Do not leave any space between the moulding and quarter panel. Firmly hold together the 2 items while installing the rivet.


5. INSTALL NO. 1 REAR WHEEL OPENING EXTENSION LH


    B136804
    B133205
  1. Attach the 5 clips to install the extension.
    Using an air riveter or hand riveter with a nose piece, strike 2 rivets to the vehicle to install the rear wheel opening extension to the vehicle.

    NOTICE:
    1. If the rivet is not positioned perpendicularly, it will bend the mandrel.

    2. B171664E02
      Do not pry the rivet with the riveter, as this will cause damage to the riveter and mandrel.

    3. B172390E02
      Confirm that the rivets are seated properly against the moulding.
    4. Do not tilt the riveter when installing the rivet to the moulding.
    5. Do not leave any space between the rivet head and moulding.

    6. B172391E02
      Do not leave any space between the moulding and door panel. Firmly hold together the 2 items while installing the rivet.


6. INSTALL NO. 2 REAR WHEEL OPENING EXTENSION LH
  1. Attach the 2 claws to install the extension.
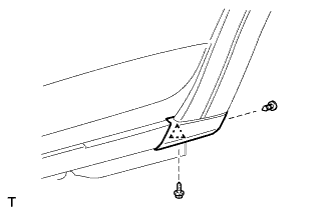


    B136808
  1. Install the screw.


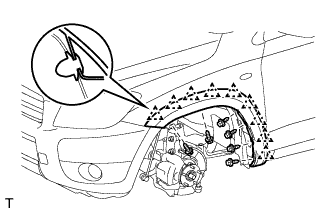
7. INSTALL FRONT FENDER MOULDING SUB-ASSEMBLY LH


    B136809
  1. Attach the 9 clips to install the extension

  1. Install the 4 screws and 2 clip.