SPEED SENSOR > INSTALLATION |
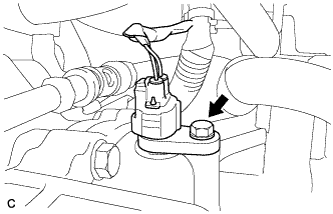
| 1. INSTALL TRANSMISSION REVOLUTION SENSOR (NOUT) |
|
Coat a new O-ring with CVT fluid TC and install it to the transmission revolution sensor.
Install the transmission revolution sensor with the bolt.
Connect the transmission revolution sensor connector.
| 2. INSTALL TRANSMISSION REVOLUTION SENSOR (NIN) |
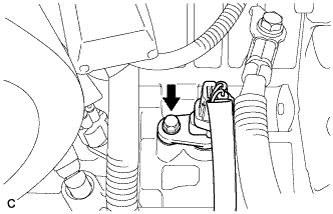 |
Coat a new O-ring with CVT fluid TC and install it to the transmission revolution sensor.
Install the transmission revolution sensor with the bolt.
Connect the transmission revolution sensor connector.
| 3. INSTALL TRANSMISSION REVOLUTION SENSOR (NT) |
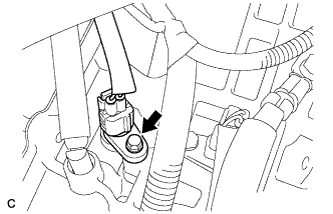 |
Coat a new O-ring with CVT fluid TC and install it to the transmission revolution sensor.
Install the transmission revolution sensor with the bolt.
Connect the transmission revolution sensor connector.
| 4. INSTALL AIR CLEANER CASE SUB-ASSEMBLY |
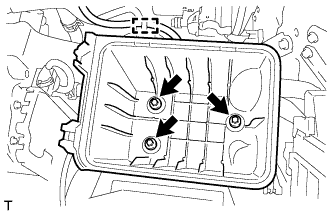 |
Install the air cleaner case with the 3 bolts.
Attach the wire harness clamp to the air cleaner case.
| 5. INSTALL AIR CLEANER CAP AND HOSE |
Install the air cleaner filter element onto the air cleaner case.
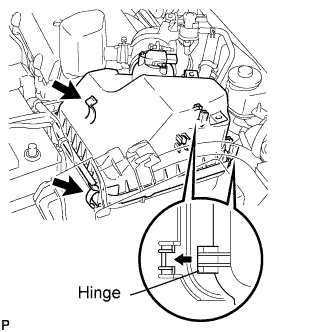 |
Insert the hinge part of the air cleaner cap into the air cleaner case, then hang the 2 hook clamps.
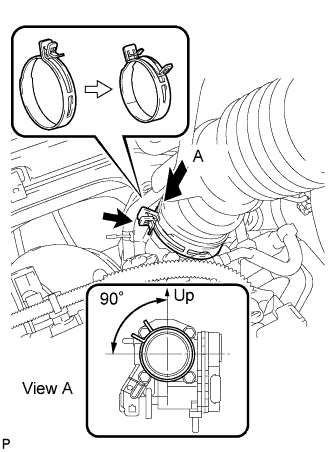 |
Align the matchmarks of the No. 1 air cleaner hose and throttle body, and then connect the air cleaner hose No. 1 to the throttle body and unfasten the No. 1 air cleaner hose clamp.
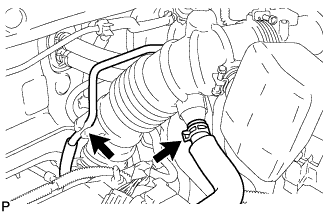 |
Connect the purge line hose to the clamp.
Connect the No. 2 ventilation hose to the air cleaner hose.
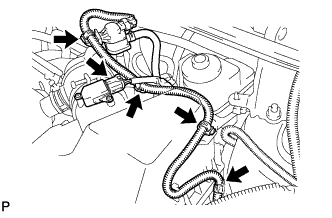 |
Connect the 4 wire harness clamps.
Connect the mass air flow meter connector.
| 6. INSTALL NO. 2 CYLINDER HEAD COVER |
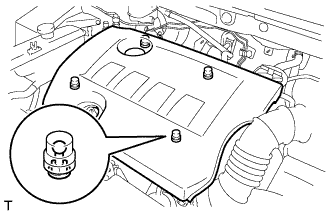 |
Attach the 4 clips to install the cover.