GENERATOR > DISASSEMBLY |
| 1. REMOVE GENERATOR PULLEY |
|
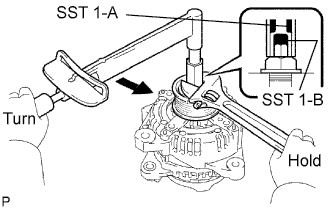
Tighten SST 1-B to the specified torque, and then fix SST 1-A on the generator rotor shaft.
| Item | Part No. |
| SST 1-A and B | 09820-06010 |
| SST 2 | 09820-06021 |
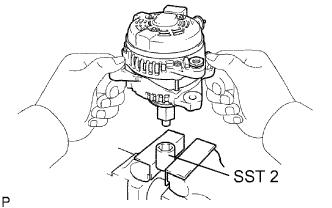 |
Clamp SST 2 in a vise.
Insert SST 1-A and B into SST 2, and then fix the generator pulley nut into SST 2.
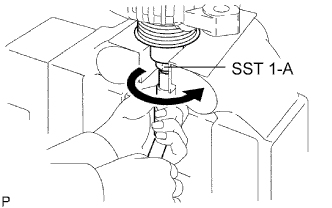 |
Turn SST 1-A in the direction shown, and then loosen the generator pulley nut.
Remove the generator from SST 2.
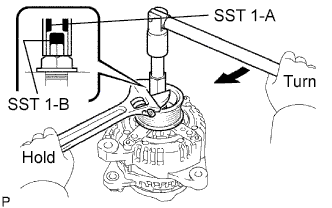 |
Fix SST 1-B in place, and then loosen SST 1-A in the direction shown. Remove SST 1-A and B from the generator.
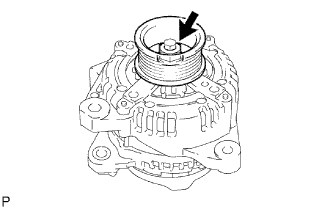 |
Remove the generator pulley nut and generator pulley.
| 2. REMOVE GENERATOR BRUSH HOLDER ASSEMBLY |
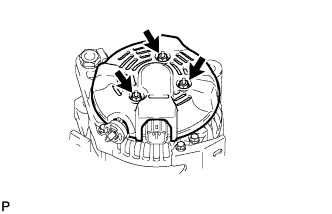 |
Remove the 3 nuts and generator rear end cover.
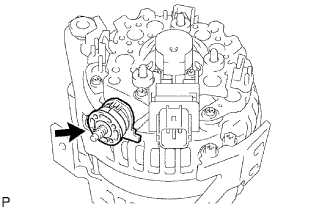 |
Remove the terminal insulator.
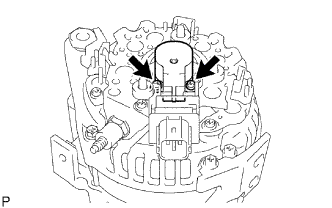 |
Remove the 2 screws and generator brush holder.
| 3. REMOVE GENERATOR ROTOR ASSEMBLY |
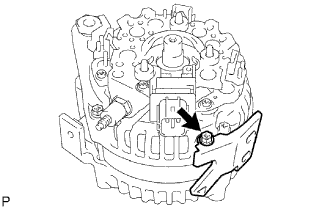 |
Remove the bolt and cord clip.
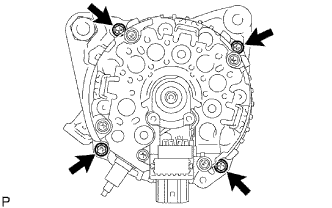 |
Remove the 4 bolts.
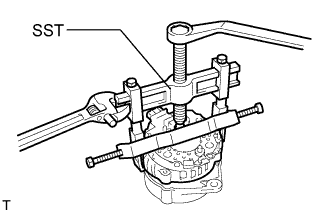 |
Using SST, remove the coil.
Remove the generator rotor from the generator.
Remove the washer.