SLIDING ROOF HOUSING > DISASSEMBLY |
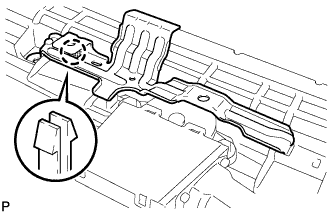
| 1. REMOVE SLIDING ROOF DRIVE GEAR SUB-ASSEMBLY |
|
Remove the claw and room light bracket.
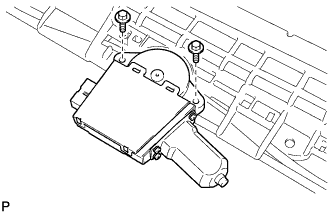 |
Remove the 2 bolts and drive gear.
| 2. REMOVE SLIDING ROOF DRAIN HOSE JOINT LH |
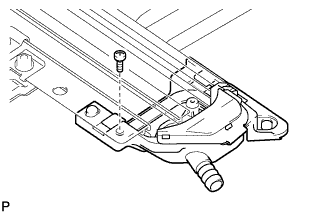 |
Remove the screw and joint.
| 3. REMOVE SLIDING ROOF DRAIN HOSE JOINT RH |
| 4. REMOVE SUNSHADE TRIM SUB-ASSEMBLY |
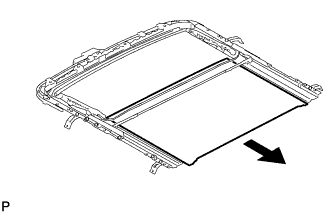 |
Slide and remove the sunshade trim.
| 5. REMOVE REAR ROOF DRIP CHANNEL |
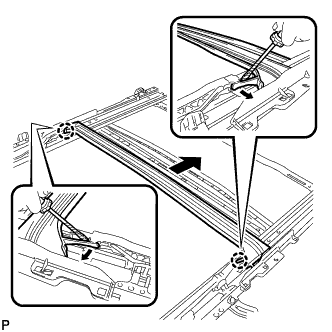 |
Using a screwdriver, detach the 2 claws. Then slide the rear roof drip channel rearward to remove it.
| 6. REMOVE SLIDING ROOF DRIVE CABLE |
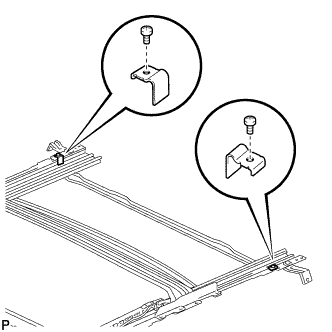 |
Remove the 2 screws and 2 sliding roof side stoppers.
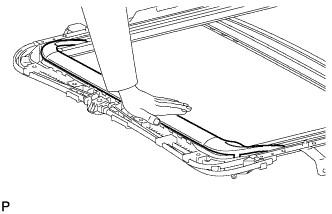 |
Hold down the roof wind deflector panel sub-assembly.
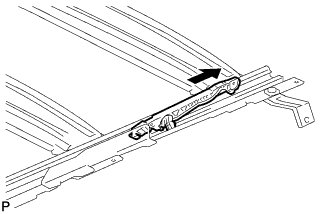 |
Using a screwdriver, slide the drive cables backward and remove them.
| 7. REMOVE ROOF WIND DEFLECTOR PANEL SUB-ASSEMBLY |
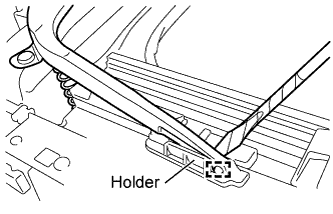 |
Using a screwdriver, detach the 2 pins. Then remove the roof wind deflector panel sub-assembly.