 |
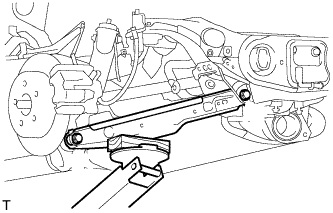
Support the No. 2 suspension arm LH with a jack.
- NOTICE:
- Place a wooden or rubber block between the jack and arm.
REAR NO. 1 SUSPENSION ARM > REMOVAL |
| 1. REMOVE REAR WHEEL |
| 2. REMOVE REAR SHOCK ABSORBER ASSEMBLY LH |
|
Support the No. 2 suspension arm LH with a jack.
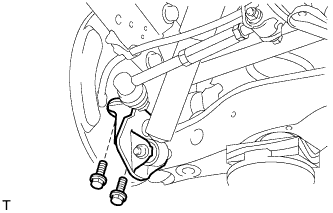 |
Remove the 2 bolts and disconnect the shock absorber with the bracket.
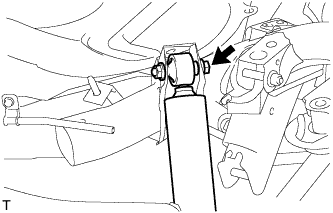 |
Remove the nut and bolt from the shock absorber upper side.
Remove the shock absorber from the vehicle.
Remove the nut and bolt from the bracket.
| 3. REMOVE REAR NO. 1 SUSPENSION ARM ASSEMBLY LH |
|
Support the No. 2 suspension arm LH.
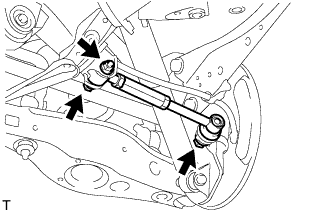 |
Remove the bolt and 2 nuts from the suspension member and axle carrier.
Using SST, disconnect the suspension arm from the axle carrier.