 |
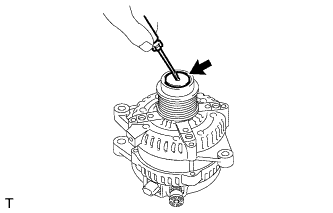
Using a screwdriver, puncture the center of the generator pulley cap and pry it off.
- NOTICE:
- Do not reuse the generator pulley cap.
GENERATOR > DISASSEMBLY |
| 1. REMOVE GENERATOR PULLEY CAP |
|
Using a screwdriver, puncture the center of the generator pulley cap and pry it off.
| 2. REMOVE GENERATOR PULLEY WITH CLUTCH |
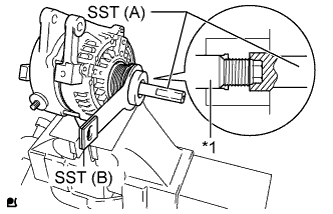 |
Mount the generator in a vise between aluminum plates.
Install SST (A) and (B) to the pulley as shown in the illustration.
| *1 | Rotor Shaft |
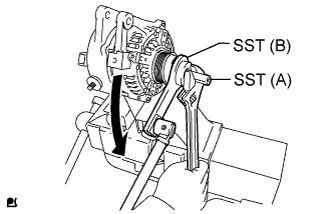 |
Using a wrench to hold SST (A), and turn SST (B) counterclockwise to loosen the generator pulley with clutch.
Remove the SST from generator.
Remove the generator pulley with clutch from the rotor shaft.
| 3. REMOVE GENERATOR REAR END COVER |
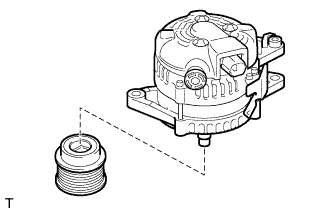 |
Place the generator on the generator pulley with clutch.
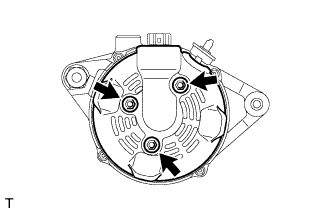 |
Remove the 3 nuts and generator rear end cover.
| 4. REMOVE TERMINAL INSULATOR |
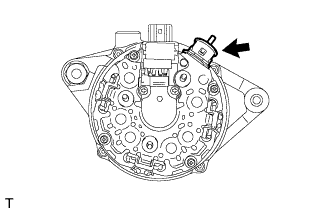 |
Remove the terminal insulator from the generator coil.
| 5. REMOVE GENERATOR BRUSH HOLDER ASSEMBLY |
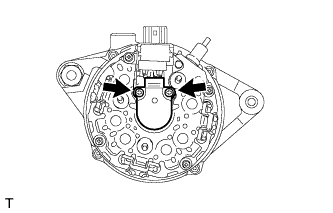 |
Remove the 2 screws and generator brush holder from the generator coil.
| 6. REMOVE GENERATOR COIL ASSEMBLY |
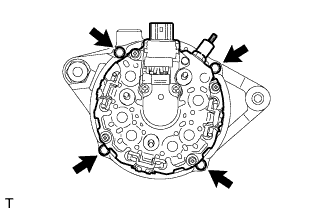 |
Remove the 4 bolts.
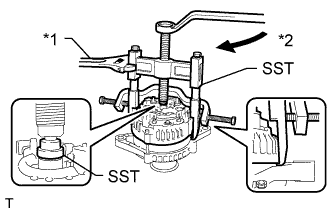 |
Using SST, remove the generator coil.
| *1 | Hold |
| *2 | Turn |
| 7. REMOVE GENERATOR ROTOR ASSEMBLY |
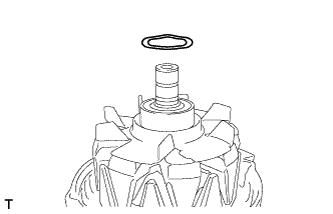 |
Remove the washer.
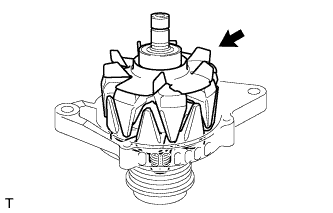 |
Remove the generator rotor.
| 8. REMOVE GENERATOR DRIVE END FRAME BEARING |
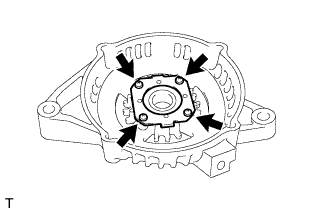 |
Remove the 4 screws and retainer plate from the generator drive end frame.
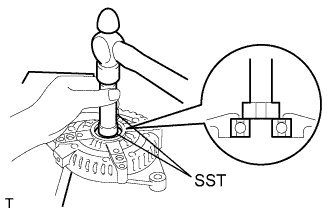 |
Using SST and a hammer, tap out the generator rotor bearing from the generator drive end frame.