 |
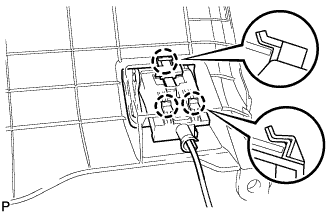
Disengage the 3 claws.
4WD CONTROL SWITCH > REMOVAL |
| 1. REMOVE FRONT DOOR SCUFF PLATE LH |
Remove the front door scuff plate RH
| 2. REMOVE COWL SIDE TRIM BOARD LH |
Remove the front cowl side trim board RH
| 3. REMOVE INSTRUMENT SIDE PANEL LH |
Remove the instrument side panel RH
| 4. REMOVE HOOD LOCK CONTROL LEVER SUB-ASSEMBLY |
|
Disengage the 3 claws.
Disconnect the hood lock control cable and remove the hood lock control lever sub-assembly.
| 5. REMOVE LOWER INSTRUMENT PANEL FINISH PANEL SUB-ASSEMBLY LH |
Remove the lower instrument panel finish panel sub-assembly RH
| 6. REMOVE INSTRUMENT CLUSTER FINISH PANEL ASSEMBLY |
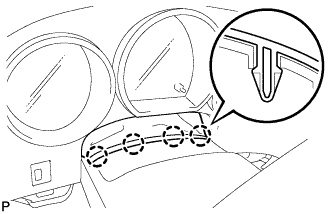 |
Disengage the 4 claws and separate the instrument panel finish panel retainer.
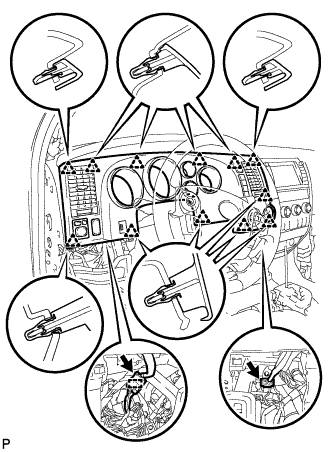 |
Disconnect the 2 connectors and clamp.
Disengage the 12 clips and remove the finish panel.
| 7. REMOVE 4WD CONTROL SWITCH |
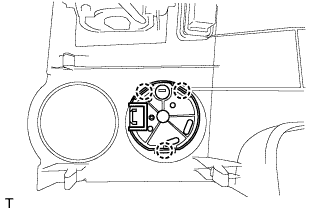 |
Detach the 3 claws to remove the switch.