 |
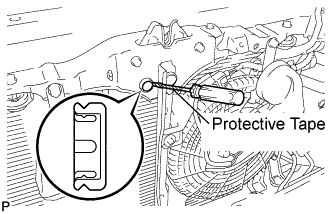
Using a screwdriver with its tip wrapped in protective tape, remove the hood lock nut cap.
HOOD LOCK CONTROL CABLE ASSEMBLY > REMOVAL |
| 1. REMOVE HOOD LOCK CONTROL CABLE COVER |
|
Using a screwdriver with its tip wrapped in protective tape, remove the hood lock nut cap.
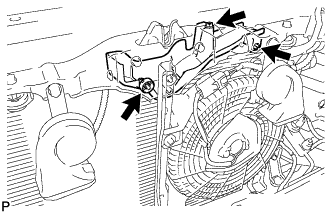 |
Remove the screw and nut.
Disengage the claw and remove the hood lock control cover.
| 2. REMOVE HOOD LOCK ASSEMBLY |
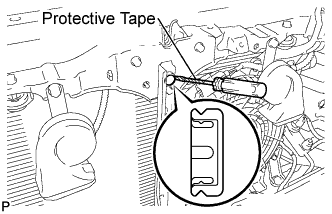 |
Using a screwdriver with its tip wrapped in protective tape, remove the hood lock nut cap.
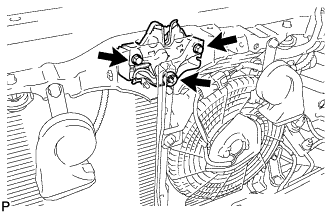 |
Remove the 2 bolts and nut.
Remove the hood lock.
Disconnect the connector.
Disconnect the hood lock control cable.
| 3. REMOVE HOOD LOCK CONTROL LEVER SUB-ASSEMBLY |
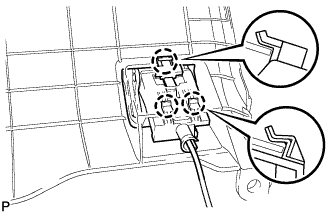 |
Disengage the 3 claws.
Disconnect the hood lock control cable and remove the hood lock control lever sub-assembly.
| 4. REMOVE HOOD LOCK CONTROL CABLE ASSEMBLY |
Using a screwdriver with its tip wrapped in protective tape, disconnect the clamps shown in the illustration.
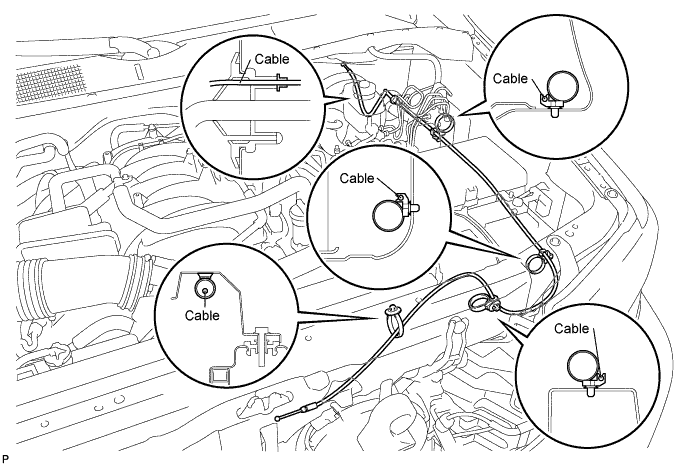
Pull the cable from the engine room and remove it.