CYLINDER BLOCK > DISASSEMBLY |
| 1. INSPECT CONNECTING ROD THRUST CLEARANCE |
![]() |
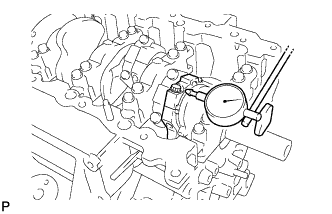
Using a dial indicator, measure the thrust clearance while moving the connecting rod back and forth.
| 2. INSPECT CONNECTING ROD OIL CLEARANCE |
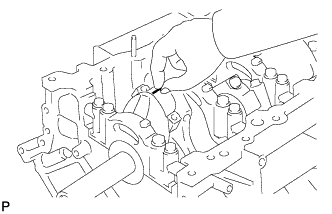
Check that the front mark on the connecting rod and cap are aligned to ensure correct reassembly.
![]() |
Remove the 2 connecting rod cap bolts.
![]() |
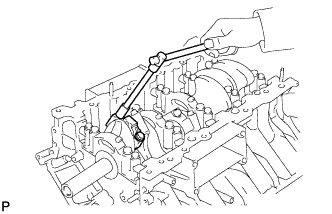
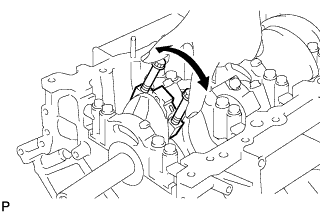
Using the 2 removed connecting rod cap bolts, remove the connecting rod cap and lower bearing by wiggling the connecting rod cap right and left.
Clean the crank pin and bearing.
Check the crank pin and bearing for pitting and scratches.
If the crank pin or bearing is damaged, replace the bearings. If necessary, replace the crankshaft.
![]() |
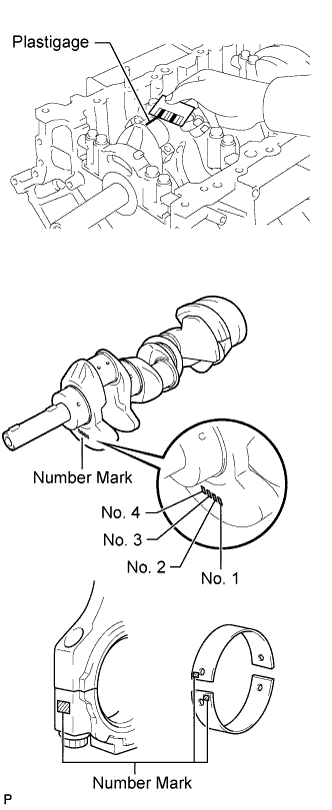
Lay a strip of Plastigage on the crank pin.
![]() |
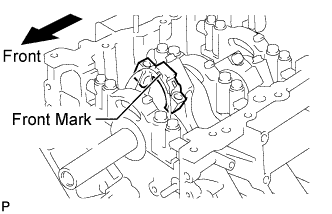
Check that the front mark of the connecting rod cap is facing forward.
![]() |
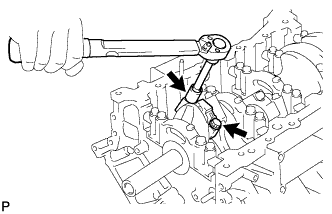
Install and alternately tighten the bolts of the connecting rod cap in several steps.
![]() |
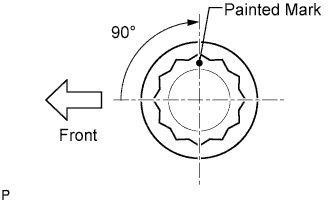
Mark the front side of each connecting rod cap bolt with paint.
Tighten the cap bolts another 90° as shown in the illustration.
Check that the painted marks are now at a 90° angle to the front.
![]() |
Remove the 2 connecting rod cap bolts.
![]() |
Using the 2 removed connecting rod cap bolts, remove the connecting rod cap and lower bearing by wiggling the connecting rod cap right and left.
![]() |
Measure the Plastigage at its widest point.
| Mark | Specified Condition |
| 2 | 1.489 to 1.492 mm (0.0586 to 0.0587 in.) |
| 3 | 1.492 to 1.495 mm (0.0587 to 0.0589 in.) |
| 4 | 1.495 to 1.498 mm (0.0589 to 0.0590 in.) |
| 5 | 1.498 to 1.501 mm (0.0590 to 0.0591 in.) |
| 6 | 1.501 to 1.504 mm (0.0591 to 0.0592 in.) |
| 7 | 1.504 to 1.507 mm (0.0592 to 0.0593 in.) |
| Mark | Specified Condition |
| 1 | 59.000 to 59.006 mm (2.32283 to 2.32306 in.) |
| 2 | 59.006 to 59.012 mm (2.32306 to 2.32330 in.) |
| 3 | 59.012 to 59.018 mm (2.32330 to 2.32354 in.) |
| 4 | 59.018 to 59.024 mm (2.32354 to 2.32377 in.) |
| Mark | Specified Condition |
| 1 | 55.994 to 56.000 mm (2.20449 to 2.20472 in.) |
| 2 | 55.988 to 55.994 mm (2.20425 to 2.20449 in.) |
| 3 | 55.982 to 55.998 mm (2.20402 to 2.20464 in.) |
Completely remove the Plastigage.
Perform the inspection above for each cylinder.
| 3. REMOVE PISTON AND CONNECTING ROD |
![]() |
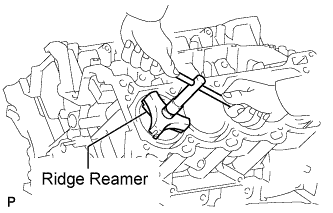
Using a ridge reamer, remove all the carbon from the top of the cylinder.
Remove the 16 cap bolts, 8 connecting rod caps and 8 lower bearings.
Push the 8 pistons and 8 connecting rods through the top of the cylinder block.
| 4. REMOVE CONNECTING ROD BEARING |
Remove the connecting rod bearings from the connecting rods and connecting rod caps.
| 5. REMOVE PISTON RING SET |
![]() |
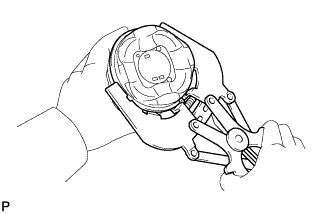
Using a piston ring expander, remove the 2 compression rings.
Remove the 2 side rails and oil ring expander by hand.
| 6. REMOVE PISTON WITH PIN SUB-ASSEMBLY |
Disconnect the connecting rod from the piston.
![]() |
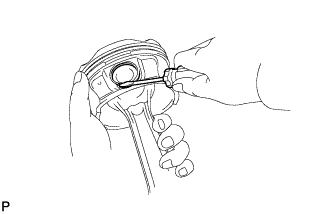
Using a small screwdriver, pry off the 2 snap rings from the piston.
![]() |
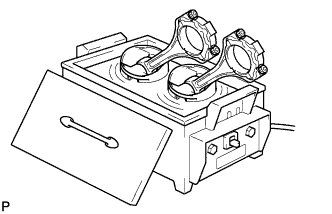
Gradually heat the piston to approximately 89°C (176°F).
![]() |
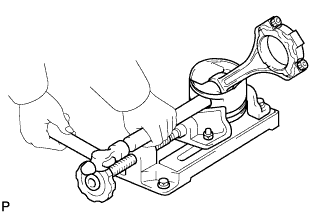
Using a brass bar and plastic-faced hammer, lightly tap out the piston pin. Then remove the connecting rod.
Clean the piston.
![]() |
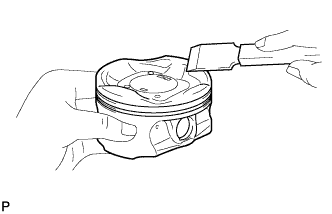
Using a gasket scraper, remove the carbon from the piston top.
![]() |
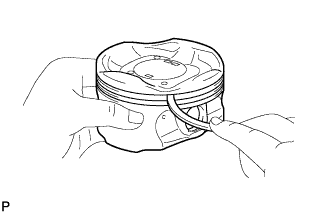
Using a groove cleaning tool or broken ring, clean the piston ring grooves.
![]() |
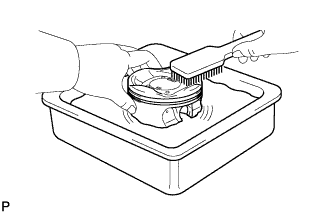
Using solvent and a brush, thoroughly clean the piston.
| 7. INSPECT CRANKSHAFT THRUST CLEARANCE |
![]() |
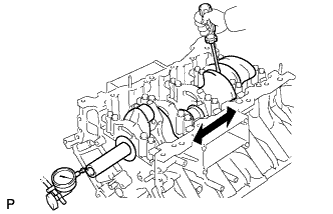
Using a dial indicator, measure the thrust clearance while prying the crankshaft back and forth with a screwdriver.
| 8. REMOVE CRANKSHAFT |
![]() |
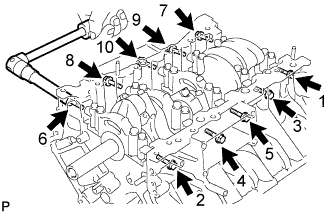
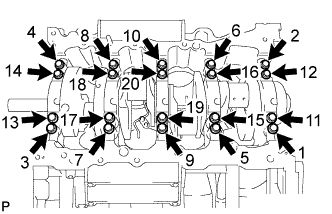
Uniformly loosen and remove the 10 bearing cap bolts and 10 seal washers in several steps, in the sequence shown in the illustration.
![]() |
Uniformly loosen and remove the 20 bearing cap bolts in several steps, in the sequence shown in the illustration.
![]() |
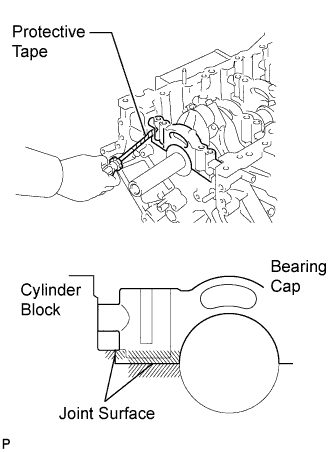
Using a screwdriver, slightly pry up the 5 main bearing caps.
Using 2 inside position main bearing cap bolts, loosen each main bearing cap by moving it forward and backward, and remove the 5 main bearing caps and 2 lower thrust washers (No. 3 crankshaft bearing cap only).
Remove the crankshaft.
| 9. REMOVE CRANKSHAFT BEARING |
Remove the crankshaft bearings from the bearing caps and cylinder block.
| 10. REMOVE CRANKSHAFT THRUST WASHER SET |
![]() |
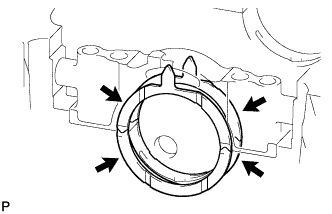
Remove the thrust washer set from the cylinder block and No. 3 bearing cap.
| 11. REMOVE NO. 1 OIL NOZZLE SUB-ASSEMBLY |
![]() |
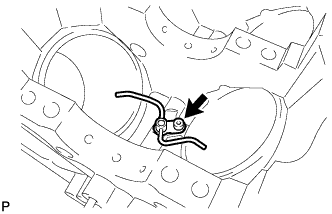
Using a 5 mm hexagon wrench, remove the 4 bolts and 4 oil nozzles.
| 12. REMOVE STUD BOLT |