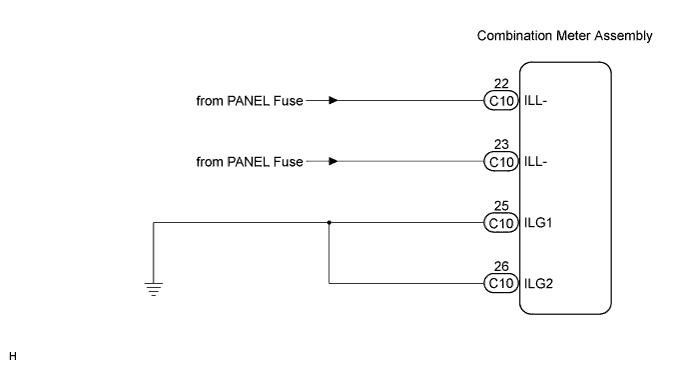
METER / GAUGE SYSTEM > Operating Light Control Rheostat does not Change Light Brightness |
| 1.READ VALUE USING TECHSTREAM (LIGHT RHEOSTAT) |
Connect Techstream to the DLC3.
Turn the switch to the ON position.
Turn the tester ON.
Enter the following menus: Body Electrical / Combination Meter / Data List.
Check the values by referring to the table below.
| Item | Measurement Item/Range (Display) | Normal Condition | Diagnostic Note |
| Rheostat Value | Light control rheostat/Min.: 0, Max.: 255 | Light control rheostat switch is Dark (0) → Bright (255) | - |
|
| ||||
| OK | ||
 | ||
| ||
| 2.CHECK HARNESS AND CONNECTOR (LIGHT CONTROL RHEOSTAT CIRCUIT) |
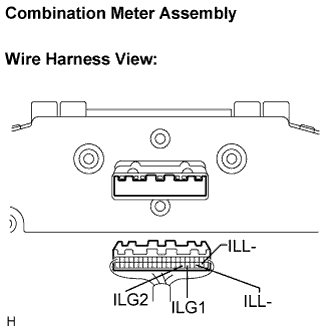 |
Disconnect the C10 connectors.
Measure the resistance according to the value(s) in the table below.
| Tester Connection | Condition | Specified Condition |
| C10-25 (ILG1) - Body ground | Always | Below 1 Ω |
| C10-26 (ILG2) - Body ground | Always | Below 1 Ω |
Measure the voltage according to the value(s) in the table below.
| Tester Connection | Condition | Specified Condition |
| C10-22 (ILL-) - Body ground | Turn the ignition switch to the ON position | 10 to 14 V |
| C10-23 (ILL-) - Body ground | Turn the ignition switch to the ON position | 10 to 14 V |
| C10-22 (ILL-) - Body ground | Always | Below 1 V |
| C10-23 (ILL-) - Body ground | Always | Below 1 V |
|
| ||||
| OK | ||
| ||
| ||

