 |
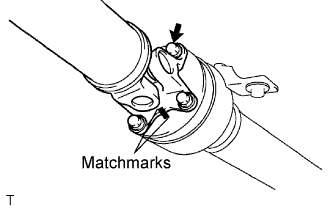
Put matchmarks on both the flanges.
PROPELLER SHAFT ASSEMBLY (for 4WD) > DISASSEMBLY |
| 1. REMOVE PROPELLER SHAFT ASSEMBLY |
|
Put matchmarks on both the flanges.
Remove the 4 nuts, bolts and washers.
| 2. REMOVE INTERMEDIATE SHAFT |
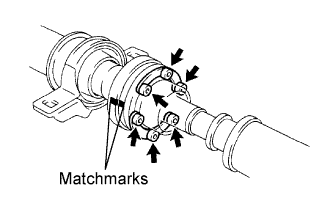 |
Put matchmarks on the propeller shaft sub-assembly and universal joint flange.
Using a hexagon wrench (6 mm), remove the 6 bolts and 2 washers and separate the intermediate shaft from the propeller shaft assembly rear.
| 3. REMOVE CENTER SUPPORT BEARING ASSEMBLY NO.1 |
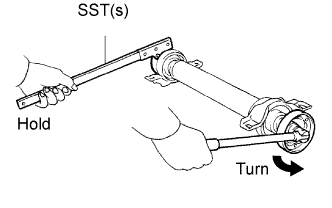 |
Using a chisel and a hammer, loosen the staked part of the nut.
Using SST(s) to hold the front flange, remove the nut and plate washer.
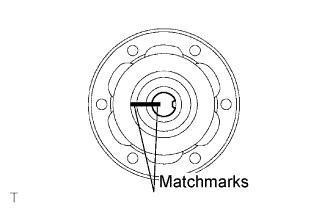 |
Put matchmarks on the rear flange and shaft.
Hold the intermediate shaft in a vise between aluminium plates.
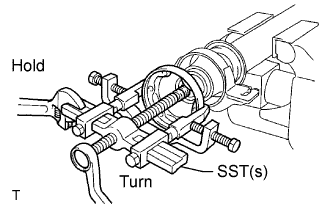 |
Using SST(s), remove the rear flange.
Remove the center support bearing assembly No. 1 (rear) and washer.
| 4. REMOVE CENTER SUPPORT BEARING ASSEMBLY NO.1 |
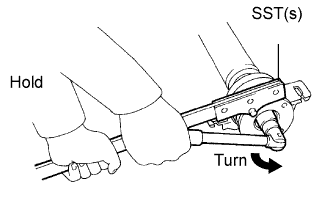 |
Using a chisel and a hammer, loosen the staked part of the nut.
Using SST(s) to hold the front flange, remove the nut and plate washer.
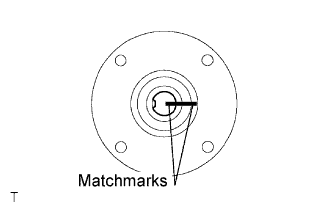 |
Put matchmarks on the front flange and shaft.
Hold the intermediate shaft in a vise between aluminium plates.
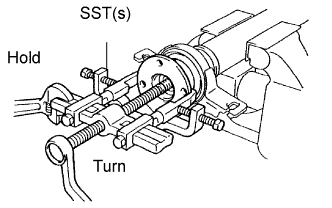 |
Using SST(s), remove the front flange.
Remove the center support bearing assembly No. 1 (front) and washer.