 |
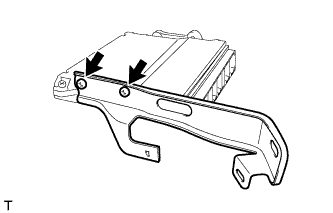
Install the ECM bracket with the 2 screws.
- Torque:
- 3.0 N*m{ 32 kgf*cm , 28 in.*lbf }
ECM > INSTALLATION |
| 1. INSTALL ECM BRACKET |
|
Install the ECM bracket with the 2 screws.
| 2. INSTALL NO. 2 ECM BRACKET |
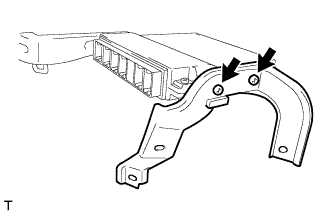 |
Install the No. 2 ECM bracket with the 2 screws.
| 3. INSTALL NO. 2 JUNCTION BLOCK |
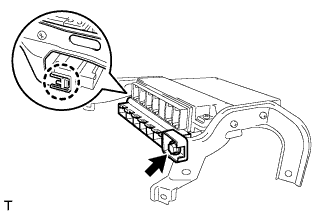 |
Engage the claw and install the No. 2 junction block.
Install the bolt.
| 4. INSTALL ECM |
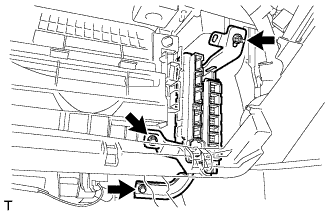 |
Install the ECM with the nut and 2 bolts
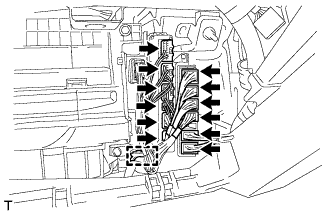 |
Connect the 6 No. 2 junction block connectors, 6 ECM connectors and wire harness clamp.
| 5. INSTALL INSTRUMENT PANEL FINISH PANEL SUB-ASSEMBLY LOWER RH |
Engage the 2 clips and install the instrument panel lower finish panel sub-assembly RH.
Install the bolt <B>.
| 6. INSTALL GLOVE COMPARTMENT DOOR ASSEMBLY |
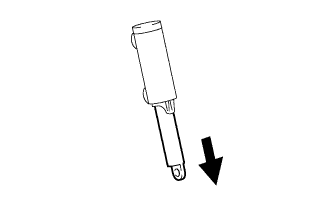 |
Pull the bottom of the stopper.
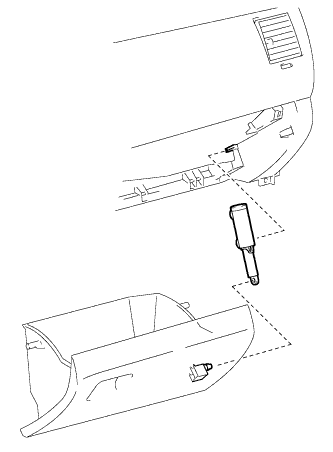 |
Attach the stopper to the glove compartment door as shown in the illustration.
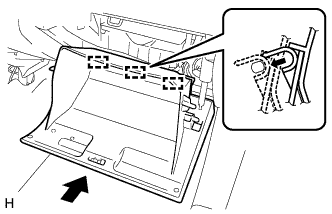 |
Install the glove compartment door assembly with 3 hinges, holding it horizontal.
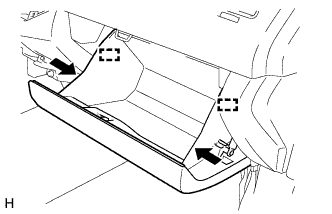 |
Slightly deform the upper part of the glove compartment door assembly, and install the glove compartment door assembly.