 |
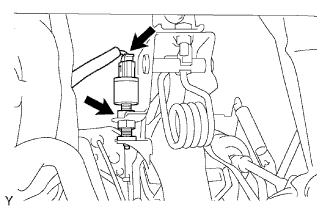
Install the clutch switch assembly and tighten the nut.
CLUTCH SWITCH > INSTALLATION |
| 1. INSTALL CLUTCH SWITCH ASSEMBLY |
|
Install the clutch switch assembly and tighten the nut.
Connect the connector.
| 2. INSTALL DRIVER SIDE JUNCTION BLOCK |
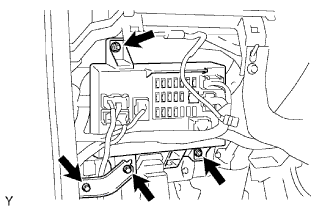 |
Install the driver side junction block assembly with the 2 nuts.
Install the bracket with the 2 bolts.
| 3. INSTALL LOWER NO. 1 INSTRUMENT PANEL FINISH PANEL |
Connect the connectors.
Engage the 3 clips and install the lower NO. 1 instrument panel finish panel sub-assembly.
Install the 2 bolts <B>.
| 4. CONNECT HOOD LOCK CONTROL LEVER SUB-ASSEMBLY |
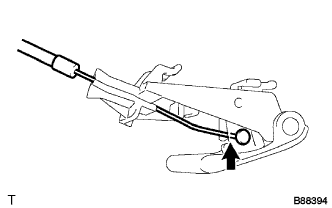 |
Connect the hood lock control cable assembly.
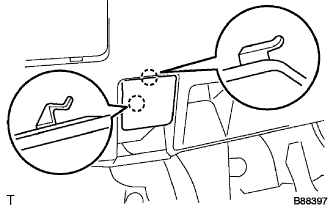 |
Engage the 2 claws and install the hood lock control lever sub-assembly.
| 5. INSTALL INSTRUMENT PANEL HOLE COVER (for Lever Type Parking Brake) |
Engage the 4 clips and install the instrument panel hole cover.
| 6. INSTALL INSTRUMENT PANEL UNDER TRAY (for Pedal Type Parking Brake) |
Engage the 4 clips and 2 claws, and install the instrument panel under tray.
| 7. INSTALL COWL SIDE TRIM BOARD LH (for Regular Cab) |
Engage the 2 clips and install the cowl side trim board.
Install the clip.
| 8. INSTALL COWL SIDE TRIM BOARD LH (for Access Cab) |
Engage the 2 clips and install the cowl side trim board.
Install the clip.
| 9. INSTALL COWL SIDE TRIM BOARD LH (for Double Cab) |
Engage the 2 clips and install the cowl side trim board.
Install the clip.
| 10. INSTALL FRONT DOOR SCUFF PLATE LH (for Regular Cab) |
Engage the 8 claws and clip, and install the front door scuff plate.
| 11. INSTALL FRONT DOOR SCUFF PLATE LH (for Access Cab) |
Engage the 9 claws and clip, and install the front door scuff plate.
| 12. INSTALL FRONT DOOR SCUFF PLATE LH (for Double Cab) |
Engage the 9 claws and install the front door scuff plate.
| 13. INSTALL FRONT FLOOR FOOTREST |
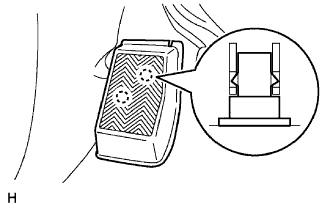 |
Engage the 2 clips and install the front floor footrest.
| 14. CONNECT CABLE TO NEGATIVE BATTERY TERMINAL |