 |
Connect the connector and install the 3 clamps.
RADIO ANTENNA HOLDER > INSTALLATION |
| 1. INSTALL WITH HOLDER ANTENNA ASSEMBLY |
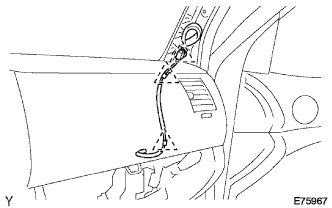
Tie the string inside the pillar to the new antenna assembly (with holder).
Using the string, fit the antenna assembly (with holder) into the pillar.
|
Connect the connector and install the 3 clamps.
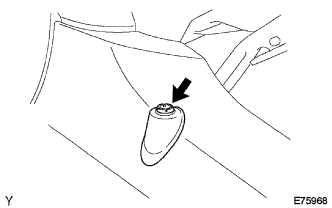 |
Install the antenna ornament with the nut.
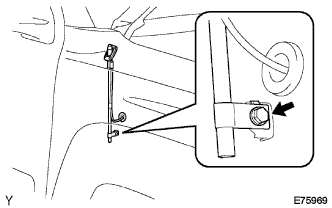 |
Install the with holder antenna assembly with the bolt.
| 2. INSTALL PULL TOP ANTENNA POLE SUB - ASSEMBLY |
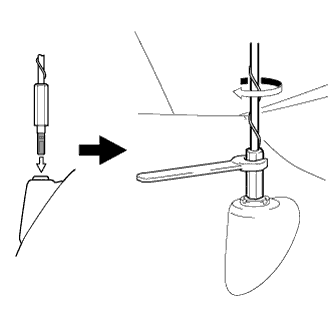 |
Install the pull top antenna pole sub-assembly by hand until fully seated.
Using an 8 mm (5/16 inch) wrench, fully tighten the antenna pole about 1/8 turn (20 to 45 degrees) by turning it clockwise.
| 3. INSTALL FRONT PILLAR GARNISH RH |
| 4. INSTALL ASSIST GRIP SUB-ASSEMBLY |
Install the assist grip with the 2 screws.
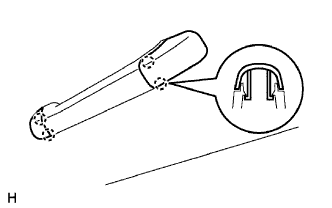 |
Engage the 2 claws and close the cover.
| 5. INSTALL INSTRUMENT PANEL LOWER FINISH PANEL SUB-ASSEMBLY RH |
Engage the 2 clips and install the instrument panel lower finish panel sub-assembly RH.
Install the bolt <B>.
| 6. INSTALL GLOVE COMPARTMENT DOOR ASSEMBLY |
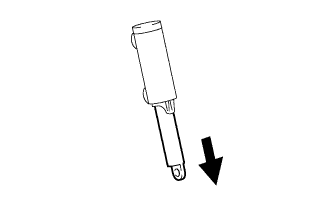 |
Pull the bottom of the stopper.
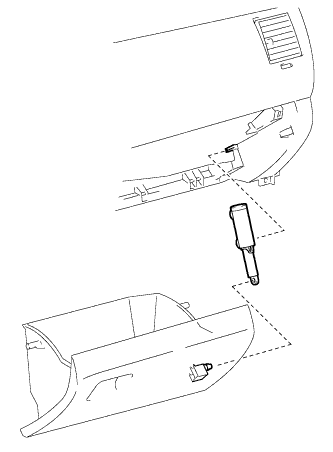 |
Attach the stopper to the glove compartment door as shown in the illustration.
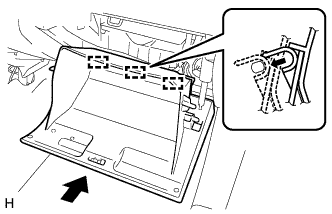 |
Install the glove compartment door assembly with 3 hinges, holding it horizontal.
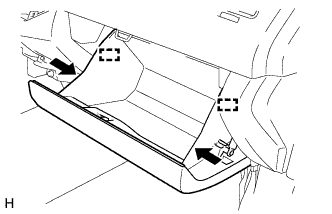 |
Slightly deform the upper part of the glove compartment door assembly, and install the glove compartment door assembly.
| 7. CONNECT CABLE TO NEGATIVE BATTERY TERMINAL |