 |
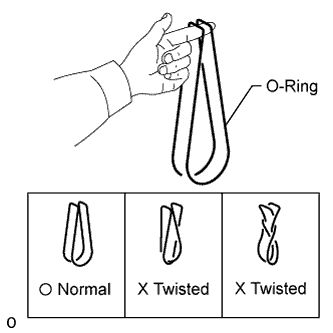
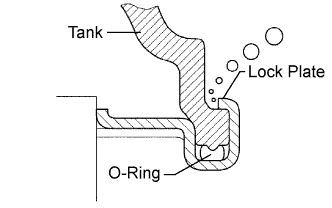
Check that there are no foreign objects in the lock plate groove, and install a new O-ring. Make sure the O-ring is not twisted.
- HINT:
- When cleaning the lock plate groove, lightly rub it with sandpaper without scratching it.
RADIATOR > REASSEMBLY |
| 1. INSTALL RADIATOR TANK |
|
Check that there are no foreign objects in the lock plate groove, and install a new O-ring. Make sure the O-ring is not twisted.
Install the tank without damaging the O-ring.
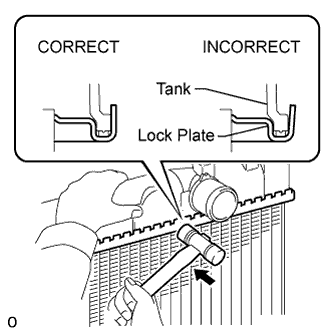 |
Tap the lock plate with a plastic-faced hammer so that there is no gap between the lock plate and the tank.
| 2. ASSEMBLE SST |
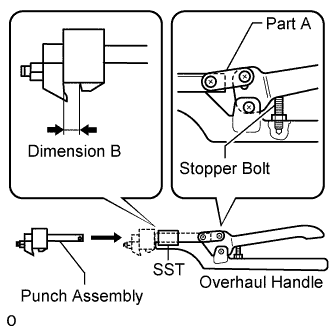 |
Install the punch assembly to part A of the overhaul handle as shown in the illustration.
While gripping the handle, adjust the stopper bolt so that dimension B is as specified below.
| 3. CAULK LOCK PLATE |
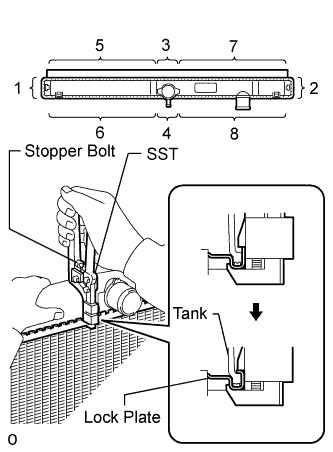 |
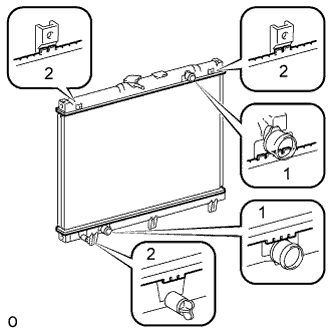
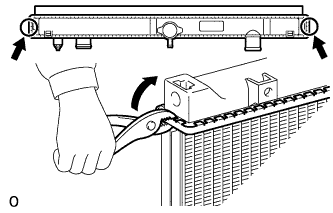
Lightly press SST against the lock plate in the order shown in the illustration. After repeating this a few times, fully caulk the lock plate by squeezing the handle until stopped by the stopper bolt.
 |
 |
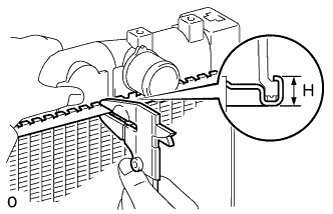 |
Check the lock plate height H after completing the caulking.
| 4. INSTALL RADIATOR DRAIN COCK PLUG |
Install a new O-ring to the drain plug.
Install the drain plug.
| 5. INSPECT FOR WATER LEAKS |
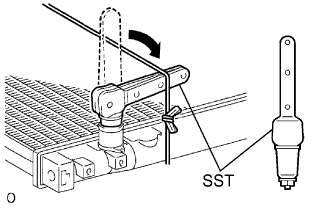 |
Plug the inlet and outlet ports of the radiator with SST.
Using a radiator cap tester, apply pressure to the radiator.
Submerge the radiator in water.
 |
Inspect for leaks.
| 6. INSTALL RADIATOR BRACKET SUB-ASSEMBLY |
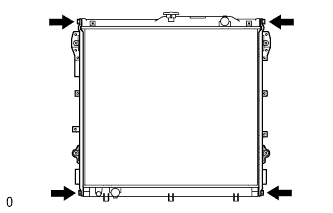 |
Install the 2 brackets with the 4 bolts.