POWER OUTLET SOCKET (for Column Shift Type) > INSTALLATION |
| 1. INSTALL POWER OUTLET SOCKET COVER |
|
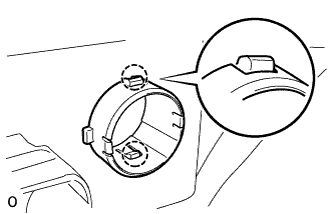
Attach the 2 claws to install the power outlet socket cover.
| 2. INSTALL POWER OUTLET SOCKET ASSEMBLY |
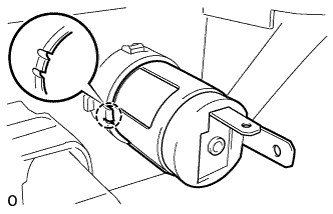 |
Attach the claw to install the power outlet socket.
| 3. INSTALL LOWER INSTRUMENT CLUSTER FINISH PANEL |
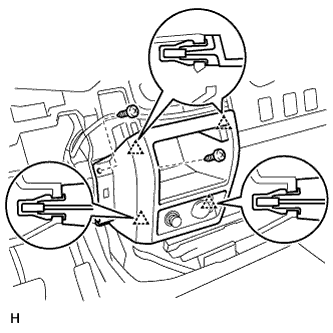 |
Connect the connectors.
Attach the 4 clips to install the finish panel.
Install the 2 screws.
| 4. INSTALL FRONT ASH RECEPTACLE BOX SUB-ASSEMBLY |
| 5. INSTALL CENTER LOWER INSTRUMENT COVER |
Install the cover with the 2 clips.
| 6. INSTALL LOWER INSTRUMENT PANEL FINISH PANEL SUB-ASSEMBLY LH |
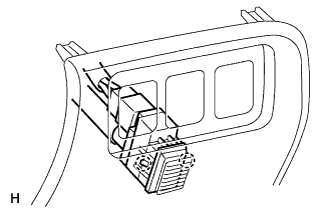 |
for Automatic Air Conditioning System:
Attach the 2 claws to install the sensor.
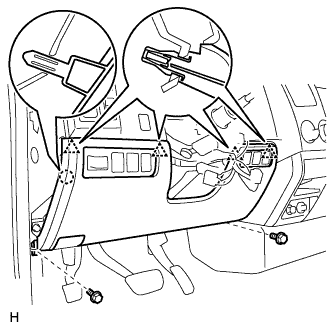 |
Connect the connectors.
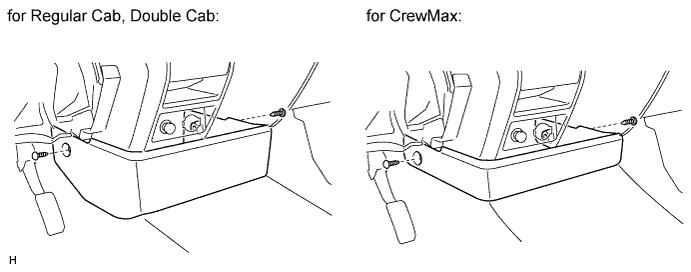
Attach the 4 clips and claw to install the finish panel.
Install the 2 bolts.
Install the hood lock control lever.
| 7. INSTALL INSTRUMENT SIDE PANEL LH |
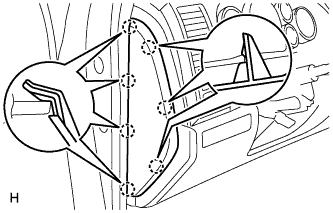 |
Attach the 7 claws to install the side panel.
| 8. INSTALL COWL SIDE TRIM BOARD LH |
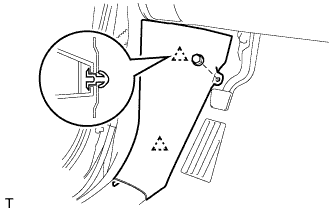 |
Attach the 2 clips to install the cowl side trim board.
Install the clip.
| 9. INSTALL FRONT DOOR SCUFF PLATE LH (for Regular Cab) |
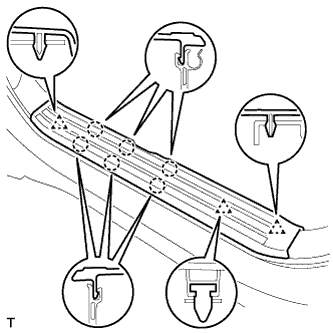 |
Attach the 6 claws and 3 clips to install the scuff plate.
| 10. INSTALL FRONT DOOR SCUFF PLATE LH (for Double Cab) |