ENGINE UNIT > REMOVAL |
| 1. REMOVE ENGINE WIRE |
|
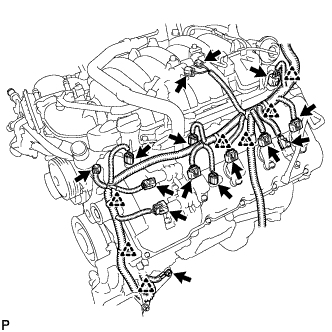
Engine LH Side:
Disconnect the 2 camshaft timing control valve connectors.
Disconnect the 4 ignition coil connectors.
Disconnect the 2 VVT sensor connectors.
Disconnect the camshaft position sensor connector.
Disconnect the vacuum switching valve connector (for ACIS).
Disconnect the purge VSV connector.
Disconnect the engine coolant temperature sensor connector.
Disconnect the fuel injector connector.
Disconnect the noise filter connector.
Remove the bolt and disconnect the 7 clamps.
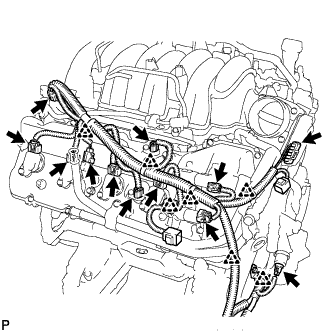 |
Engine RH Side:
Disconnect the 2 camshaft timing control valve connectors.
Disconnect the 4 ignition coil connectors.
Disconnect the 2 VVT sensor connectors.
Disconnect the fuel injector connector.
Disconnect the noise filter connector.
Disconnect the throttle sensor connector.
Disconnect the oil pressure sender gauge connector.
Disconnect the 7 clamps.
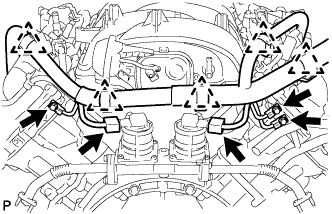 |
Engine Rear Side:
Disconnect the 2 air switching valve connectors.
Disconnect the 5 clamps.
Remove the 3 bolts and disconnect the 3 wires.
Remove the engine wire.
| 2. REMOVE FUEL TUBE SUB-ASSEMBLY |
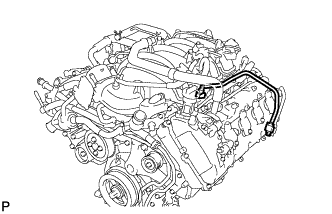 |
Remove the fuel tube (Click here).
| 3. REMOVE CYLINDER BLOCK WATER DRAIN COCK SUB-ASSEMBLY |
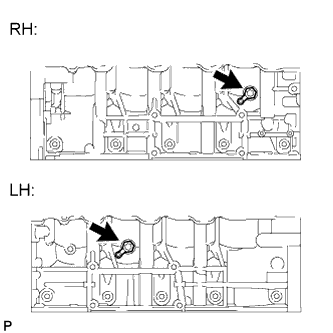 |
Remove the 2 water drain cock plugs from the water drain cocks.
Remove the 2 water drain cocks from the cylinder block.
| 4. REMOVE FRONT ENGINE MOUNTING INSULATOR RH |
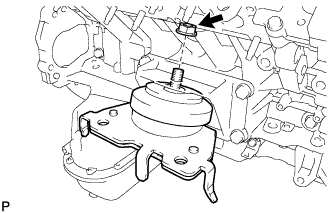 |
Remove the nut and mounting insulator.
| 5. REMOVE FRONT ENGINE MOUNTING INSULATOR LH |
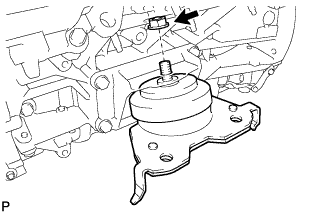 |
Remove the nut and mounting insulator.
| 6. REMOVE FRONT NO. 1 ENGINE MOUNTING BRACKET RH |
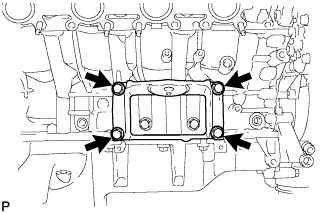 |
Remove the 4 bolts and mounting bracket.
| 7. REMOVE FRONT NO. 1 ENGINE MOUNTING BRACKET LH |
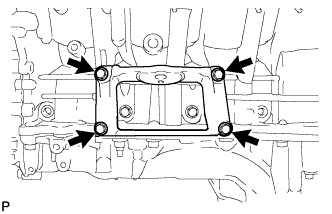 |
Remove the 4 bolts and mounting bracket.
| 8. REMOVE FUEL DELIVERY PIPE SUB-ASSEMBLY LH |
Disconnect the No. 7 wire harness connector.
Remove the No. 3 engine cover.
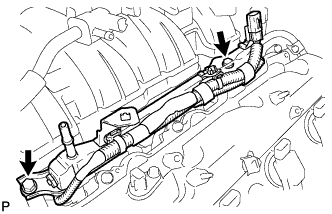 |
Remove the 2 bolts and fuel delivery pipe LH.
Remove the 2 delivery pipe spacers and 4 insulators from the intake manifold.
| 9. REMOVE FUEL DELIVERY PIPE SUB-ASSEMBLY RH |
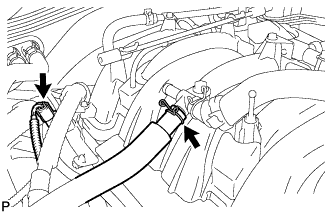 |
Disconnect the ventilation hose and No. 6 wire harness connector.
Remove the No. 1 engine cover.
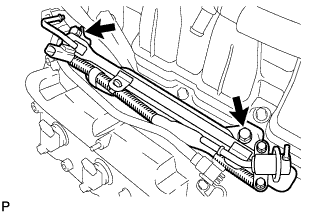 |
Remove the 2 bolts and fuel delivery pipe RH.
Remove the 2 delivery pipe spacers and 4 insulators from the intake manifold.
| 10. DISCONNECT VENTILATION HOSE ASSEMBLY |
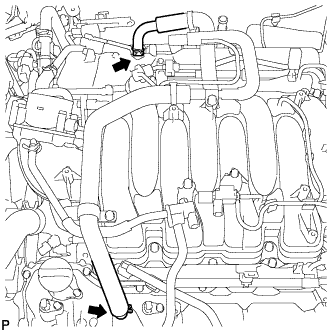 |
Disconnect the ventilation hose from the ventilation pipe of the cylinder head cover LH and RH.
| 11. REMOVE NO. 1 TUBE |
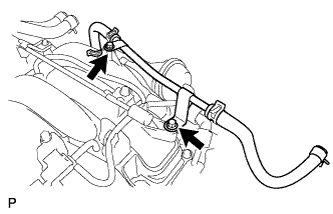 |
Remove the 2 bolts and No. 1 tube.
| 12. REMOVE INTAKE MANIFOLD |
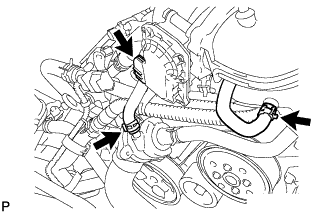 |
Disconnect the 2 water by-pass hoses.
Disconnect the throttle body connector.
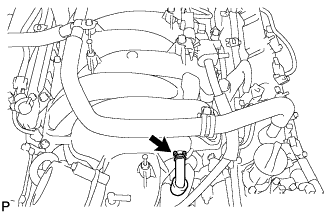 |
Disconnect the No. 1 ventilation hose.
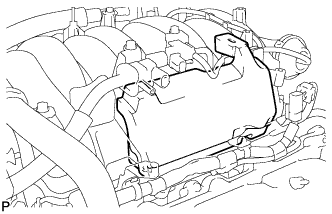 |
Remove the No. 1 engine cover sub-assembly.
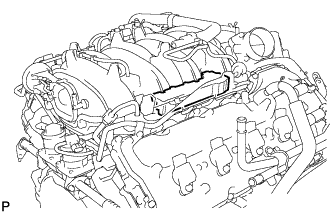 |
Remove the No. 3 engine cover.
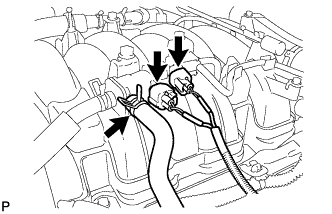 |
Disconnect the purge VSV connector.
Disconnect the purge line hose from the purge VSV.
Disconnect the vacuum switching valve connector (for ACIS).
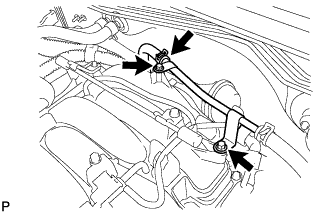 |
Remove the 2 bolts.
Disconnect the No. 1 tube from the union to connector tube hose, and move the hose aside.
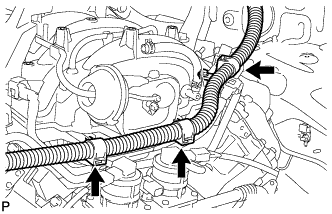 |
Disconnect the 3 wire clamps from the 3 wire brackets.
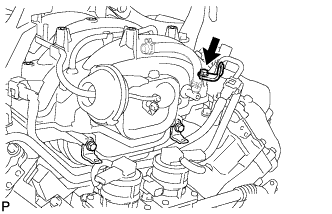 |
Remove the bolt and wire bracket from the intake manifold.
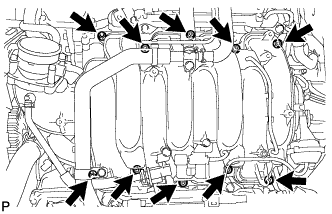 |
Remove the 2 nuts, 8 bolts, intake manifold and 2 gaskets.
| 13. REMOVE NO. 2 FUEL TUBE SUB-ASSEMBLY |
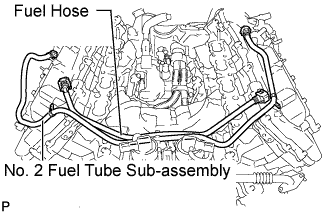 |
| 14. REMOVE FUEL HOSE |
| 15. REMOVE NO. 2 WATER BY-PASS PIPE |
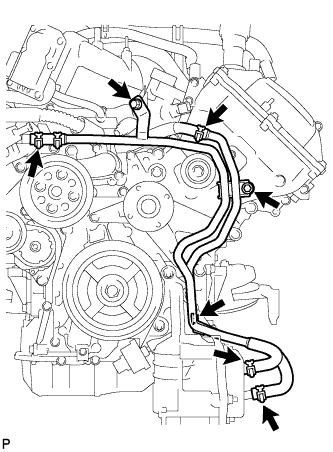 |
Remove the 3 bolts.
Disconnect the 4 hoses and remove the water by-pass pipe.
| 16. REMOVE NO. 1 WATER BY-PASS HOSE |
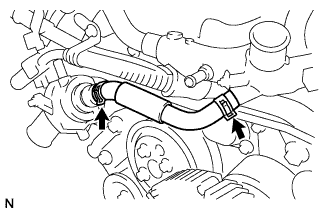 |
Remove the No. 1 water by-pass hose by disconnect the hose from the water inlet housing and front water by-pass joint.
| 17. REMOVE FRONT WATER BY-PASS JOINT |
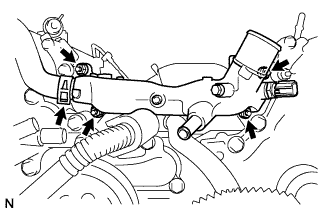 |
Disconnect the No. 2 water by-pass hose from the water by-pass joint.
Remove the 4 nuts, water by-pass joint and 2 gaskets.
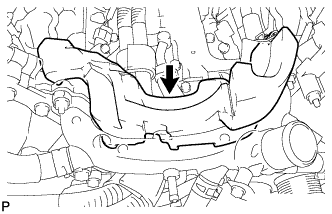
| 18. REMOVE NO. 2 ENGINE COVER |
 |
| 19. REMOVE NO. 1 ENGINE COVER |
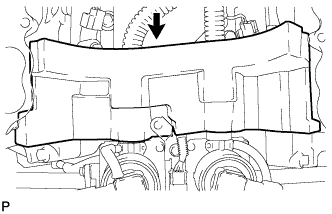 |
| 20. REMOVE WATER PUMP PULLEY |
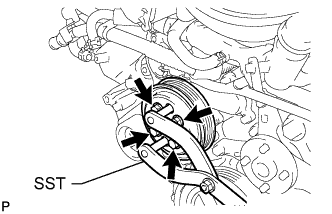 |
Using SST, hold the water pump pulley.
Remove the 4 bolts and water pump pulley.
| 21. REMOVE NO. 1 IDLER PULLEY SUB-ASSEMBLY |
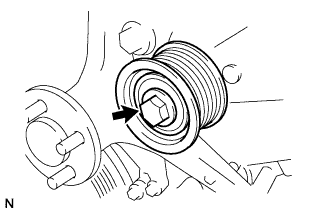 |
Remove the bolt and idler pulley.
| 22. REMOVE FAN BRACKET SUB-ASSEMBLY |
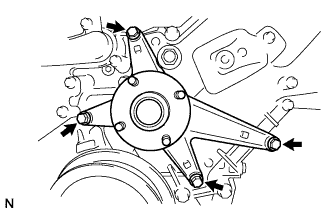 |
Remove the 4 bolts and fan bracket.
| 23. REMOVE V-RIBBED BELT TENSIONER ASSEMBLY |
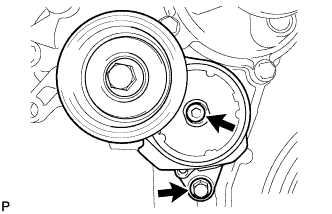 |
Remove the standard bolt, 6 mm hexagon wrench bolt and belt tensioner.
| 24. REMOVE OIL PRESSURE SENDER GAUGE ASSEMBLY |
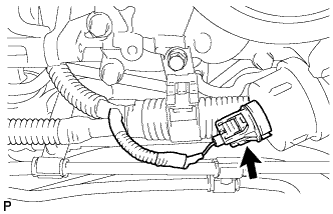 |
Disconnect the sender gauge connector.
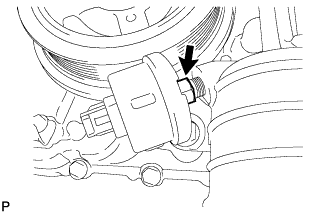 |
Remove the oil pressure sender gauge.
| 25. REMOVE AIR TUBE |
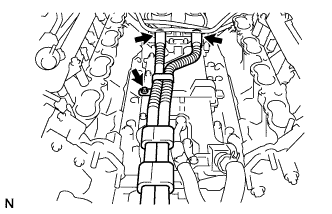 |
Remove the bolt, disconnect the 2 hoses, and remove the air tube.
| 26. REMOVE WATER INLET HOUSING |
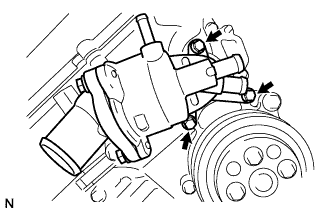 |
Remove the 3 bolts, water inlet housing and gasket.
| 27. REMOVE WATER BY-PASS PIPE SUB-ASSEMBLY |
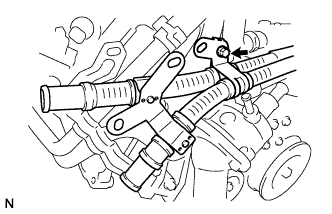 |
Remove the bolt and disconnect the air tube.
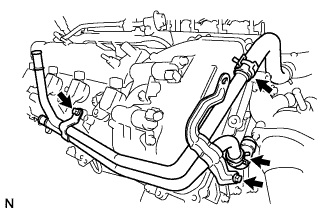 |
Disconnect the 2 hoses.
Remove the 2 bolts and water by-pass pipe.
| 28. REMOVE AIR SWITCHING VALVE ASSEMBLY |
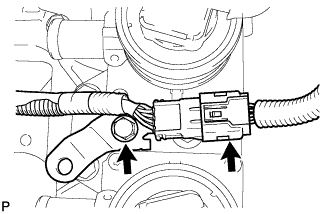 |
Disconnect the knock sensor connector.
Remove the bolt and bracket.
Disconnect the 2 air switching valve connectors.
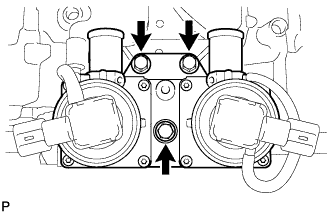 |
Remove the 3 bolts and air switching valve.
| 29. REMOVE NO. 2 AIR TUBE |
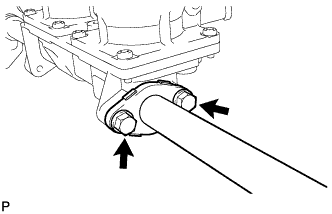 |
Remove the 2 bolts, No. 2 air tube and gasket.
| 30. REMOVE NO. 3 AIR TUBE |
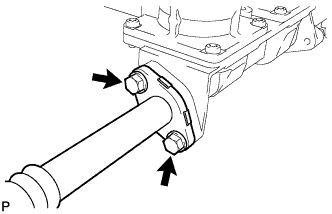 |
Remove the 2 bolts, No. 3 air tube and gasket.
| 31. REMOVE ENGINE WIRE |
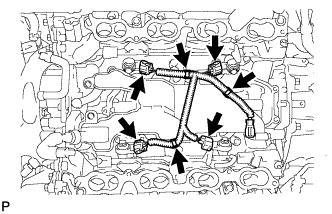 |
Disconnect the 4 knock sensor connectors.
Disconnect the 3 clamps. Then remove the engine wire.
| 32. REMOVE SEPARATOR CASE |
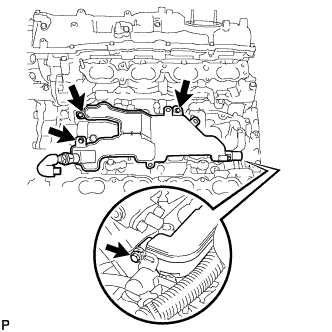 |
Remove the 4 bolts and separator case.
| 33. REMOVE KNOCK SENSOR |
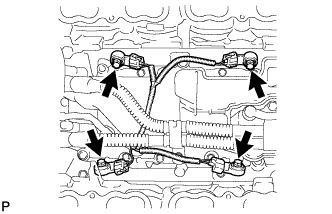 |
Disconnect the 4 knock sensor connectors.
Remove the 4 bolts and 4 knock sensors.
| 34. REMOVE IGNITION COIL ASSEMBLY |
Remove the 8 bolts and 8 ignition coils.
| 35. REMOVE NOISE FILTER |
LH:
Remove the bolt and noise filter from the cylinder head cover.
RH:
Remove the bolt and noise filter from the cylinder head cover.