 |
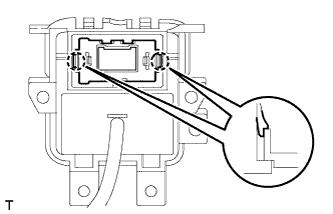
Attach the 2 claws to install the power outlet socket.
POWER OUTLET SOCKET (for CrewMax Column Shift Type) > INSTALLATION |
| 1. INSTALL REAR POWER POINT SOCKET (for AC Power Supply) |
|
Attach the 2 claws to install the power outlet socket.
| 2. INSTALL REAR POWER OUTLET SOCKET COVER (for Standard) |
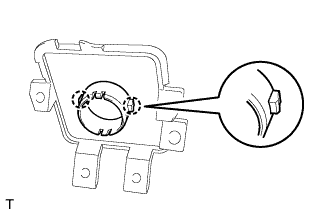 |
Attach the 2 claws to install the power outlet socket cover.
| 3. INSTALL REAR POWER OUTLET SOCKET (for Standard) |
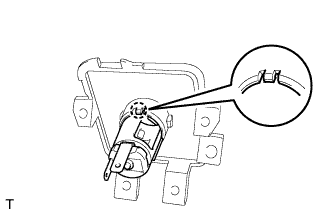 |
Attach the claw to install the power outlet socket.
| 4. INSTALL NO. 2 SEATBACK LOCK CONTROL BEZEL |
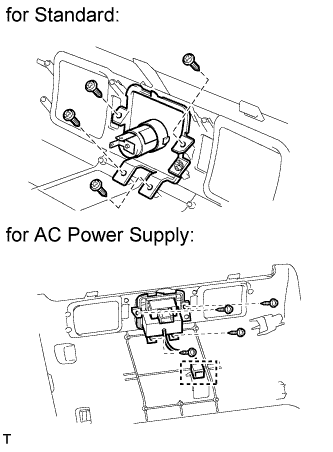 |
for AC Power Supply:
Connect the clamp.
Install the bezel with the 4 screws.
| 5. INSTALL NO. 2 CONSOLE BOX REGISTER ASSEMBLY |
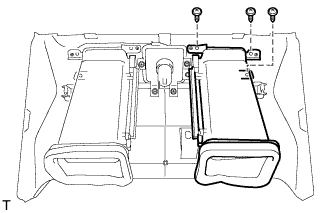 |
Install the register with the 3 screws.
| 6. INSTALL NO. 1 CONSOLE BOX REGISTER ASSEMBLY |
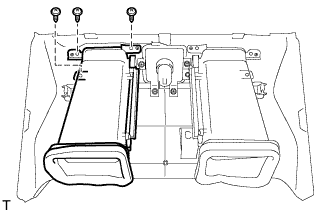 |
Install the register with the 3 screws.
| 7. INSTALL CENTER SEATBACK PANEL |
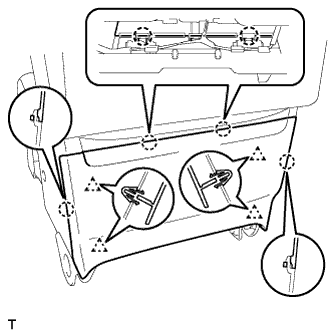 |
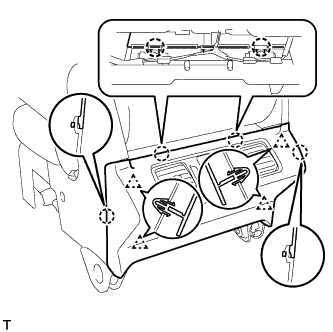
Attach the 4 claws and 4 clips to install the center seatback panel.
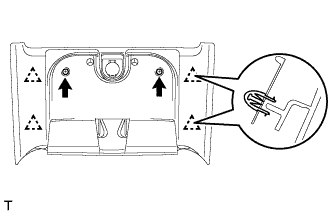 |
for Double Cab:
Connect the power outlet socket connector.
Attach the 4 clips to install the center seatback panel.
Install the 2 screws.
 |
for CrewMax:
Connect the 2 connectors.
Attach the 4 claws and 4 clips to install the center seatback panel.