 |
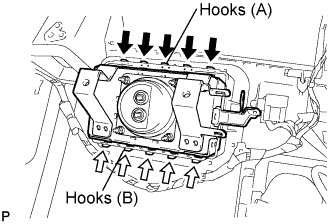
Attach the 5 hooks (A).
INSTRUMENT PANEL SAFETY PAD (for Floor Shift Type) > REASSEMBLY |
| 1. INSTALL FRONT PASSENGER AIRBAG ASSEMBLY |
|
Attach the 5 hooks (A).
Attach the 5 hooks (B) and install the front passenger airbag on the instrument panel.
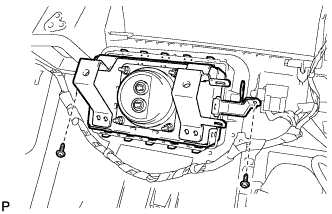 |
Install the 2 screws.
Connect the 2 connectors and install the instrument panel wire to the front passenger airbag.
| 2. INSTALL NO. 2 INSTRUMENT PANEL WIRE |
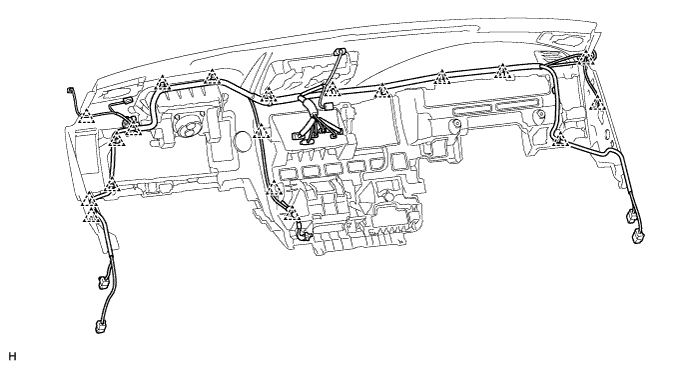
Attach the wire to the clamps to install the wire to the instrument panel.
| 3. INSTALL NAVIGATION ANTENNA ASSEMBLY (w/ Navigation System) |
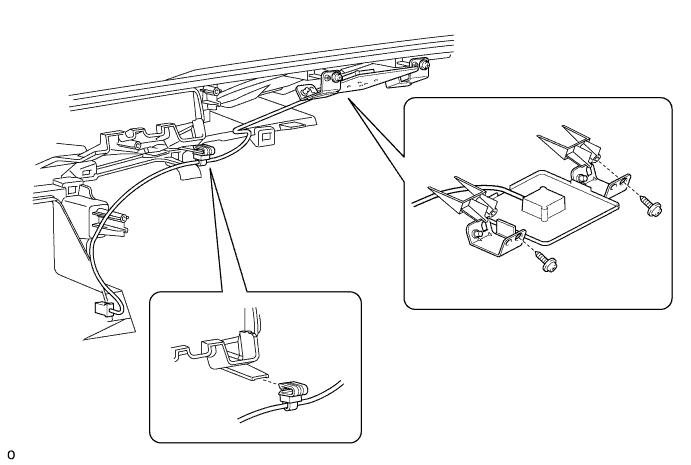
Install the antenna with the 2 screws.
Attach the clamp.
| 4. INSTALL ACCESSORY METER ASSEMBLY |
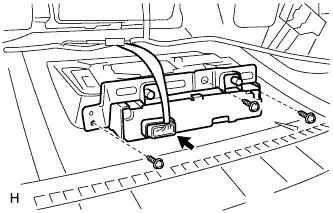 |
Install the accessory meter with the 3 screws.
Connect the accessory meter connector.
| 5. INSTALL NO. 3 INSTRUMENT PANEL REGISTER ASSEMBLY |
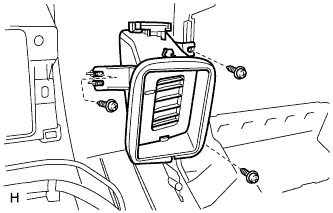 |
Install the register with the 3 screws.
| 6. INSTALL DEFROSTER NOZZLE ASSEMBLY |
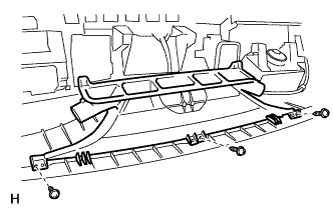 |
Install the nozzle with the 3 screws.
| 7. INSTALL NO. 2 SIDE DEFROSTER NOZZLE DUCT |
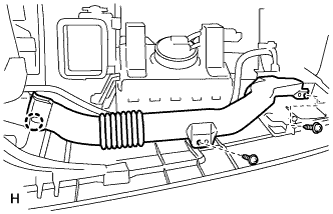 |
Attach the claw to install the duct.
Install the 2 screws.
| 8. INSTALL NO. 4 INSTRUMENT PANEL REGISTER ASSEMBLY |
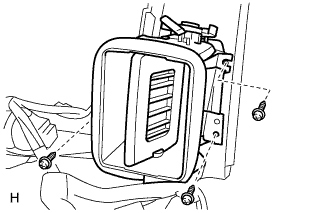 |
Install the register with the 3 screws.
| 9. INSTALL NO. 1 SIDE DEFROSTER NOZZLE DUCT |
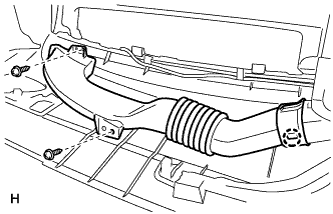 |
Attach the claw to install the duct.
Install the 2 screws.
| 10. INSTALL NO. 1 HEATER TO REGISTER DUCT WITH NO. 2 HEATER TO REGISTER DUCT |
Install the duct with the 5 screws.
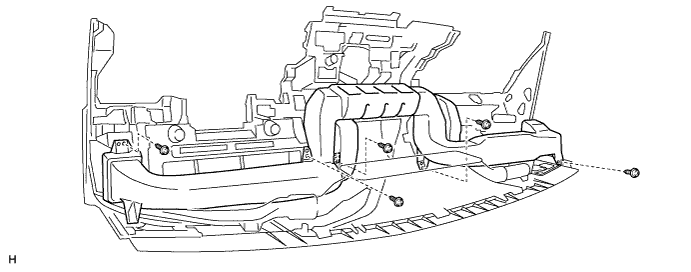
| 11. INSTALL NO. 1 INSTRUMENT PANEL PIN |
Install the 2 pins with the 2 screws.
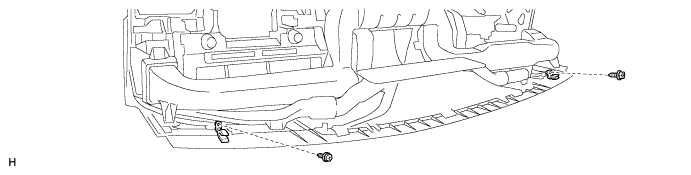
| 12. INSTALL AUTOMATIC LIGHT CONTROL SENSOR (for Automatic Air Conditioning System) |
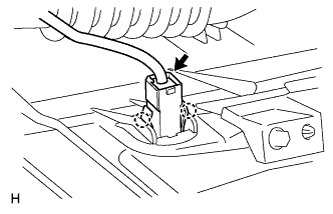 |
Attach the 2 claws to install the sensor.
Connect the sensor connector.