FRONT BUMPER (for Resin Type Bumper) > INSTALLATION |
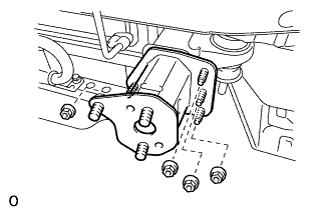
| 1. INSTALL FRONT NO. 2 BUMPER EXTENSION SUB-ASSEMBLY LH |
|
Install the bumper extension with the 4 nuts.
| 2. INSTALL FRONT NO. 2 BUMPER EXTENSION SUB-ASSEMBLY RH |
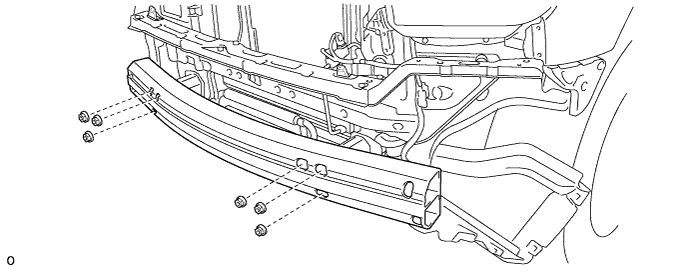
| 3. INSTALL FRONT BUMPER REINFORCEMENT |
Install the reinforcement with the 6 nuts.
| 4. INSTALL FRONT BUMPER END RETAINER LH |
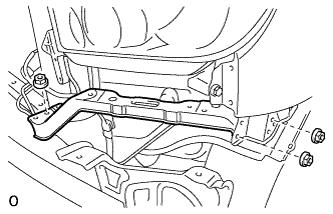 |
Install the retainer with the 3 nuts.
| 5. INSTALL FRONT BUMPER END RETAINER RH |
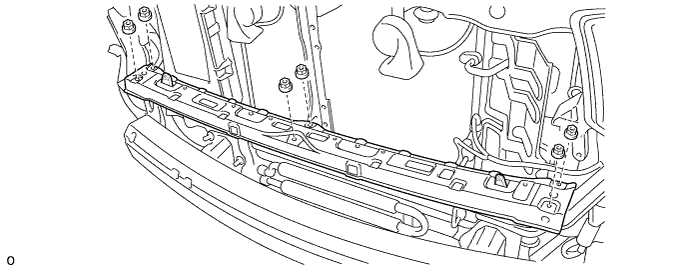
| 6. INSTALL FRONT UPPER CENTER BUMPER RETAINER |
Install the retainer with the 6 nuts.
| 7. INSTALL FRONT BUMPER SIDE SUPPORT LH |
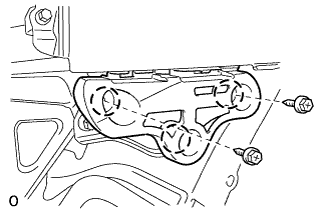 |
Attach the 3 clips to install the side support.
Install the 2 screws.
| 8. INSTALL FRONT BUMPER SIDE SUPPORT RH |
| 9. INSTALL FRONT BUMPER COVER |
w/ Fog Light:
Connect the fog light connectors.
w/ Intuitive Parking Assist System:
Connect the ultrasonic sensor connectors.
Attach the 4 claws to install the bumper cover.
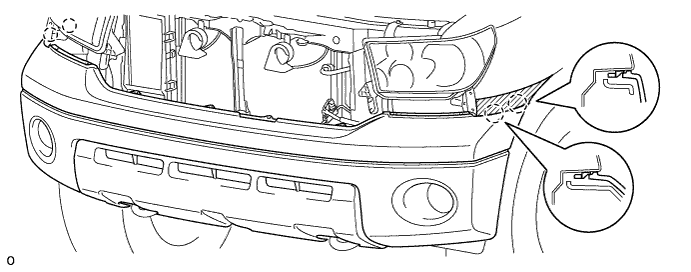
Install the 9 screws and 8 clips.
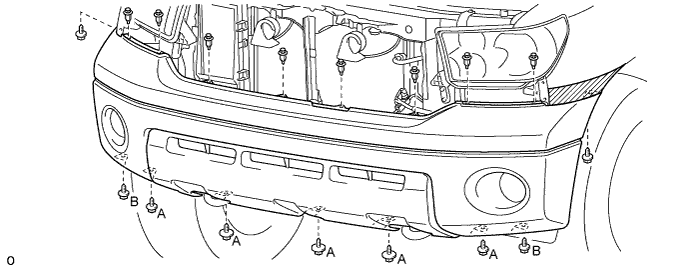
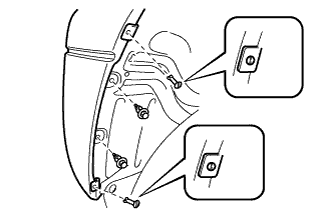 |
Install the 2 clips.
Install the 2 pin hold clips so that their grooves are vertical.
| 10. INSTALL FRONT END PANEL LH |
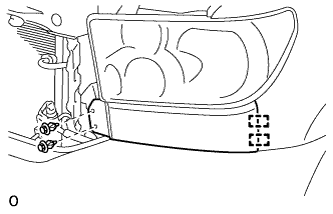 |
Attach the 2 pins to install the panel.
Install the 2 clips.
| 11. INSTALL FRONT END PANEL RH |
| 12. CONNECT CABLE TO NEGATIVE BATTERY TERMINAL |