REAR SEAT OUTER BELT ASSEMBLY (for CrewMax) > INSTALLATION |
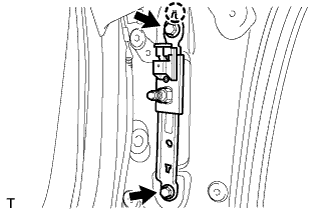
| 1. INSTALL REAR SHOULDER BELT ANCHOR ADJUSTER ASSEMBLY |
|
Align the rear shoulder belt anchor adjuster assembly positioning hole with the claw, and install the rear shoulder belt anchor adjuster assembly with the 2 bolts.
| 2. INSTALL REAR SEAT OUTER BELT ASSEMBLY |
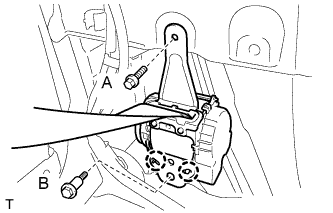 |
Align the vehicle's claws with the rear seat outer belt assembly retractor positioning holes.
Install the rear seat outer belt assembly with the 2 bolts.
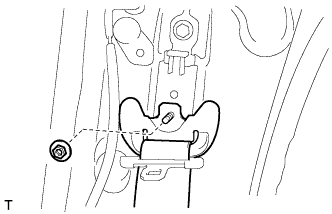 |
Install the rear seat outer belt assembly with the nut.
| 3. INSTALL FRONT QUARTER TRIM PANEL ASSEMBLY LH |
Pass the rear seat outer belt assembly through the hole of the front quarter trim panel assembly LH.
Attach the 4 clips to install the front quarter trim panel assembly LH.
Install the 2 bolts.
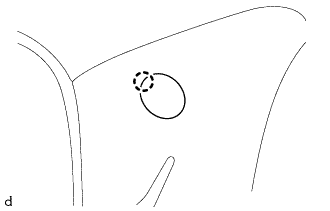 |
Attach the claw to close the cover.
| 4. INSTALL LOWER QUARTER TRIM PANEL ASSEMBLY LH |
Attach the 5 clips to install the lower quarter trim panel assembly LH.
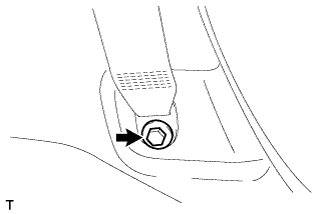 |
Connect the rear seat outer belt assembly with the bolt.
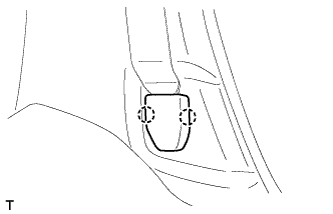 |
Attach the 2 claws to install the cover.
| 5. INSTALL NO. 1 BOX SPEAKER ASSEMBLY (w/ Woofer) |
Connect the connector.
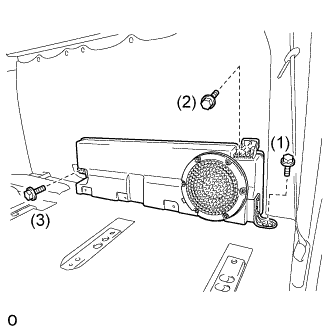 |
Install the No. 1 box speaker assembly with the 3 bolts.
| 6. INSTALL REAR DOOR OPENING TRIM WEATHERSTRIP LH |
Install the rear door opening trim weatherstrip LH.
| 7. INSTALL REAR DOOR SCUFF PLATE LH |
Attach the 6 claws and 2 clips to install the rear door scuff plate LH.
| 8. INSTALL REAR SEAT ASSEMBLY |