SLIDING ROOF HOUSING (for CrewMax) > DISASSEMBLY |
| 1. REMOVE SLIDING ROOF DRIVE GEAR SUB-ASSEMBLY |
|
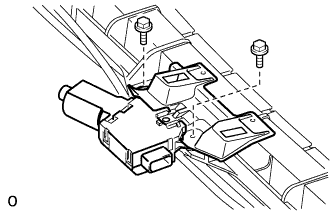
Remove the 2 bolts, room light bracket and drive gear.
| 2. REMOVE SUNSHADE TRIM SUB-ASSEMBLY |
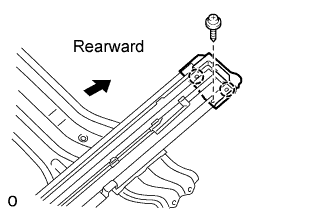 |
Remove the 2 screws.
Detach the 4 claws and remove the sliding roof piece LH and RH.
Slide and remove the trim.
| 3. REMOVE SLIDING ROOF DRIVE CABLE SUB-ASSEMBLY |
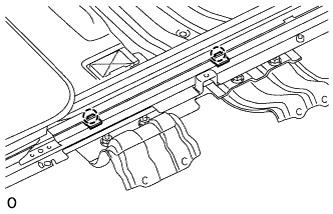 |
Detach the 4 claws and remove the 4 roof wind deflector panel guide clips.
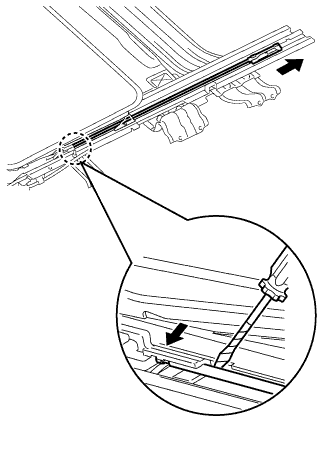 |
Using a screwdriver, detach the claw.
Slide each roof wind deflector lifter link in the direction indicated by the arrow in the illustration to remove it.
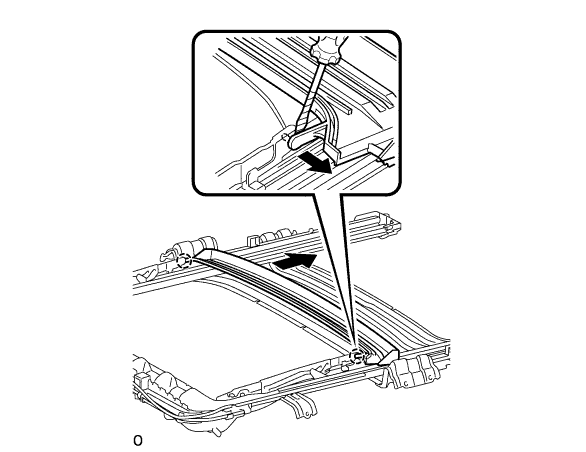 |
Using a screwdriver, detach the 2 claws then slide the rear roof drip channel rearward to remove it.
Place matchmarks on the sliding roof drive cable sub-assembly and sliding roof housing sub-assembly.
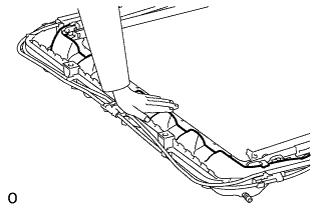 |
Hold down the window deflector.
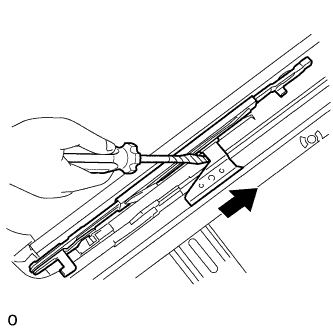 |
Using a screwdriver, slide the sliding roof drive cable sub-assembly in the direction indicated by the arrow in the illustration to remove it.
| 4. REMOVE REAR SLIDING ROOF HOUSING MOUNTING BRACKET LH |
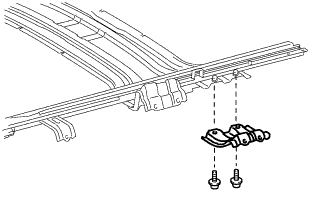 |
Remove the 2 bolts and mounting bracket.
| 5. REMOVE REAR SLIDING ROOF HOUSING MOUNTING BRACKET RH |