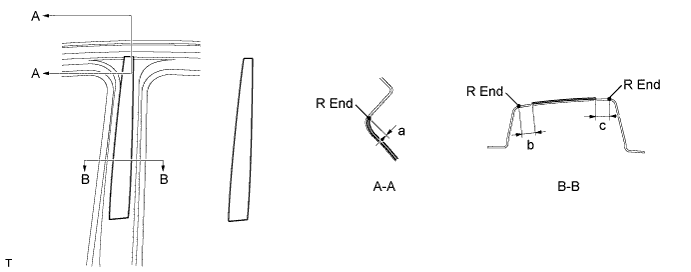
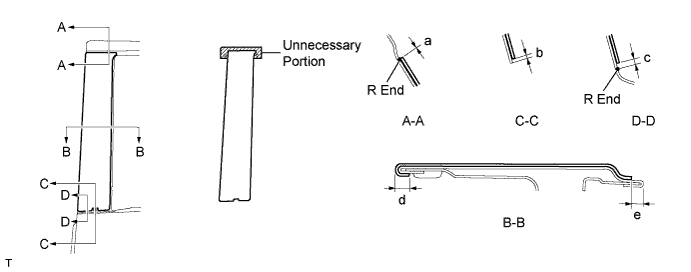
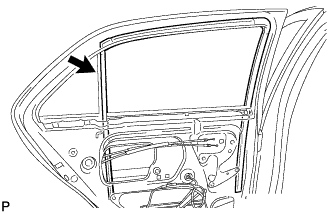
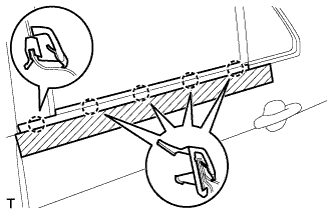
Application precautions:
Application temperature:
- If the temperature is below 15°C (59°F), using an infrared light, heat the base (body attachment surface) and No. 3 black out tape up to between 20 and 30°C (68 and 86°F). If the temperature is over 35°C (95°F), perform the operation after lowering the temperature to below 35°C (95°F).
- HINT:
- The most suitable temperature for applying the No. 3 black out tape is 25°C (77°F).
- The No. 3 black out tape cannot be applied correctly at low temperature due to its stiffness and weak adhesion. The tape loses its consistency at high temperature.
- If the temperature is below 15°C (59°F), using an infrared light, heat the base (body attachment surface) and No. 3 black out tape up to between 20 and 30°C (68 and 86°F). If the temperature is over 35°C (95°F), perform the operation after lowering the temperature to below 35°C (95°F).
Pre-application procedure:
- Any uneven twisting or dust on the base (body attachment surface) causes a defective appearance due to air being trapped under the No. 3 black out tape during application. Make sure there is no uneven twisting or dust on or around the base or No. 3 black out tape.
- HINT:
- When the air is dry in winter, put cardboard between the pieces of No. 3 black out tape and keep them in a dry flat place.
- Any uneven twisting or dust on the base (body attachment surface) causes a defective appearance due to air being trapped under the No. 3 black out tape during application. Make sure there is no uneven twisting or dust on or around the base or No. 3 black out tape.
Handling:
- Keep the No. 3 black out tape in a dry flat level place because it is easily deformed.
- NOTICE:
- Do not fold, bend or expose the tape to high temperatures.
- Keep the No. 3 black out tape in a dry flat level place because it is easily deformed.
Application method (Method of squeegee operation and application for general portions):
- NOTICE:
- The positioning accuracy must be within 1 mm (0.039 in.) when starting the application, otherwise, poor appearance and adhesion will result.
- Do not reuse No. 3 black out tape that has been removed. It causes deformation and weak adhesion.
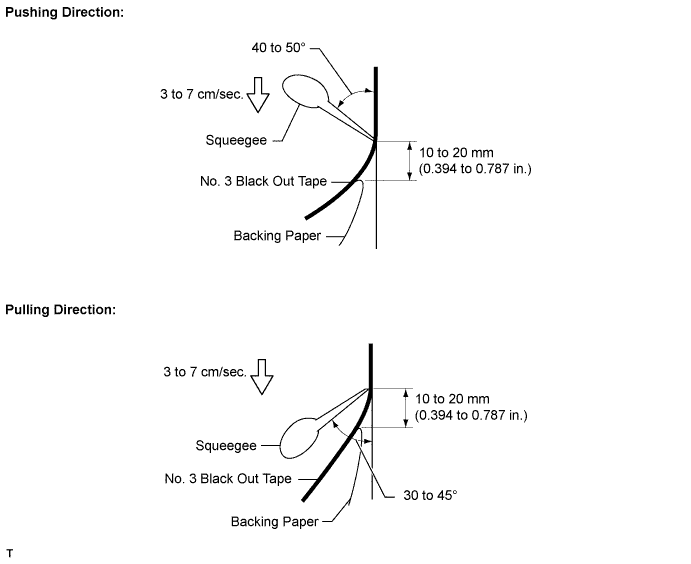
- In order to suppress bubble formation, slightly raise the portion not being pressed by the squeegee away from the base. Tilt the squeegee between 40 and 50° (in the pushing direction) and between 30 and 45° (in the pulling direction), and apply 20 to 30 N (2 to 3 kg, 4 to 6 lb) of pressure at a velocity of 3 to 7 cm/sec. while pushing out the air.
- NOTICE:
- While using the squeegee, do not change the speed, stop the operation or change the force of the application. Doing so could cause a streak across the surface of the No. 3 black out tape called a shock line. While using the squeegee, keep the speed and force of application constant and the angle correct.
- HINT:
- The squeegee can be tilted in either the pushing direction or in the pulling direction against the attachment portion.
- Perform the procedure while peeling the backing paper off the No. 3 black out tape, 10 to 20 mm (0.394 to 0.787 in.) from the end of the squeegee.
Application method (Method of squeegee operation and application method for hemming portions):
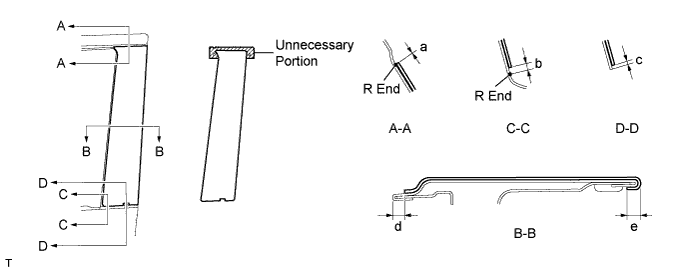
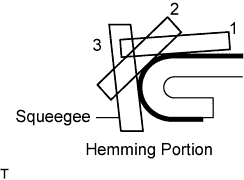
- If the tape cannot be pressed in one step using the squeegee, perform the application in several steps. Using your finger or a thicker part of the squeegee, gradually apply the tape to the rounded hemming portion in 2 or 3 steps.
- HINT:
- Peel off the backing paper at the hemming portion and apply the No. 3 black out tape with your finger or a thicker part of the squeegee.
- If the tape cannot be pressed in one step using the squeegee, perform the application in several steps. Using your finger or a thicker part of the squeegee, gradually apply the tape to the rounded hemming portion in 2 or 3 steps.
Application method (Method of squeegee operation and application method for corner sections):
- Carefully apply the tape using a finger after peeling the backing paper off the corner section.
- In order to prevent appearance deterioration caused by the tape pin angle, turn in the tape at the corner after heating the No. 3 black out tape with a infrared light.
- Carefully apply the tape using a finger after peeling the backing paper off the corner section.
Inspection:
- Repeat the application using new No. 3 black out tape.
- NOTICE:
- Do not use a needle to rectify bubbles in any glazed tape being applied to the outer panel, in order to make scratches virtually imperceptible.
- HINT:
- Use an instant adhesive if the hemming or corner portions of the No. 3 black out tape are partially peeled off.
- Repeat the application using new No. 3 black out tape.
 |