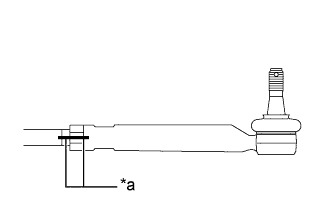
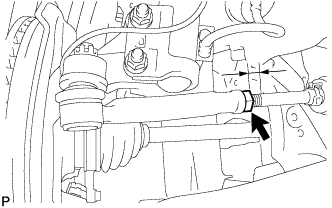
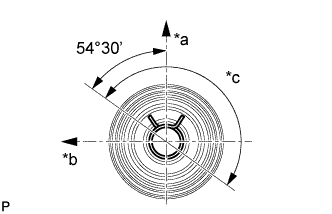
Inspect steering wheel off center.
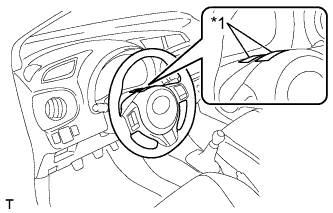
Apply masking tape on the top center of the steering wheel and steering column upper cover.
Text in Illustration *1 Masking Tape Drive the vehicle in a straight line for 100 meters at a constant speed of 56 km/h (35 mph), while holding the steering wheel to maintain the course.
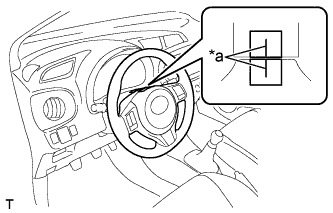
Draw a line on the masking tape as shown in the illustration.
Text in Illustration *a Marked Line Turn the steering wheel to the center position.
- HINT:
- Look at the upper surface of the steering wheel, steering spoke, and SRS airbag line to find the center position.
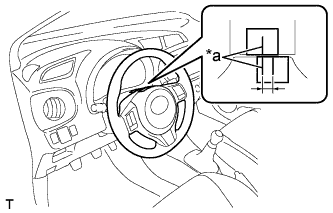
Draw a new line on the masking tape on the steering wheel as shown in the illustration.
Text in Illustration *a Marked Line Measure the distance between the 2 lines on the masking tape on the steering wheel.
Convert the measured distance to steering angle.
- Standard:
- Measured distance 1 mm (0.0397 in.) = Steering angle approximately 1 deg.
- HINT:
- Make a note of the steering angle.
 |
 |
 |