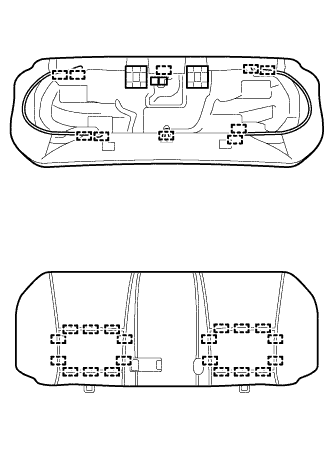
Home › Vehicle Interior › SEAT › REAR SEAT ASSEMBLY (for Hatchback 60/40 Split Seat Type LH Side)

REAR SEAT ASSEMBLY (for Hatchback 60/40 Split Seat Type LH Side) > REASSEMBLY

for Preparation Click here


CAUTION:
Wear protective gloves. Sharp areas on the parts may injure your hands.


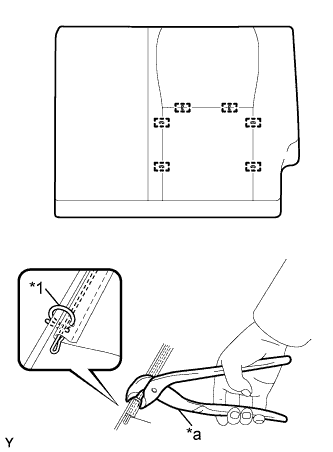
1. INSTALL SEPARATE TYPE REAR SEATBACK COVER (for TMC Made)


    B283277E03
  1. Using hog ring pliers, install the separate type rear seatback cover to the separate type rear seatback pad with 6 new hog rings.
    Text in Illustration 
    *1
    Hog Ring
    *a
    Hog Ring Pliers

    NOTICE:
    1. Do not soil or scratch the separate type rear seatback cover.
    2. When installing hog rings, minimize wrinkles as much as possible.
    3. Align the center of the hog ring installation area of the separate type rear seatback cover with the center of the separate type rear seatback pad so that no wrinkles appear, and securely tighten the hog rings as shown in the illustration.
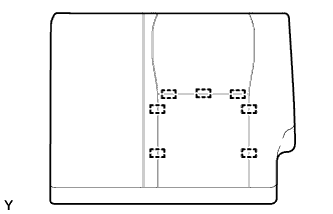
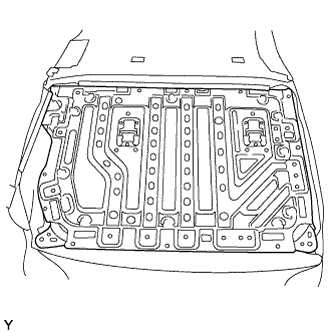
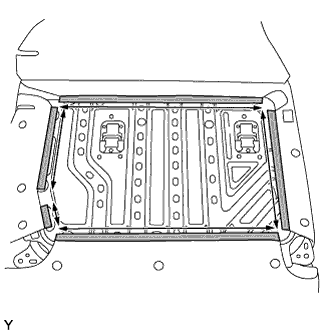
2. INSTALL SEPARATE TYPE REAR SEATBACK COVER (for TMMF Made)


    B283278
  1. Engage the 7 hooks to install the separate type rear seatback cover to the separate type rear seatback pad.


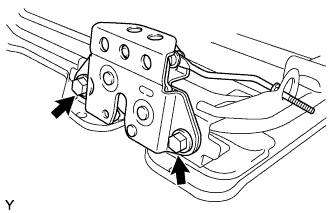
3. INSTALL REAR SEATBACK LOCK ASSEMBLY LH


    B272897
  1. Install the rear seatback lock assembly LH with the 2 bolts.

    Torque:
    32 N*m{ 326 kgf*cm , 24 ft.*lbf }


4. INSTALL REAR SEATBACK FRAME SUB-ASSEMBLY LH (for TMC Made)


    B283265
  1. Temporarily install the rear seatback frame sub-assembly LH.


    B283267
  1. Engage the 5 hooks.


    B285906
  1. Engage the 8 clips to install the rear seatback frame sub-assembly LH.


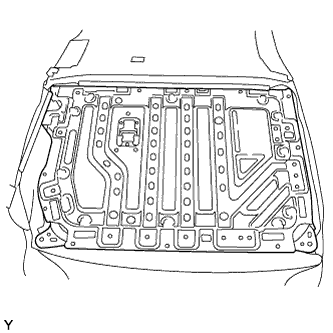
5. INSTALL REAR SEATBACK FRAME SUB-ASSEMBLY LH (for TMMF Made)


    B272896
  1. Temporarily install the rear seatback frame sub-assembly.


    B272894
  1. Engage the 5 hooks.


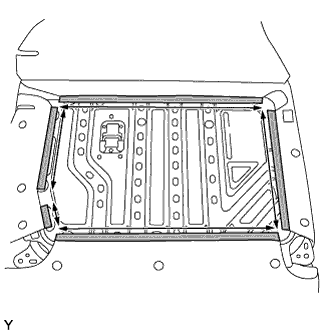
    B351900
  1. Fasten the 7 hook and loop fasteners.

  1. Engage the 3 clips to install the rear seatback frame sub-assembly LH.


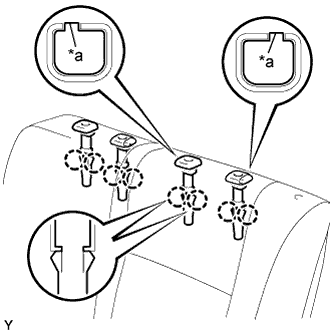
6. INSTALL REAR SEAT HEADREST SUPPORT


    B283264E01
  1. Align the protruding portion of the rear seat headrest support with the installation groove of the rear seatback frame sub-assembly LH.
    Text in Illustration 
    *a
    Protruding

  1. Engage the 8 claws to install the 4 rear seat headrest support.


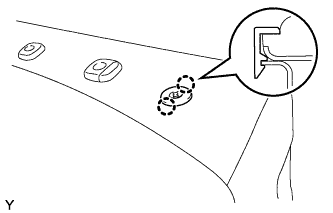
7. INSTALL REAR SEATBACK STOP BUTTON GROMMET


    B272895
  1. Engage the 2 claws to install the rear seatback stop button grommet.


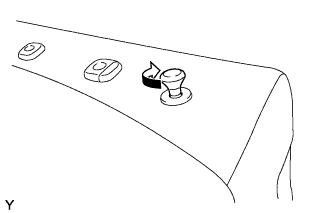
8. INSTALL REAR SEATBACK LOCK RELEASE BUTTON


    B273716
  1. Turn the rear seatback lock release button in the direction indicated by arrow to install it.


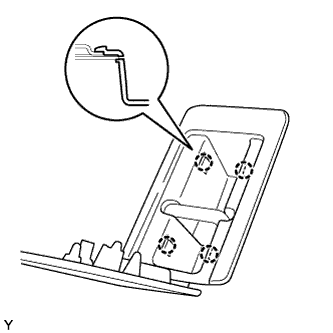
9. INSTALL REAR SEATBACK COVER

HINT:
B272892
Use the same procedure for both sides.

  1. Engage the 4 claws to install the rear seatback cover.


10. INSTALL REAR SEAT HEADREST ASSEMBLY
  1. Install the rear seat headrest assembly.


11. INSTALL REAR SEAT CENTER HEADREST ASSEMBLY
  1. Install the rear seat center headrest assembly.


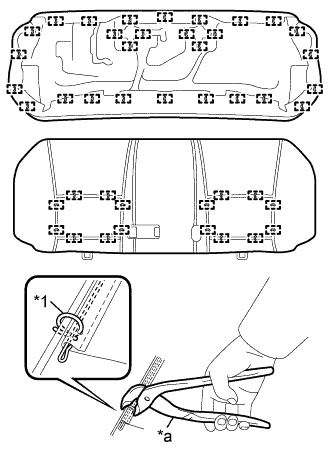
12. INSTALL BENCH TYPE REAR SEAT CUSHION COVER (for TMC Made)


    B349743E01
  1. Using hog ring pliers, install the bench type rear seat cushion cover to the bench type rear seat cushion pad with 44 new hog rings.
    Text in Illustration 
    *1
    Hog Ring
    *a
    Hog Ring Pliers

    NOTICE:
    1. Do not soil or scratch the bench type rear seat cushion cover.
    2. When installing hog rings, minimize wrinkles as much as possible.
    3. Align the center of the hog ring installation area of the bench type rear seat cushion cover with the center of the bench type rear seat cushion pad so that no wrinkles appear, and securely tighten the hog rings as shown in the illustration.
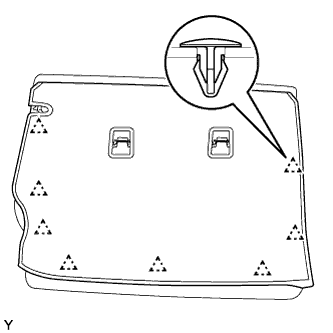


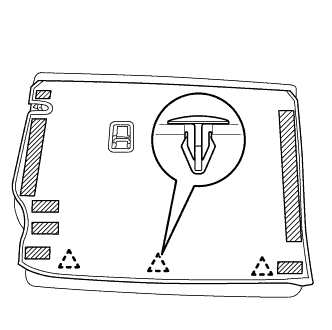
13. INSTALL BENCH TYPE REAR SEAT CUSHION COVER (for TMMF Made)


    B349742
  1. Pass the 3 plastic plates of the bench type rear seat cushion cover through the bench type rear seat cushion pad.

  1. Engage the 30 hooks and install the bench type rear seat cushion cover.