BODY PANEL FRONT DOOR OUTER PANEL(for TMMF Made) ASSEMBLY REPLACEMENT
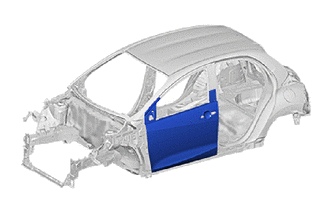
REMOVAL
| Symbol Meaning | |
|---|---|

|
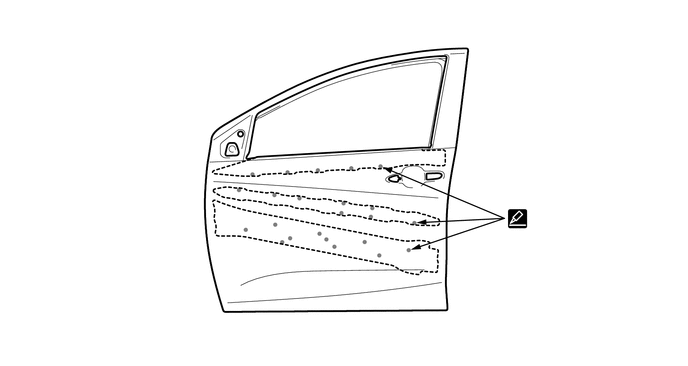
Cut and Join Location |
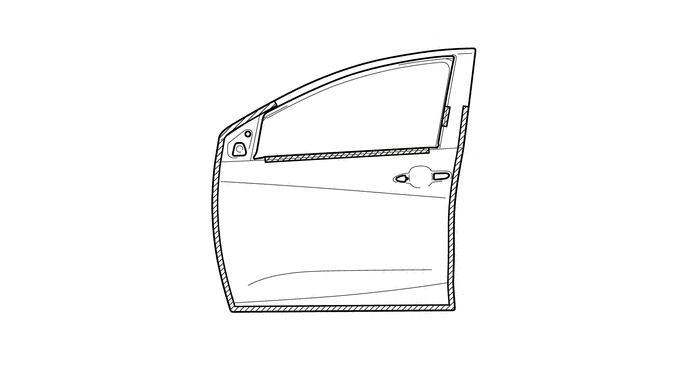
Roughly cut open the panel so that the adhesive can be reached. Cut through the adhesive with a cut chisel to remove the panel.
- HINT:
-
In cases where the adhesive cannot be removed with a cut chisel, heat the adhesive with an industrial heater gun or gas burner taking care not to cause panel deformation by overheating.

|
Adhesive | - | - |
After grinding off the hemming location, remove the outer panel.
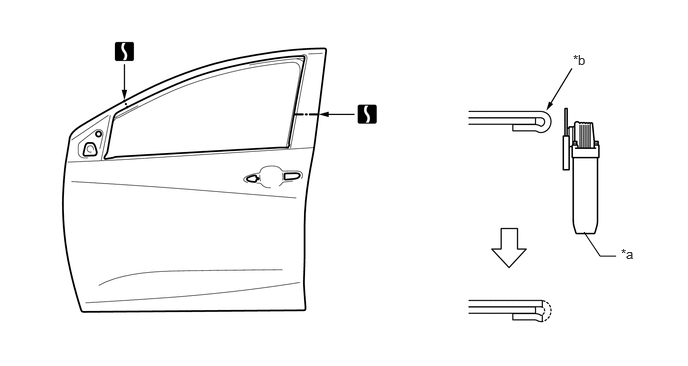
| *a | Disc Sander | *b | Hemming Location |
INSTALLATION
| Symbol Meaning | |
|---|---|

|
Butt Weld |

|
Spot MIG Weld |

|
Body Sealer |
Inspect the fitting of the related parts around the new parts before welding. This affects the appearance of the finish.
Apply adhesive (3MTM AutomixTM Panel Bonding Adhesive #8115).
- NOTICE:
-
Do not close the drain hole.
- HINT:
-
Apply enough adhesive to the panels.
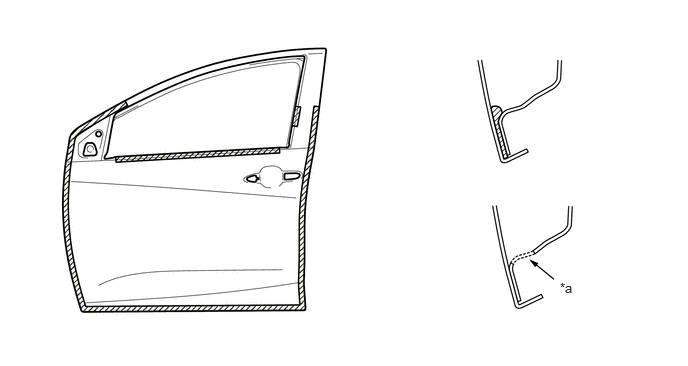
| *a | Drain Hole | - | - |
|
|
Adhesive | - | - |
Before temporarily installing the new parts, apply body sealer to the backside of the new parts.
- HINT:
-
Apply enough body sealer to the panels.
Bend the flange hem with a wooden hammer and dolly.
- HINT:
-
Bend the panel gradually so as not to distort it.
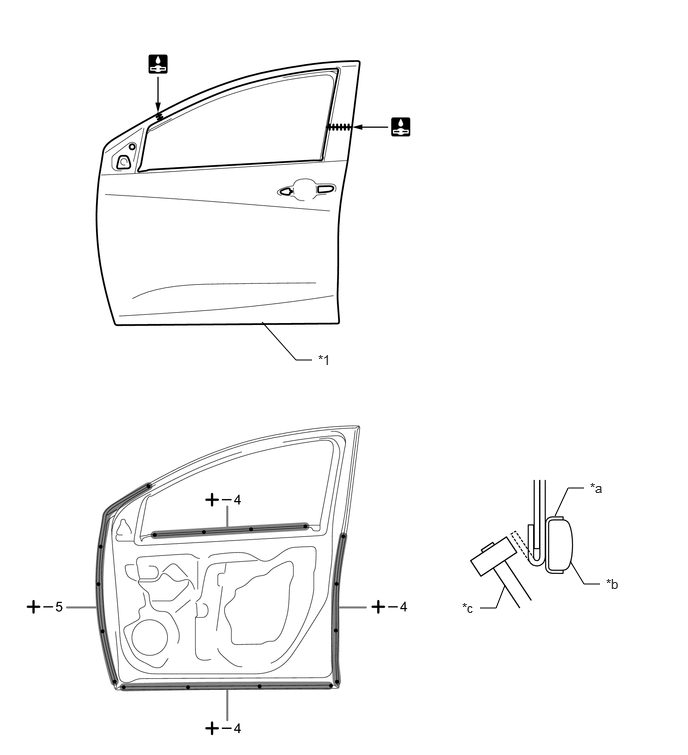
| *1 | FRONT DOOR PANEL OUTER | - | - |
| *a | Cloth Tape | *b | Dolly |
| *c | Wooden Hammer | - | - |
After welding, apply body sealer to the corresponding parts. (See the painting/coating)
After applying the top coat, apply anti-rust agent to the internal panel portion of the closed section structural weld points.