1KR-FE ENGINE MECHANICAL CYLINDER BLOCK DISASSEMBLY
PROCEDURE

 13516
1.REMOVE OIL JET
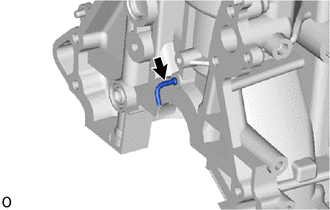
Remove the oil jet from the cylinder block sub-assembly.
13201
2.REMOVE PISTON SUB-ASSEMBLY WITH CONNECTING ROD SUB-ASSEMBLY
- NOTICE:
-
Do not turn the crankshaft.
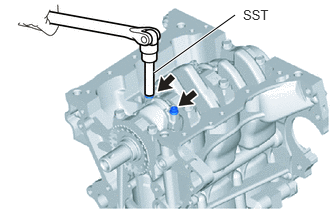
Using SST, remove the 2 connecting rod bolts.
- SST
- 09205-16011
- NOTICE:
-
Arrange the removed parts for each cylinder in the correct order.
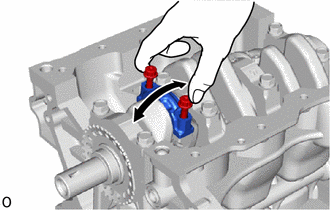
Using the 2 removed connecting rod bolts, remove the connecting rod bearing cap and connecting rod bearing by wiggling the connecting rod bearing cap back and forth.
Push the piston, connecting rod sub-assembly and connecting rod bearing through the top of the cylinder block sub-assembly.
- HINT:
- ·
Keep the piston, connecting rod sub-assembly and connecting rod bearing cap together.
·Arrange the piston and connecting rod sub-assembly for each cylinder in the correct order.
13041
3.REMOVE CONNECTING ROD BEARING
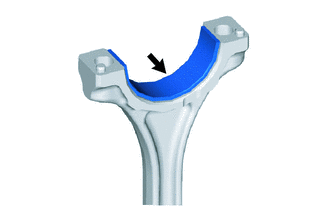
Remove the connecting rod bearing from the connecting rod sub-assembly.
- HINT:
-
Arrange the removed parts in the correct order.
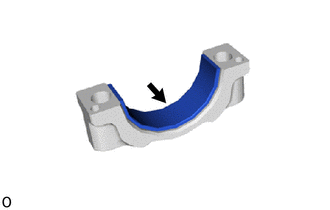
Remove the connecting rod bearing from the connecting rod bearing cap.
- HINT:
-
Arrange the removed parts in the correct order.
13011
4.REMOVE PISTON RING SET
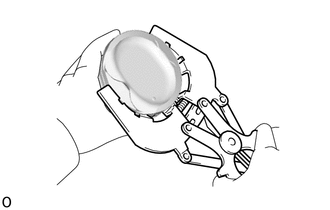
Using a piston ring expander, remove the No. 1 compression ring and No. 2 compression ring.
Remove the expander spacer, upper side rail and lower side rail from the piston by hand.
13101
5.REMOVE PISTON (w/ Pin)
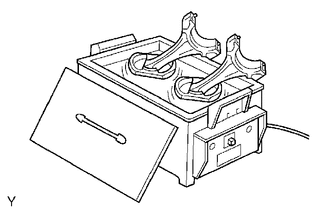
Gradually heat each piston to approximately 80 to 90°C (176 to 194°F).
Using SST, press the piston pin out of the piston, and remove the piston.
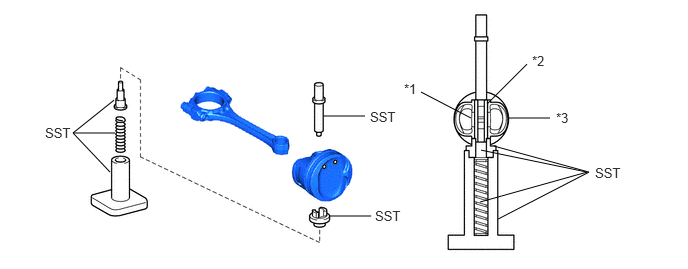
| *1 | Connecting Rod Sub-assembly | *2 | Piston Pin |
| *3 | Piston | - | - |
- SST
- 09221-25026 (09221-00021, 09221-00030, 09221-00130, 09221-00141, 09221-00150)
- HINT:
- ·
The piston and piston pin are a matched set.
·Arrange the pistons, piston pins, connecting rod sub-assemblies and connecting rod bearings in the correct order.
13411
6.REMOVE CRANKSHAFT
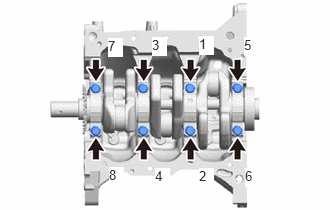
Remove the 8 crankshaft bearing cap set bolts in the order shown in the illustration.
- NOTICE:
-
Loosen the crankshaft bearing cap set bolts in 2 or 3 steps in the order shown in the illustration.
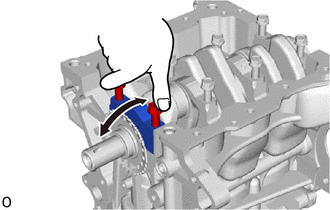
Using the 2 removed crankshaft bearing cap setbolts, remove the 4 crankshaft bearing caps and 4 crankshaft bearings from the cylinder block sub-assembly by wigging each crankshaft bearing cap back and forth.
- NOTICE:
-
Arrange the removed parts in the correct order.
- HINT:
- ·
If it is difficult to remove the crankshaft bearing cap, lightly tap it with a hammer.
·Move the top of the crankshaft bearing cap back and forth in the axial direction.
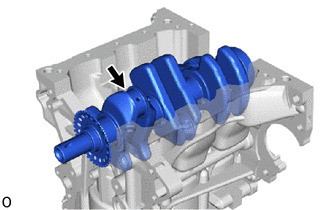
Remove the crankshaft from the cylinder block sub-assembly.
11791
7.REMOVE CRANKSHAFT THRUST WASHER UPPER
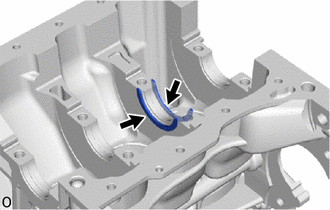
Remove the 2 crankshaft thrust washer uppers from the No. 3 journal position of the cylinder block sub-assembly.
11711
8.REMOVE CRANKSHAFT BEARING
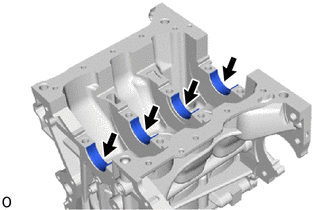
Remove the 4 crankshaft bearings from the cylinder block sub-assembly.
- HINT:
-
Arrange the removed parts in the correct order.
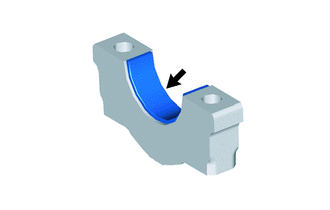
Remove the 4 crankshaft bearings from the 4 crankshaft bearing caps.
- HINT:
-
Arrange the removed parts in the correct order.
15708
9.REMOVE NO. 1 OIL NOZZLE SUB-ASSEMBLY
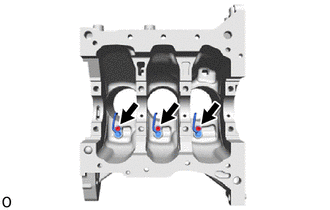
Using a 5 mm hexagon socket wrench, remove the 3 bolts and 3 No. 1 oil nozzle sub-assemblies.