EXTERIOR PANELS / TRIM FRONT BUMPER(for 5 Door) REMOVAL
CAUTION / NOTICE / HINT
The necessary procedures (adjustment, calibration, initialization, or registration) that must be performed after parts are removed and installed, or replaced during front bumper assembly removal/installation are shown below.
| Replaced Part or Performed Procedure | Necessary Procedure | Effect/Inoperative Function When Necessary Procedures are not Performed | Link |
|---|---|---|---|
w/ Parking Support Brake System:
Front bumper assembly (Including removal and installation) |
·
Ultrasonic sensor detection angle ·
Ultrasonic sensor detection angle registration |
Parking support brake system | ( ) |
PROCEDURE

 47749F
1.REMOVE PIN HOLD CLIP
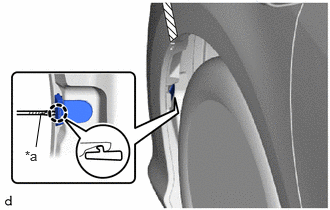
| *a | Protective Tape |
Using a screwdriver with its tip wrapped in protective tape, disengage the claw to remove the pin hold clip.
- HINT:
-
Use the same procedure for the RH side and LH side.
2.REMOVE FRONT BUMPER ASSEMBLY
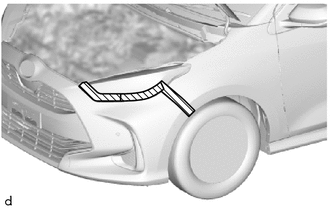

|
Protective Tape |
Apply protective tape around the front bumper assembly.
- HINT:
-
Use the same procedure for the RH side and LH side.
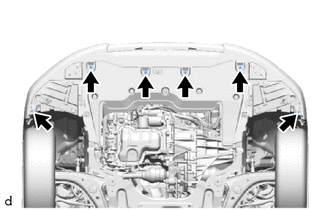
Remove the 6 screws.
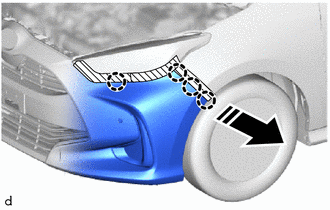

|
Remove in this Direction |
Disengage the claws as shown in the illustration.
- HINT:
-
Use the same procedure for the RH side and LH side.
Pull back the side of the front bumper assembly.
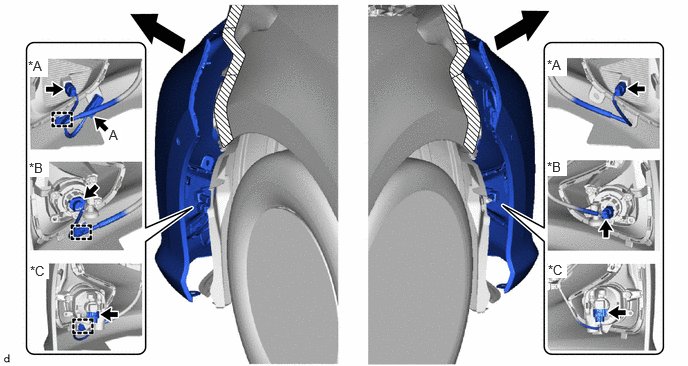
| *A | w/o Fog Light | *B | w/ LED Type Fog Light |
| *C | w/ Bulb Type Fog Light | - | - |
- NOTICE:
-
Do not apply excessive force when pulling back the front bumper assembly.
w/o Fog Light:
Disconnect the connectors and disengage the clamp.
for TMC Made:
1. Disconnect the connector A.
w/ LED Type Fog Light:
Disconnect the connectors and disengage the clamp.
w/ Bulb Type Fog Light:
Disconnect the connectors and disengage the clamp.
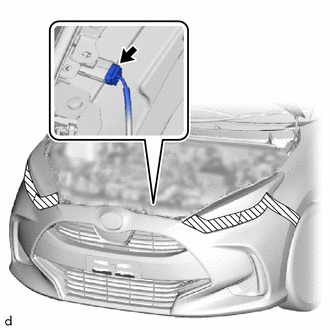
Disconnect the connector.
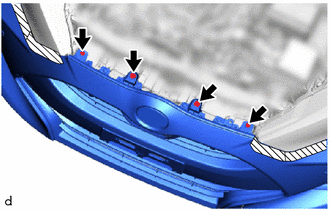
Remove the 2 clips and 2 bolts.
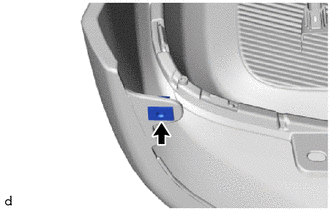
Remove the grommet.
- HINT:
-
Use the same procedure for the RH side and LH side.