DRIVE SHAFT / PROPELLER SHAFT REAR DRIVE SHAFT ASSEMBLY DISASSEMBLY
CAUTION / NOTICE / HINT
- NOTICE:
- ·
When using a vise, place aluminum plates between the part and vise.
·When using a vise, do not overtighten it.
- HINT:
- ·
Use the same procedure for the RH side and LH side.
·The following procedure is for the LH side.
PROCEDURE

 42347F
1.SEPARATE REAR NO. 2 DRIVE SHAFT INBOARD JOINT BOOT CLAMP
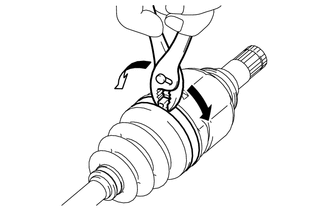
Using pliers, separate the rear No. 2 drive shaft inboard joint boot clamp as shown in the illustration.
42347D
2.SEPARATE REAR DRIVE SHAFT INBOARD JOINT BOOT CLAMP
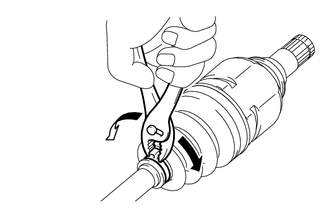
Using pliers, separate the rear drive shaft inboard joint boot clamp as shown in the illustration.
3.SEPARATE REAR DRIVE SHAFT INBOARD JOINT BOOT
Separate the rear drive shaft inboard joint boot from the rear drive shaft inboard joint assembly.
42360D
4.REMOVE REAR DRIVE SHAFT INBOARD JOINT ASSEMBLY
Remove any old grease from the rear drive shaft inboard joint assembly.
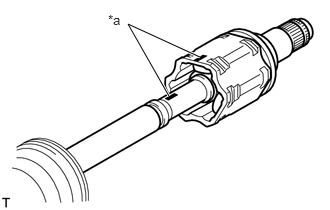
| *a | Matchmark |
Put matchmarks on the rear drive shaft inboard joint assembly and rear drive outboard joint shaft assembly.
- NOTICE:
-
Do not use a punch to make the matchmarks.
Remove the rear drive shaft inboard joint assembly from the rear drive outboard joint shaft assembly.
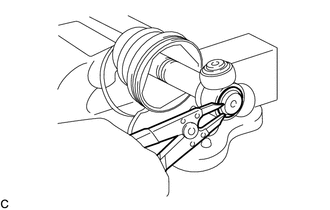
Using a snap ring expander, remove the rear drive shaft snap ring from the rear drive outboard joint shaft assembly.
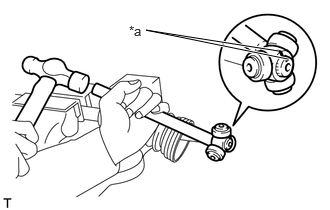
| *a | Matchmark |
Put matchmarks on the rear drive outboard joint shaft assembly and tripod joint.
- NOTICE:
-
Do not use a punch to make the matchmarks.
Using a brass bar and a hammer, tap out the tripod joint from the rear drive outboard joint shaft assembly.
- NOTICE:
- ·
Do not tap the rollers.
·Do not drop the tripod joint.
5.REMOVE REAR DRIVE SHAFT INBOARD JOINT BOOT
Remove the rear No. 2 drive shaft inboard joint boot clamp, rear drive shaft inboard joint boot and rear drive shaft inboard joint boot clamp.
41336K
6.REMOVE REAR DRIVE SHAFT DUST COVER
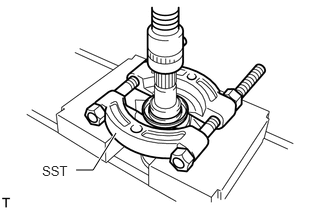
Using SST and a press, remove the rear drive shaft dust cover from the rear drive shaft inboard joint assembly.
- SST
- 09950-00020
- NOTICE:
- ·
Do not overtighten SST.
·Do not drop the rear drive shaft inboard joint assembly.