INSTALLATION
Removal / installation · Vehicles built from Aug 2005
- HINT:
- The procedure listed below is for the LH side. Use the same procedure for both the RH and LH side, unless otherwise specified.
| 1. INSTALL REAR SPEAKER ASSEMBLY |

Using an air riveter or hand riveter, install the front No. 1 speaker assembly onto the front door panel with 3 new strike rivets.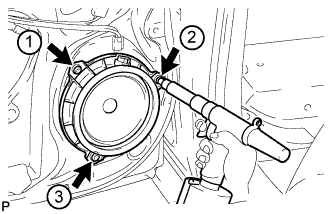

- HINT:
- Install the new strike rivets in the order shown in the illustration.
- NOTICE:
-
Do not pry the rivet with the riveter, as this will cause damage to the riveter and mandrel.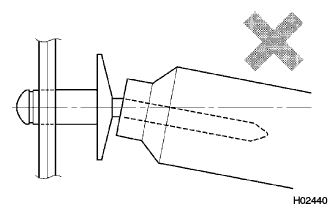
-
Confirm that the rivets are seated properly against the speaker.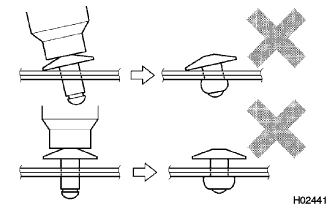
- Do not tilt the riveter when installing the rivet onto the speaker.
- Do not leave any space between the rivet head and speaker.
-
Do not leave any space between the speaker and door. Firmly hold the 2 items together while installing the rivet.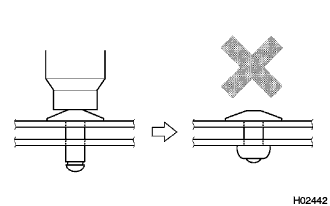
-
Connect the connector.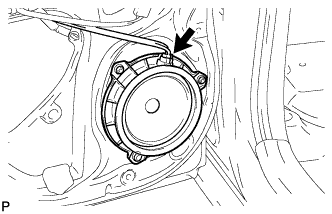
| 2. INSTALL REAR DOOR TRIM BOARD SUB-ASSEMBLY |
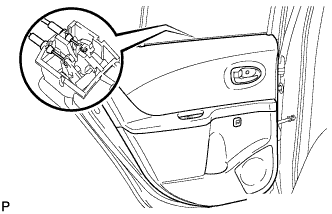 |
Connect the rear door lock remote control cable and rear door inside locking cable.
Connect the connector.
Engage the 7 clips and install the rear door trim board.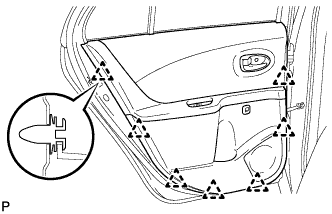
Tighten the 2 screws.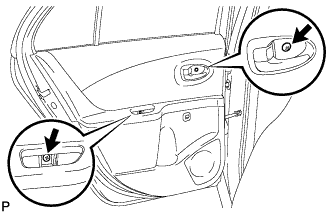
Engage the 3 claws and install the rear door armrest plug.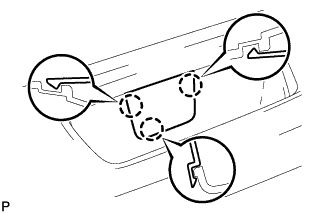
| 3. INSTALL DOOR WINDOW REGULATOR HANDLE ASSEMBLY (w/o Power Window) |
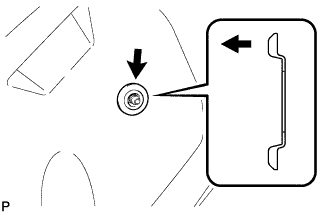 |
Install the window regulator handle plate.
Open all the windows.
Install the rear door window regulator handle with the clip at the angle shown in the illustration.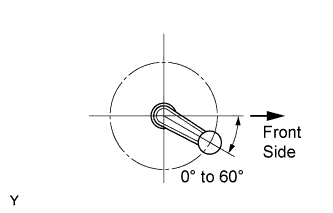
| 4. CONNECT CABLE TO NEGATIVE BATTERY TERMINAL |
- Torque:
- 5.4 N*m{ 55 kgf*cm , 48 in.*lbf }