REMOVAL
Removal / installation · Vehicles built from Jan 2006
- HINT:
- Use the same procedure for both the RH and LH sides.
- The procedure described below is for the LH side.
- Use the same procedure for both the RH and LH sides.
| 1. DISCONNECT CABLE FROM NEGATIVE BATTERY TERMINAL |
| 2. REMOVE FRONT DOOR SCUFF PLATE |

Disengage the 11 claws and remove the front door scuff plate.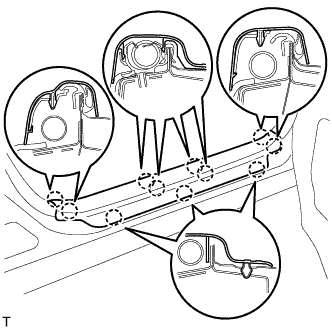

| 3. REMOVE REAR DOOR SCUFF PLATE |
Disengage the 7 claws and remove the rear door scuff plate.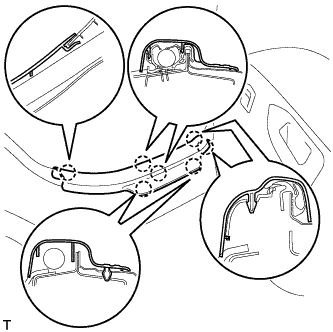
| 4. REMOVE FRONT DOOR OPENING TRIM WEATHERSTRIP |
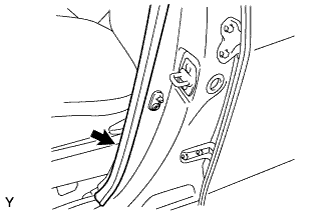 |
Remove the front door opening trim weatherstrip.
| 5. REMOVE REAR DOOR OPENING TRIM WEATHERSTRIP |
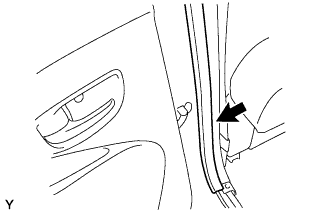 |
Remove the rear door opening trim weatherstrip.
| 6. REMOVE CENTER PILLAR GARNISH LOWER |
Disengage the 3 claws and 2 clips and remove the center pillar lower garnish.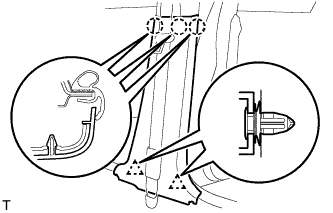
| 7. REMOVE FRONT DOOR COURTESY SWITCH |
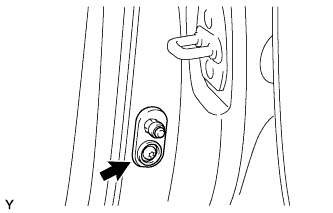 |
Using "Torx" socket wrench T30, remove the screw.
Disconnect the connector and remove the front door courtesy switch.